F
§4.10 Belt tensioning, continued
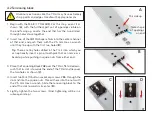
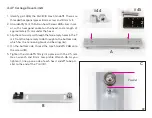
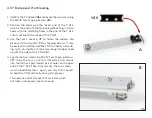
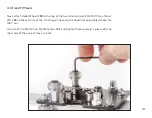
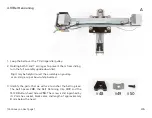
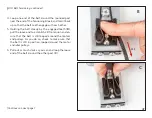
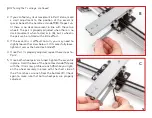
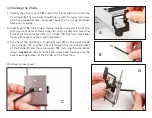
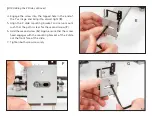
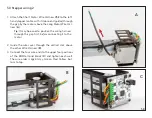
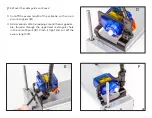
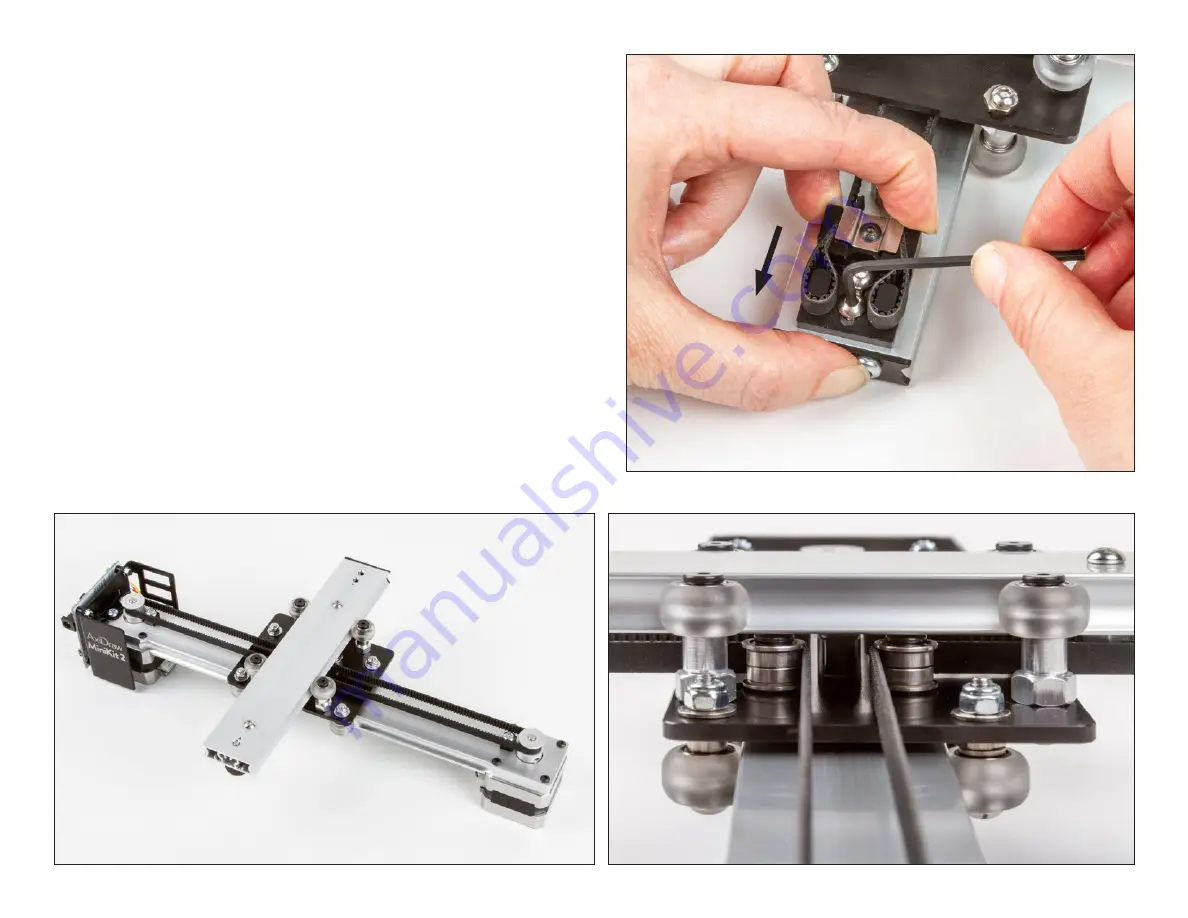
10. Using the 2.5 mm Hex L-wrench, slightly loosen the two
silver-colored M4 screws in the Tensioning Block. Pull it
straight back – tight – towards the end of the carriage to
tension the belt, and then tighten the two screws to lock
it in place (
F
). The belt should now be properly tensioned.
Note that from this point forward, there will be extra fric-
tion when you move either carriage, as it is moving the
belt and thus the motors.
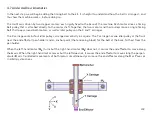
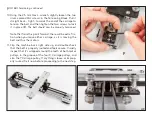
11. Flip the machine back right side up, and double check
that the belt is properly routed and feels secure. Visually
inspect that it’s wrapped around the teeth of both motor
pulleys, in the groove of the four X Carriage pulleys, and
also the Y Carriage pulley. If anything is loose or improp-
erly routed, fix it now before proceeding to the next step.
49
Содержание AxiDraw MiniKit 2
Страница 5: ...Part 1 Tools 5...
Страница 8: ...Part 2 The Base 8...
Страница 20: ...Part 3 The X Carriage 20...
Страница 35: ...Part 4 Y Belt and Z 35...
Страница 55: ...Part 5 Servo and wiring 55...
Страница 72: ...Part 6 Using AxiDraw MiniKit 72...

