ECOWATER
S Y S T E
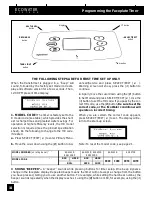
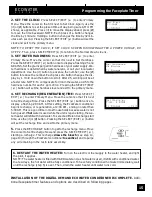
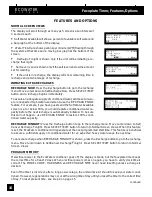
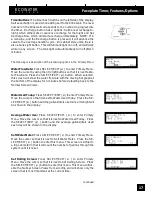
M S
Installation
12
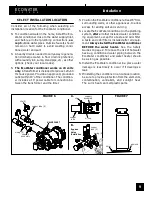
10. INSTALL BRINE TANK OVERFLOW HOSE
a.
Connect a length of 1/2”I. D. hose to the brine
tank overflow elbow and secure in place with a hose
clamp.
b.
Run the hose to the floor drain, or other suitable
drain point
no higher than the drain fitting
on the
tank. If the tank overfills with water, the excess gravi-
ty flows to the drain point.
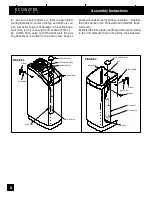
11. On 2--tank models,
connect the brine tubing to
the nozzle and venturi housing, FIGS. 1, 2 and 9.
Use the elbow, o--ring, nut--ferrule and screen in-
cluded on the skin--pack. Tighten the nut by hand,
then another 1/4 turn with a pliers.
NOTE: Route the tubing neatly out of the way and
cut it to the desired length. For longer distances, or-
der the optional parts shown on page 37, to extend
the tubing.
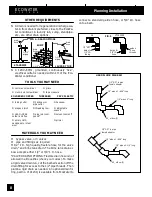
R20 AND HR20 MODELS
: A white color coded
nozzle and venturi (.023) is factory installed for use
on water supply pressure of 50 psi and higher. If wa-
ter supply pressure is under 50 psi, install the black
nozzle and venturi (.032) along with the .1 gpm flow
plug. They are included on the small parts skin pack.
Insert the .1 gpm flow plug into the nozzle and ventu-
ri, as shown, NUMBERED SIDE UP, CONCAVE
SIDE DOWN.
CAUTION: When removing and installing the cap,
hold the housing tightly with 1 hand to prevent break-
age.
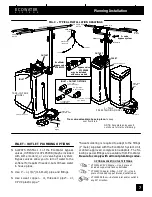
12. PRESSURE TESTING FOR LEAKS
To prevent excessive air pressure in the EcoWa-
ter Unit and plumbing system, do the following
steps EXACTLY in order.
a.
Fully open 2 or more
conditioned
cold water fau-
cets nearby the EcoWater Unit.
b.
Place the bypass valve(s) in ‘‘bypass’’position.
See figure 10.
c.
Fully open the main water supply valve. Observe
steady flow from the opened faucets, with no air
bubbles.
d.
EXACTLY
as follows, place bypass valve(s) in
‘‘service’’.
(1) SINGLE BYPASS VALVE:
SLOWLY,
move the
valve stem toward ‘‘service’’, pausing several
times to allow the unit to pressurize slowly.
(2) 3--VALVE BYPASS: Fully close the bypass
valve and open the outlet valve.
SLOWLY,
open
the inlet valve, pausing several times to allow the
unit to pressurize slowly.
e. After about 3 minutes, open a hot water faucet
for about 1 minute, or until all air is expelled, then
close.
f. Close all cold water faucets
and check your
plumbing work for leaks.
13. ADD WATER AND SALT TO THE BRINE TANK
a.
Using a pail or garden hose, add about 3 gallons
of water into the brine tank. DO NOT pour into the
brinewell, FIGS. 1 and 2, page 6.
b.
Fill the brine tank with salt. You can use most wa-
ter conditioner salts, but it must be clean. Recom-
mended nugget, pellet or coarse solar salts have
less than 1% impurities. Salt storage capacity is
shown on page 35.
NOTE: See page 28 for additional information on
salt.


