ECOWATER
S Y S T E
M S
Installation
13
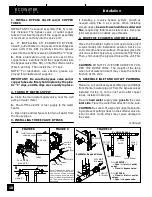
14. SANITIZING THE ECOWATER SYSTEM UNIT
Care is taken at the factory to keep your EcoWater
System conditioner clean and sanitary. Materials
used to make the unit will not infect or contaminate
your water supply, and will not cause bacteria to form
or grow. However, during shipping, storage, instal-
ling and operating, bacteria could get into the unit.
For this reason, sanitizing as follows is suggested
¡
when installing.
...Remove the brinewell cover and pour about 1--1/2
oz. (2 to 3 tablespoons) of common household
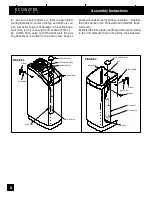
bleach into the softener brinewell, FIGS. 1 and 2,
page 6. Clorox, Linco, BoPeep, White Sail, Eagle,
etc. are brand names of bleach readily available.
Re-
place the brinewell cover.
...The final step in the sanitizing procedure is done
as you complete the following steps, including timer
programming on page 14.
¡
Recommended by the Water Quality Association. On some water sup-
plies, the EcoWater System Unit may need periodic disinfecting.
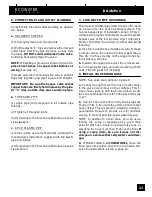
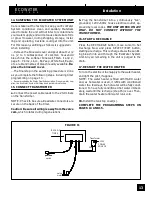
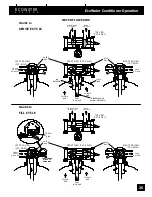
15. CONNECT TRANSFORMER
a.
Connect the power cable leads to the 2 terminals
on the transformer.
NOTE: Check to be sure all leadwire connectors are
secure on the back of the timer.
Caution: Be sure all wiring is away from the valve
cam,
which rotates during regenerations.
b.
Plug the transformer into a continuously ‘‘live’’,
grounded, 120V--60Hz house electrical outlet, ap-
proved by local codes.
THE UNIT WORKS ON 24V
ONLY. DO NOT CONNECT WITHOUT THE
TRANSFORMER.
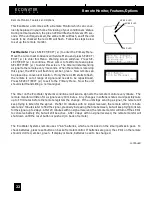
16. START A RECHARGE
Press the RECHARGE button, move cursor to Set
Recharge Now and press SELECT/EXIT button,
starting a recharge. This recharge draws the sanitiz-
ing bleach into and through the EcoWater System
Unit. Any air remaining in the unit is purged to the
drain.
17. RESTART THE WATER HEATER
Turn on the electric or fuel supply to the water heater,
and light the pilot, if applies.
NOTE: The water heater is filled with HARD water
and, as hot water is used, it refills with conditioned
water. In a few days, the hot water will be fully condi-
tioned. To have fully conditioned hot water immedi-
ately, wait until the recharge (step 16) is over. Then,
drain the water heater until water runs cold.
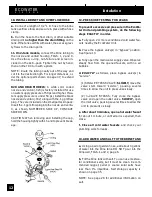
18.
Install the tank top cover(s).
COMPLETE THE PROGRAMMING STEPS ON
PAGES 14 AND 15.
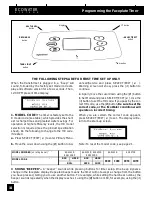
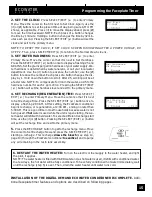
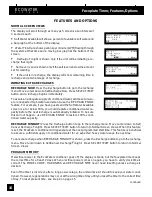
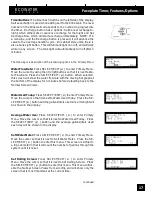
Transformer
24V
position
switch
valve
motor
BACK OF
TIMER
"
120V
POWER
SOURCE
FIGURE 11


