Chapter 1 Overview
5
3.
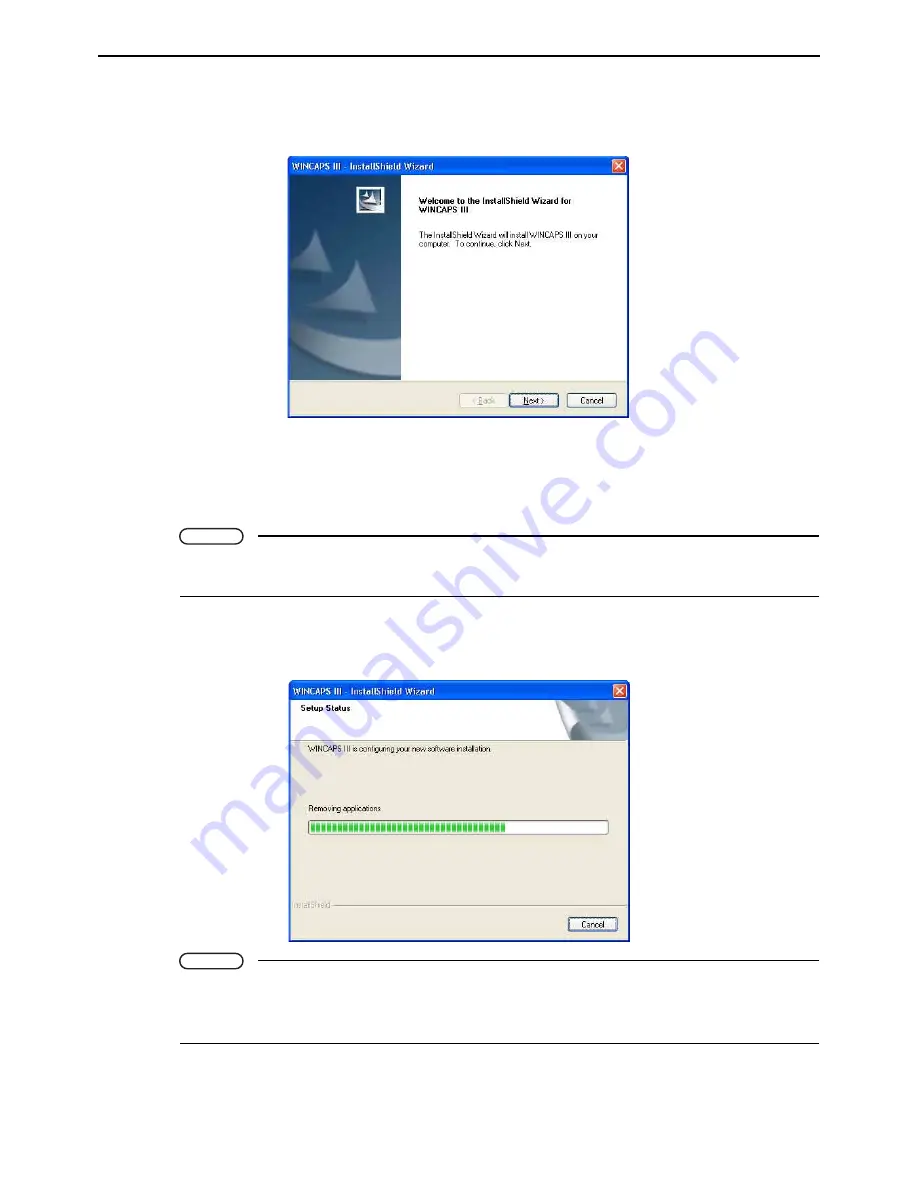
Press the install WINCAPS III button to display the WINCAPS III - InstallShield Wizard dia-
log box.
Follow the screen instructions to configure the installation.
There are three items to specify.
1) Acceptance of the end user license agreement (EULA)
2) License key input
3) Select the folder where the program is installed.
Note
The installer may take a while before starting installation of WINCAPS III since it installs components
required for communication and 3D drawing prior to WINCAPS III.
4.
Double-check the folder specification and press the OK button.
Proceed with the install operation.
Note
Restart the computer if the installation process ends with a message advising you to do so.
If the required modules are not installed, these will be installed prior to WINCAPS III. Some modules
may require you to restart the computer; return to WINCAPS III installation after having done so.
Содержание WINCAPS III
Страница 1: ...Programming Support Tool WINCAPSIII GUIDE...
Страница 18: ...vi CONTENTS...
Страница 64: ...46 Chapter 3 Starting Up Shutting Down...
Страница 196: ...178 Chapter 10 Appendices...
Страница 198: ......


