


158
Installing System Components
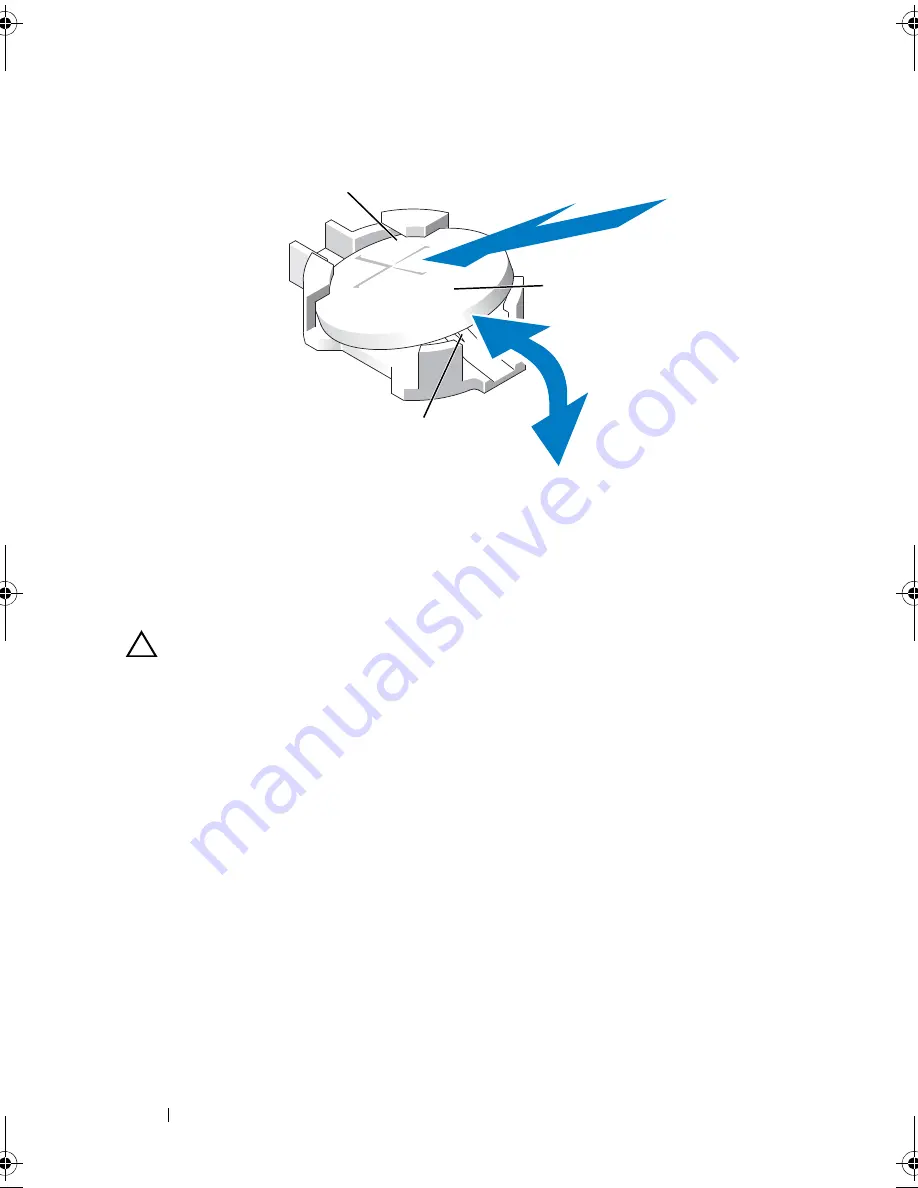
Figure 3-33.
Replacing the System Battery
3
Locate the battery socket. See "System Board Connectors" on page 198.
CAUTION:
To avoid damage to the battery connector, you must firmly support the
connector while installing or removing a battery.
4
To remove the battery, support the battery connector by pressing down
firmly on the positive side of the connector.
5
Press the battery toward the positive side of the connector and lift it up out
of the securing tabs at the negative side of the connector.
6
To install a new system battery, support the battery connector by pressing
down firmly on the positive side of the connector.
7
Hold the battery with the "+" facing up and slide it under the securing
tabs at the positive side of the connector.
8
Press the battery straight down into the connector until it snaps into place.
9
Close the system. See "Closing the System" on page 90.
10
Reconnect the system to the electrical outlet and turn the system on,
including any attached peripherals.
1
positive side of battery connector
2
system battery
3
negative side of battery connector
2
3
1
book.book Page 158 Wednesday, January 20, 2010 10:20 AM
Содержание PowerEdge R910
Страница 1: ...Dell PowerEdge R910 Hardware Owner s Manual Regulatory Model E06S Series Regulatory Type E06S001 ...
Страница 62: ...62 About Your System ...
Страница 84: ...84 Using the System Setup Program and UEFI Boot Manager ...
Страница 130: ...130 Installing System Components Figure 3 21 Removing and Installing the Panel 1 latch 2 panel 2 1 ...
Страница 172: ...172 Installing System Components ...
Страница 192: ...192 Troubleshooting Your System ...
Страница 204: ...204 Getting Help ...
Страница 210: ...Index 210 ...