216
|
Printing
Printing a PDF/TIFF or JPEG File in a USB Flash Drive
1
Press the
(
Home
) button.
2
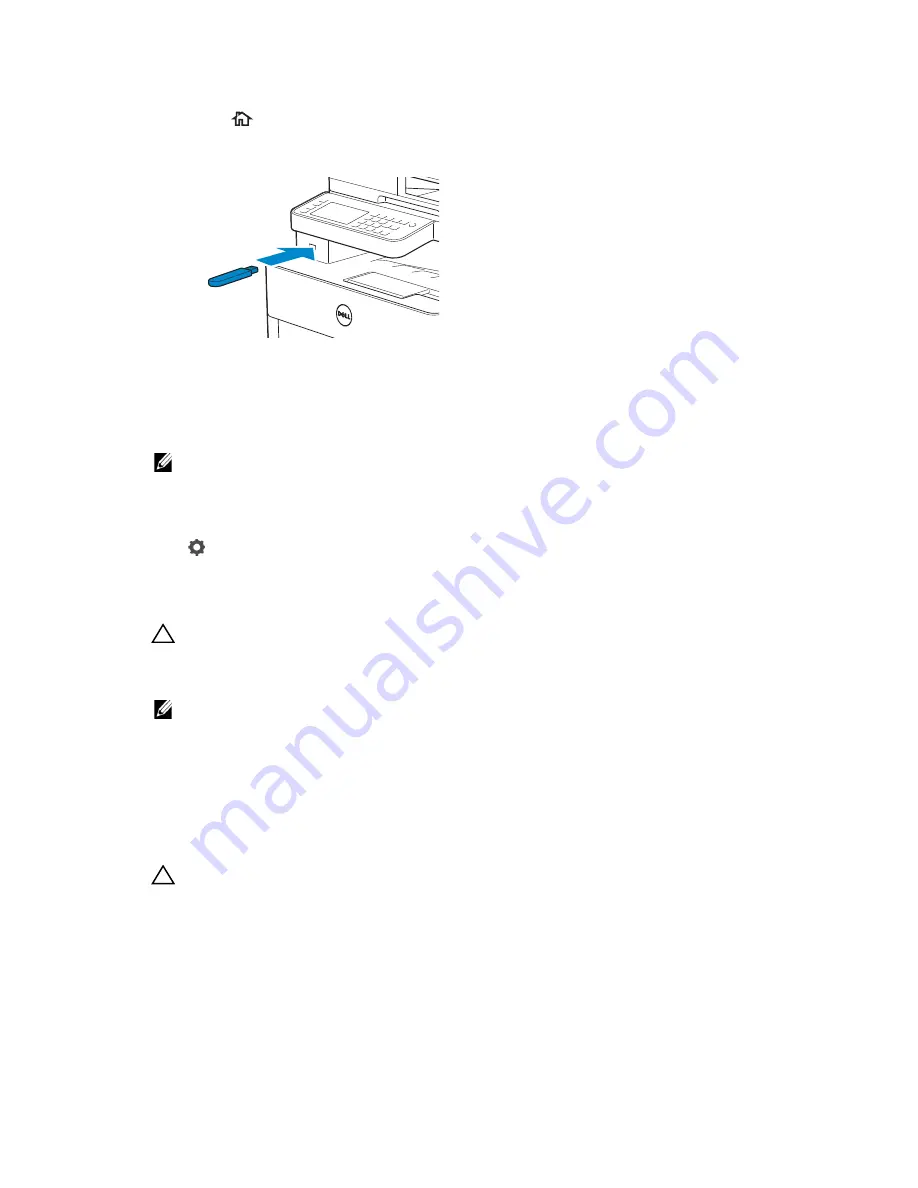
Insert a USB flash drive to the front USB port of the printer.
3
Tap
Print PDF/TIFF
or
Print JPEG
.
4
Select the desired file.
If the desired file is not displayed, swipe the screen or tap folders.
NOTE:
•
Only the following characters are displayed on the touch panel:
A B C D E F G H I J K L M N O P Q R S T U V W X Y Z 0 1 2 3 4 5 6 7 8 9 $ % ’ ‘ - @ {} ~ ! # ( ) & _ ^
•
Up to 10 PDF/TIFF or 100 JPEG files can be selected and printed in display order.
5
Tap
, and then check and change the print settings.
See "Print Settings."
6
Tap
.
CAUTION:
• Do not remove the USB flash drive while the printer is accessing the drive.
The data in the drive may be destroyed, or the drive itself may be damaged and become
unusable.
NOTE:
•
Color printing is secured with a password if the Functions Control setting for
USB Direct
is set to
On (Color Password)
. If you set
Output Color
to
Full Color
and the
Functions Control setting for
USB Direct Print
to
On (Color Password)
, you are
required to enter the four-digit password.
•
Only PDF/TIFF or JPEG files created using the scan function of the printer can be printed
through the USB Direct Print feature.
7
Remove the USB flash drive from the printer.
CAUTION:
• Make sure that the printer is not accessing the USB flash drive.
Printer Settings
You can change most of the print settings from the program you are printing from.
Settings from the program update the default system settings for the printer. Settings
from the print driver only apply to the job that you are currently sending to the printer.
If you cannot change a setting from the program, use the operator panel, Tool Box on
Dell Printer Hub/Dell Printer Management Tool, or Dell Printer Configuration Web Tool.
Содержание H625cdw
Страница 329: ... 329 6 Maintaining Your Printer ...
Страница 353: ... 353 7 Troubleshooting ...
Страница 394: ...394 Appendix ...


