1.
Press <Number of Copies> (
or
) until the number you want appears on the display.
2.
Pressing and holding the button allows you to quickly scroll to the number you want.
You can also enter the value using the number keypad.
Press
<Select> to save the selection.
3.
Using Special Copy Features
NOTE:
Some features may not be available depending on where you loaded the document, on the
scanner glass or in the Automatic Document Feeder.
You can use the following copy features using the <Layout> button on the operator panel:
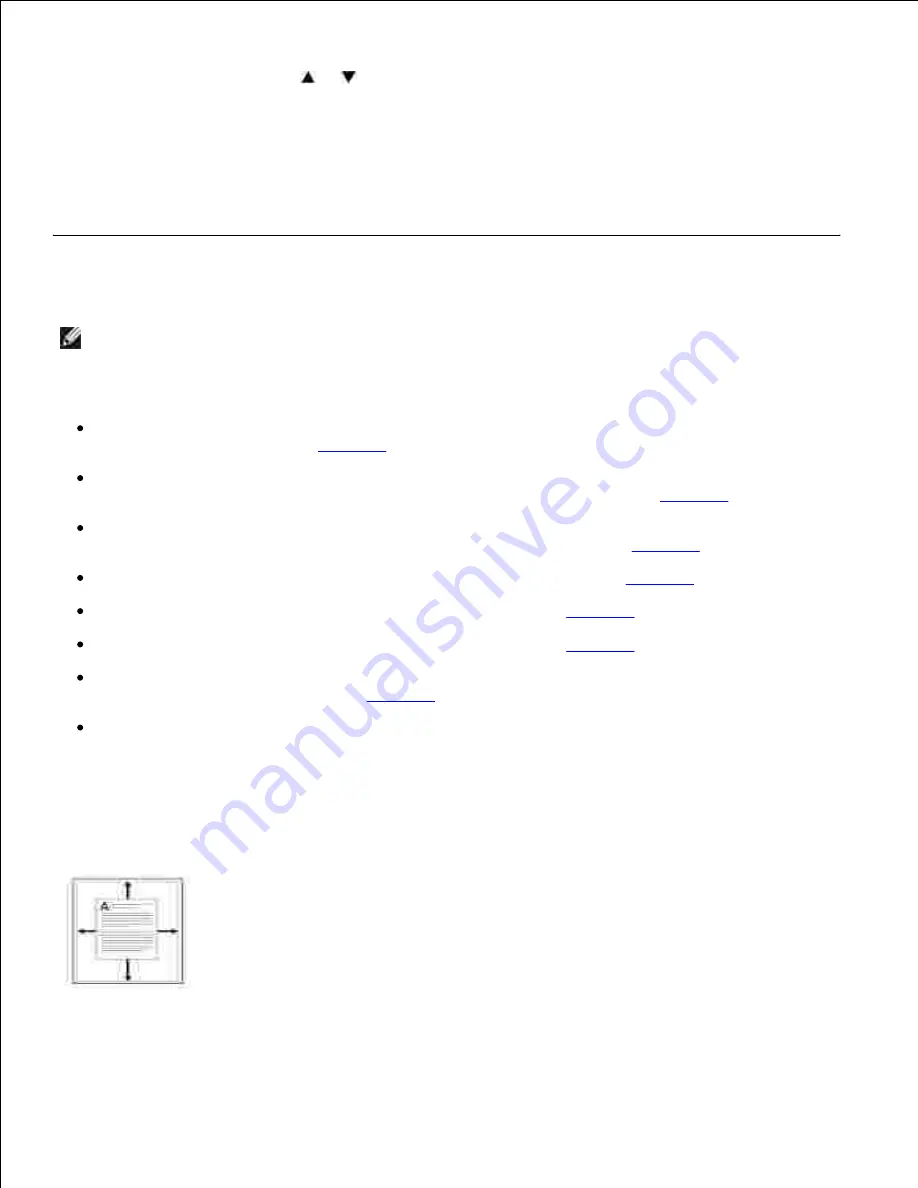
Auto Fit: Automatically reduces or enlarges the original image to fit on the paper currently loaded in
the multi-function printer. See
page 100
.
Clone: Prints multiple image copies from the original document on a single page. The number of
images is automatically determined by the original image and paper size. See
page 101
.
Collation: Sorts the copy job. For example, if you make 2 copies of 3 page documents, one complete 3
page document will print followed by the second complete document. See
page 101
.
2 Sided: Prints a 2-sided original document onto one sheet of paper. See
page 102
.
2 Up: Prints 2 original images to fit onto one sheet of paper. See
page 103
.
4 Up: Prints 4 original images to fit onto one sheet of paper. See
page 103
.
Poster: Prints an image onto 9 sheets of paper (3 by 3). You can paste the printed pages together to
make one poster-size document. See
page 103
.
Off: Prints in normal mode.
Auto Fit Copying
This special copy mode can be applied when you load a document using only the scanner glass. If a


