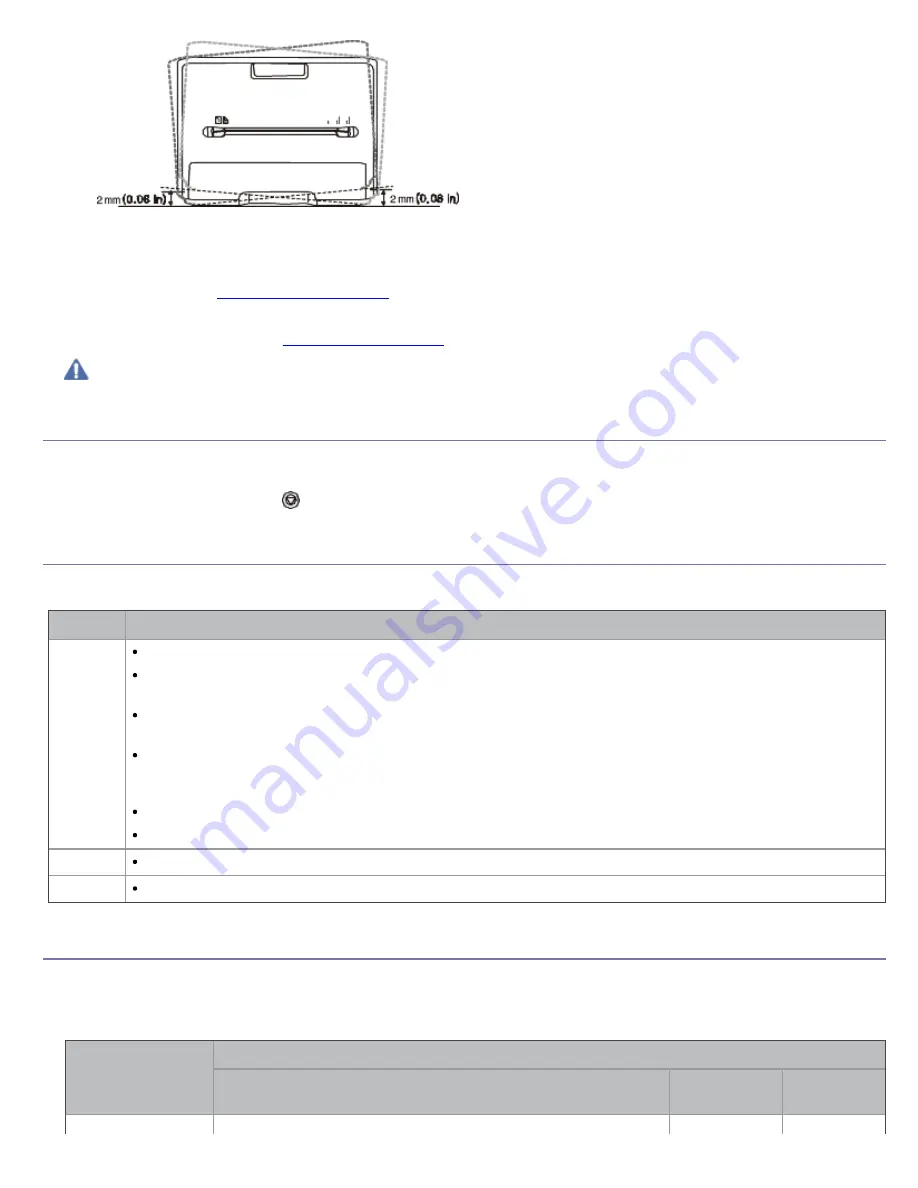
2.
Unpack the machine and check all the enclosed items.
3.
Remove tape holding the machine.
4.
Install the toner cartridge.
5.
Load paper. (See
Loading paper in the tray
.)
6.
Make sure that all cables are connected to the machine.
7.
Turn the machine on. (See
Turning on the machine
.)
This equipment will be inoperable when mains power fails.
Printing a demo page
Print a demo page to make sure that the machine is operating correctly.
To print a demo page:
In ready mode, press and hold the (cancel button) for about 2 seconds.
Supplied software
After you have set up your machine and connected it to your computer, you must install the printer software using the
supplied CD. The software CD provides you with the following software.
OS
Contents
Windows
Printer driver:
Use this driver to take full advantage of your machine’s features.
Printer Status Monitor:
This program allows you to monitor the machine’s status and alerts you when an
error occurs during printing.
Printer Settings Utility (Dell 1130n only):
This program allows you to set up printer’s other options
from your computer desktop.
Dell Toner Management System™:
Displays the status of the printer and the name of the job when
send a job to print. The Dell Toner Management System™window also displays the level of toner remaining
and allows you to order replacement toner cartridge.
Firmware Update Utility:
This program helps you to update printer’s firmware.
SetIP (Dell 1130n only):
Use this program to set your machine’s TCP/IP addresses.
Macintosh
Printer Driver:
Use this driver to take full advantage of your machine’s features.
Linux
Unified Linux Driver:
Use this driver to take full advantage of your machine’s features.
System requirements
Before you begin, ensure that your system meets the following requirements:
Microsoft® Windows®
Your machine supports the following Windows operating systems.
OPERATING
SYSTEM
Requirement (recommended)
CPU
RAM
free HDD
space
Windows 2000
Intel® Pentium® II 400 MHz (Pentium III 933 MHz)
64 MB (128
600 MB


