31
You will also need to set the CBGD to the USR number that you are adjusting. E.g. If you are adjusting
USR1 you need to set the CBGD Colour to USR1 in order to see the colour background that you are
adjusting on your output monitor.
To set USR1, USR2, USR3 & USR4 follow this procedure. In this example we are using the CBGD Menu,
but the procedure would be similar if you were using the EDGE, KEY, or WIPE menus.
Press the [FUNC] button, so that it is illuminated, and then press the [CBGD] button, so that it is also
illuminated.
Rotate Adjustment Knob F1 until USR1 2/5 is displayed.
Rotate Adjustment Knob F2 to alter the hue of the custom colour. 0 is the red end of the spectrum and as
you increase the hue value you will see the colour change gradually through blues, greens, yellows and
finally back to reds.
N.B. if saturation (SAT) or Luminance (LUM) is set to 0 you will not see any colour changes.
Rotate Adjustment Knob F3 to alter the colour saturation of the custom colour. 0 is monochrome (black and
white) and 100 is full primary colour.
Rotate Adjustment Knob F4 to alter the luminance (brightness) of the custom colour. 0 is black and 100 is
white (with colour saturation (SAT) set to 0)
Repeat the above settings for USR2, USR3 & USR4; rotate Adjustment Knob F1 to select between USR1,
USR2, USR3 & USR4.
Once you have set the custom colours, to leave the menu press the [FUNC] button so that it is no longer
illuminated.
KEY Menus
Setting up a Key
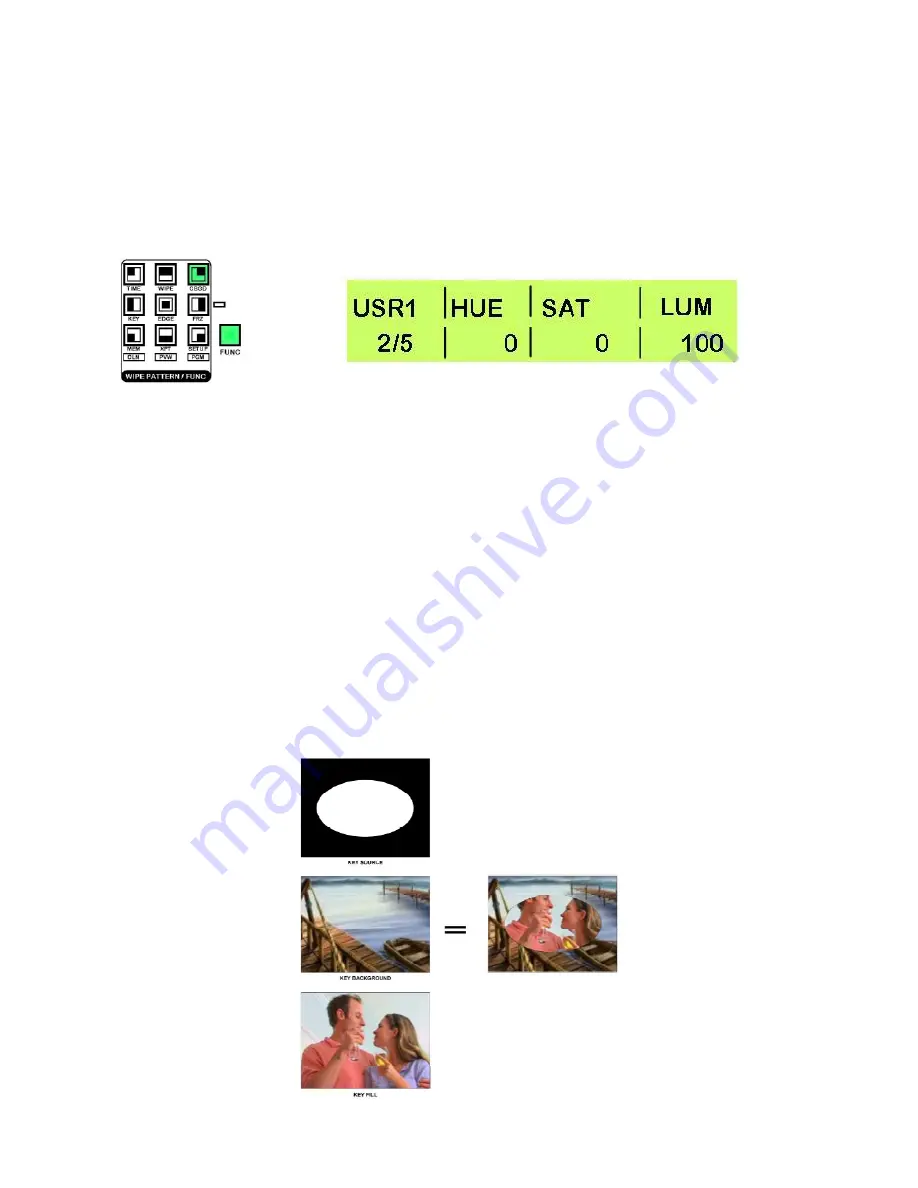
Keying allows you to use an image, ideally black and white, to combine two images. The black element of
the key image will be replaced by the background image, and the white element will be replaced by the key
fill.


