6. Start the timer. The black indicator next to the list box in the upper right-hand
corner will change its color to red.
Saving the page again after starting the timer will stop it.
7. Return to the page, on which you can select the timers.
8. Click "Add" to select actions that are to be performed at the selected points in
time.
9. A page will be displayed on which you can assign the event actions from various
groups.
10. You can assign any number of actions. All the actions assigned will be listed in
the table in the line associated with the respective timer.
11. Repeat steps 1 to 10 for other timers, if desired.
12. Save the data.
13. Click "Delete" to cancel the assignment of actions.
)
Note: All the actions you want to trigger must first be configured. Clicking on the
actions opens the associated configuration pages. Check the status on these pages
to avoid assigning partitions that do not exist or messages that have not been written.
9.3.4 Time
Period
In this menu you can configure up to eight different periods (time periods 1 to 8) in
which the Convision V6xx A is to perform actions. Periods define time spans (e.g.
daily between 8 a.m. and 4 p.m.) in which recordings are to be stored or outputs are
to be switched.
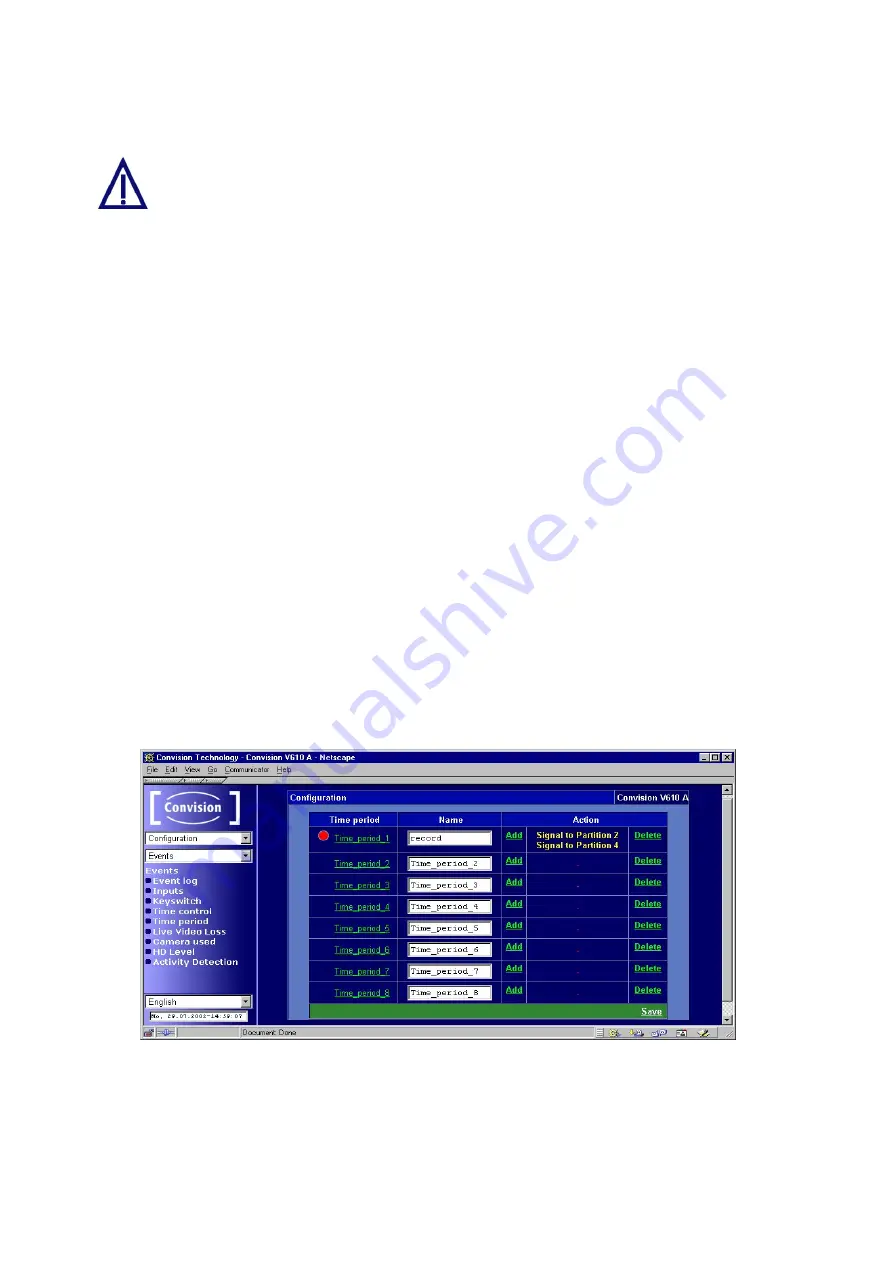
Figure 39: Configuring the time periods – assigning actions
1. Select a time period and enter a name for it.
2. Click on a time period (Time Periods 1 to 8) in the first table column. A page with
a weekly schedule is displayed.
- 60 -
Convision V600 A Series


