sections.
4
Save button– opens a dialog box for storing the preset sections.
5
Current camera image – Click a point in the image to focus the camera on the
selected point.
6
Horizontal pan range – infinitely variable panning
Stepwise panning left/right, depending on the zoom factor
Panning to left/right end position
7
Panoramic view of the entire pan/tilt area.
8
Clicking on "Refresh" reconstructs the panoramic view using updated frames.
9
Vertical pan range – infinitely variable panning
Stepwise panning up/down, depending on the zoom factor
Panning to the upper/lower end position
10 Zoom – infinitely variable zooming
Zoom in/zoom out stepwise
maximum zoom factor/minimum zoom factor
11 Travel to the home position of the camera.
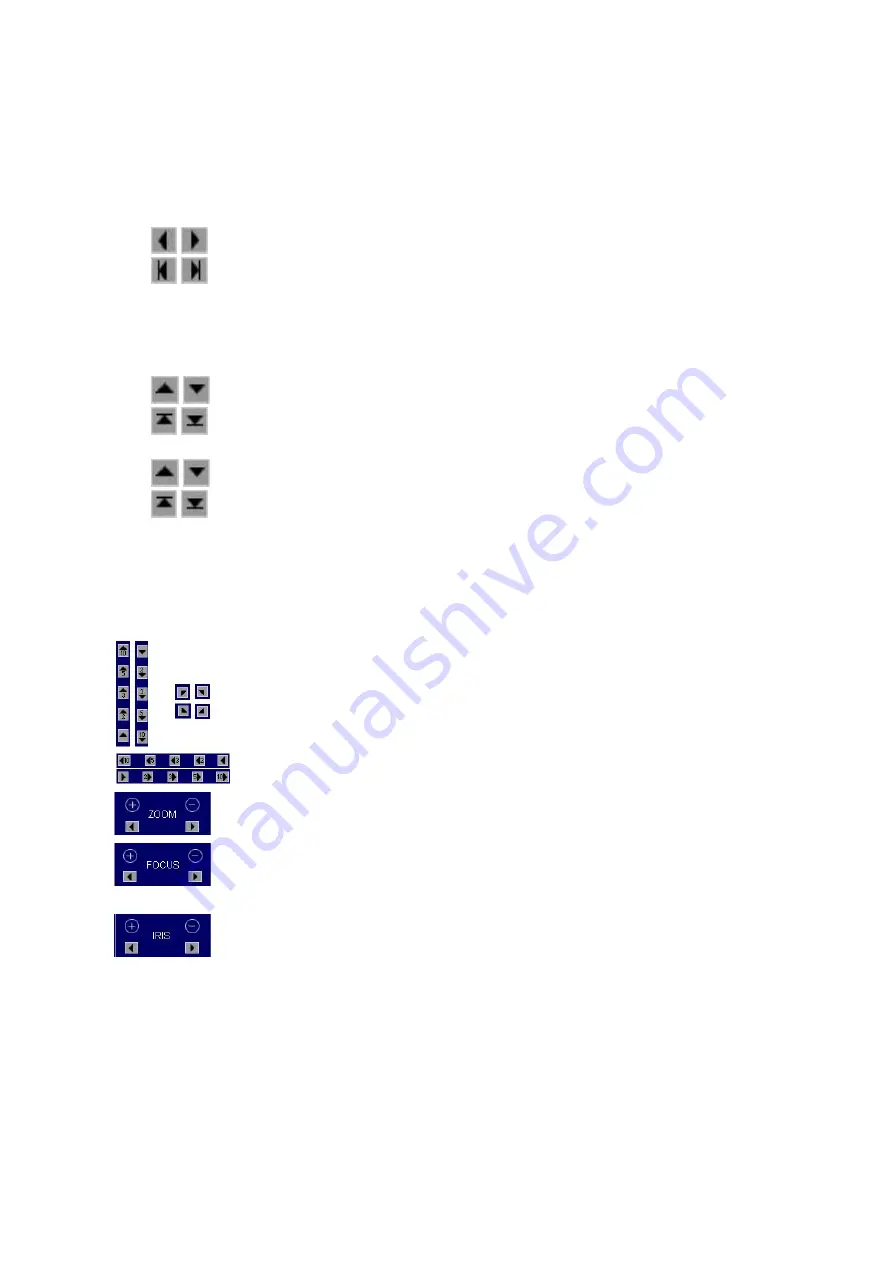
Depending on the type of camera connected, some of the following controls will be
displayed instead of the user interface shown in Figure 12: View of a fully controllable
camera.
By clicking on the triangles the camera swivels in the direction of
the arrow. The angle depends on the zoom factor.
By clicking on the double arrow, the camera will be moved 10
times further in one movement than with the single arrow.
Adjusting the zoom factor
Zoom in/Zoom out
Setting the image sharpness range for cameras without auto
focus.
Close-up focus / remote focus
Adjustment of the light incidence in the lens.
Closed iris/open iris
Saving Presets
)
Note: If the configuration protection function is activated, administrator rights are
required for the storage process.
1. For some controllable cameras you can save specific image sections as preset
sections (Presets). For this purpose, focus on the desired point within the pan
area of the camera.
2. Set the desired zoom factor.
Manual
- 25 -


