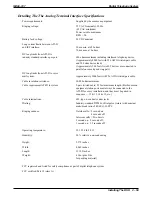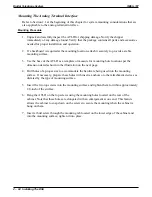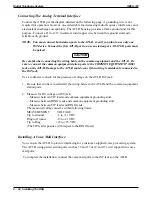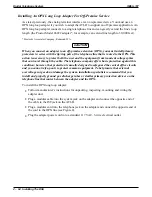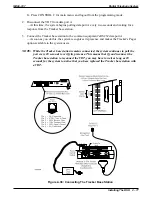
Connecting The Analog Terminal Interface
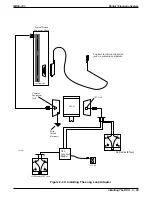
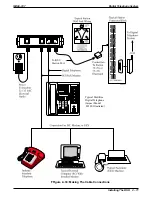
Connect the ATI-D per the diagram detailed on the following page. A grounding wire is not
required for operation; however, one is desirable for decreasing radio frequency interference and
electrostatic discharge susceptibility. The ATI-D housing provides a frame ground stud for this
purpose. Connect a #10 or #12, insulated, solid copper wire between this ground stud and a
reliable earth ground.
NOTE: You must connect both station ports to the ATI-D, even if you plan to use only one
IST device. Connect the first ATI-D port to an even station port. All ATI-D ports must
be paired.
CAUTION
Be careful when connecting the wiring between the common equipment and the ATI-D. Be
sure to connect the common equipment station ports to the COMMON EQUIPMENT (KSU)
jack on the ATI-D. Damage to the ATI-D could occur if this wiring is mistakenly connected to
the IST jack.
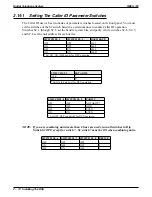
Use a voltmeter to check for the presence of voltage on the ATI-D IST jack.
1. Be sure that you have installed all the wiring between the ATI-D and the common equipment
station ports.
2. Measure for DC voltage on IST jack:
—Measure between TIP leads and common equipment grounding stud.
—Measure between RING leads and common equipment grounding stud.
—Measure between TIP leads and RING leads.
The measured voltage must be within following limits:
MEASUREMENT
VOLTAGE
Tip to Ground
+3 to +11 VDC
Ring to Ground
-13 to -21 VDC
Tip to Ring
+23 to +25 VDC
(The TIP lead is positive with respect to the RING lead.)
Installing A Voice Mail Interface
You can use the ATI-D to provide interfacing for a customer-supplied voice processing system.
The ATI-D, using paired station ports (such as 12 and 13 or 14 and 15), will support two voice
mail ports.
To complete the installation, connect the voice mail ports to the IST jacks on the ATI-D.
Digital Telephone System
IMI66–107
2 – 62 Installing The DSU
Содержание Air Impact DSU
Страница 2: ...Printed in U S A GCA47 157 ...
Страница 30: ......
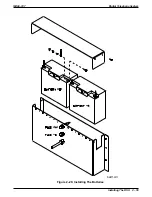
Страница 85: ...Figure 2 26 Installing The Batteries batt1 cdr IMI66 107 Digital Telephone System Installing The DSU 2 55 ...
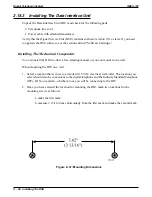
Страница 91: ...Figure 2 28 Detailing The ATI D Dimensions IMI66 107 Digital Telephone System Installing The DSU 2 61 ...
Страница 112: ......
Страница 192: ...Digital Telephone System IMI66 107 3 80 System Programming ...
Страница 283: ......
Страница 284: ......
Страница 285: ......
Страница 286: ......
Страница 287: ......
Страница 288: ......
Страница 289: ......
Страница 290: ......
Страница 291: ......
Страница 292: ......
Страница 293: ......
Страница 294: ......
Страница 295: ......
Страница 296: ......
Страница 297: ......
Страница 298: ......
Страница 299: ......
Страница 300: ......
Страница 301: ......
Страница 302: ......
Страница 303: ......
Страница 304: ......
Страница 305: ......
Страница 306: ......
Страница 307: ......
Страница 308: ......
Страница 309: ......
Страница 310: ......
Страница 311: ......
Страница 312: ......
Страница 313: ......
Страница 314: ......
Страница 315: ......
Страница 316: ......
Страница 317: ......
Страница 318: ......
Страница 319: ......
Страница 320: ......
Страница 321: ......
Страница 322: ......
Страница 323: ......
Страница 324: ......
Страница 325: ......
Страница 326: ......
Страница 327: ......
Страница 328: ......
Страница 329: ......
Страница 330: ......
Страница 331: ......
Страница 332: ......
Страница 333: ......
Страница 334: ......
Страница 335: ......
Страница 336: ......
Страница 337: ......
Страница 338: ......
Страница 339: ......
Страница 340: ......
Страница 431: ......
Страница 436: ......
Страница 437: ......
Страница 438: ......

