


Installation & Setup
Roadster & Mirage S+/HD User Manual
2-3
020-100002-04 Rev. 1 (12-2008)
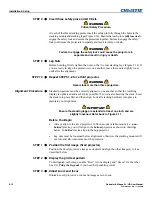
Lens Adjustments
•
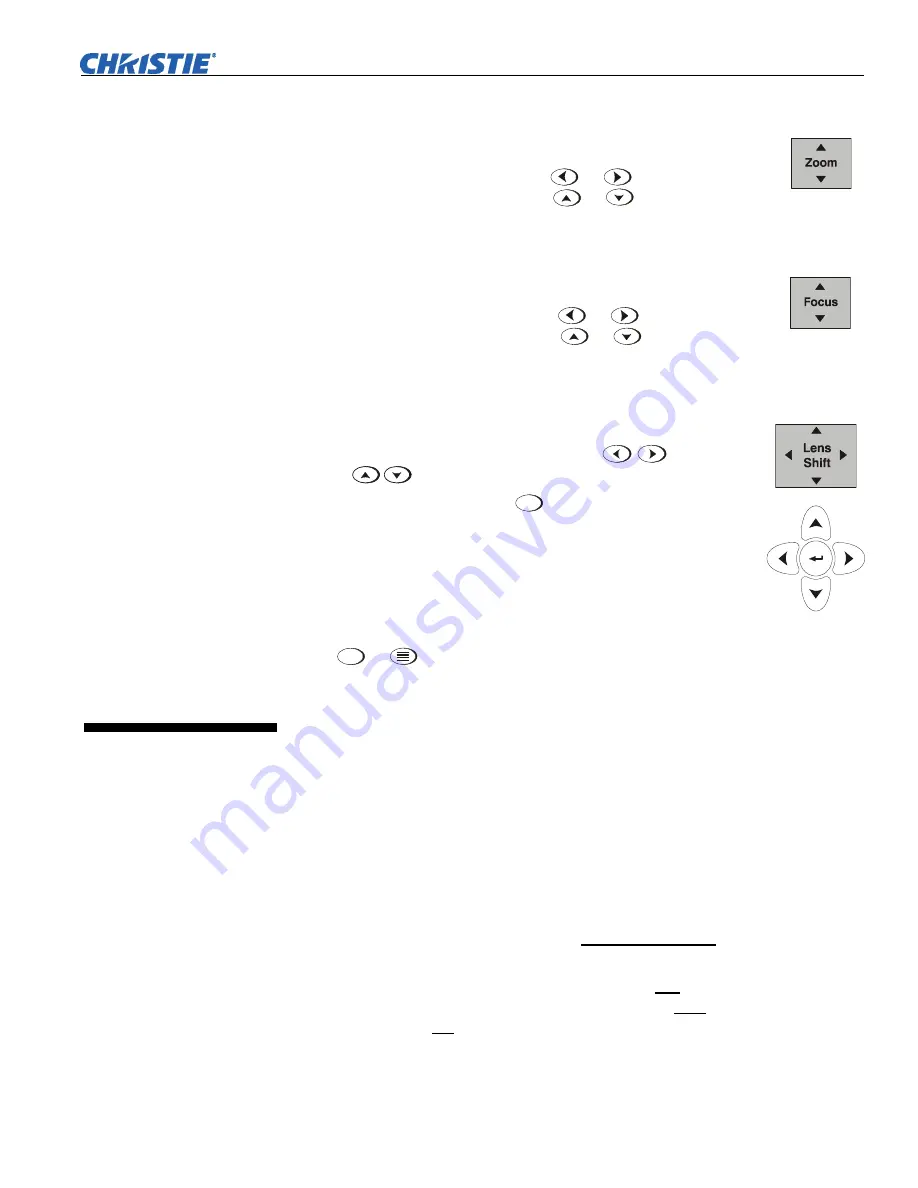
ZOOM
:
With the input image displayed:
•
If remote keypad: Press
Zoom
or
.
•
If built-in keypad: Press Zoom
or
.
Hold the key down to see the effect – arrows in the display indicate
the direction of the zoom (Figure 2.2).
•
FOCUS:
With the input image displayed:
•
If remote keypad: Press Focus
or
.
•
If built-in keypad: Press Focus
or
.
Hold the key down to see the effect – arrows in the display indicate
the direction of the focus (Figure 2.3).
•
LENS OFFSET:
To move the image:
•
If remote keypad: Press either Lens H
or Lens V
(Figure 2.4).
•
If built-in keypad: Press
Lens
Shift
and use the arrow keys.
Image Adjustments
Press
Menu
or
(remote) to access display parameters described in
Section 3.
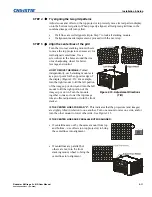
Although this projector delivers a high-brightness, high-quality output, the final
display quality could be compromised if the projector is not properly installed. This
subsection discusses issues you should consider before proceeding with a final
installation. Even if you do not intend to use the projectors in a fixed and permanent
installation, the following information will help you to better understand what you
can do to enhance display performance.
For any new installation, you will likely have to safely lift or hoist the projector into
place. Keep in mind the following guidelines for safety.
Lifting
All models include handles for convenient
hand transport only
, such as when a
projector is lifted from a shipping container to a table. Note the following:
•
The handles are intended to support the weight of
one
projector only.
•
The handles are intended to support a projector for a
brief
time only.
•
The handles are
not
safety points, nor points from which to hoist or suspend the
projector.
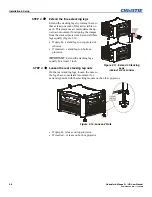
STEP
7
Figure
2.2
Figure
2.3
Figure 2.4
Step 8
2.2 Installation
Considerations
Lifting,
Hoisting,
and Stacking