38
CLASSIC EDGE OUTDOOR FURNACE • OWNER'S MANUAL
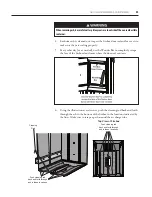
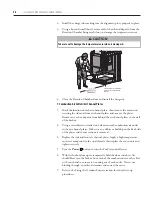
2. Install the charge tube making sure the alignment pin is properly in place.
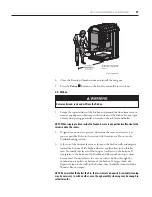
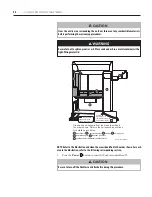
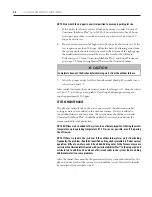
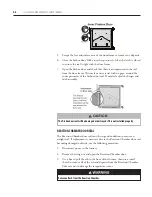
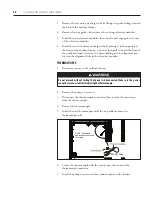
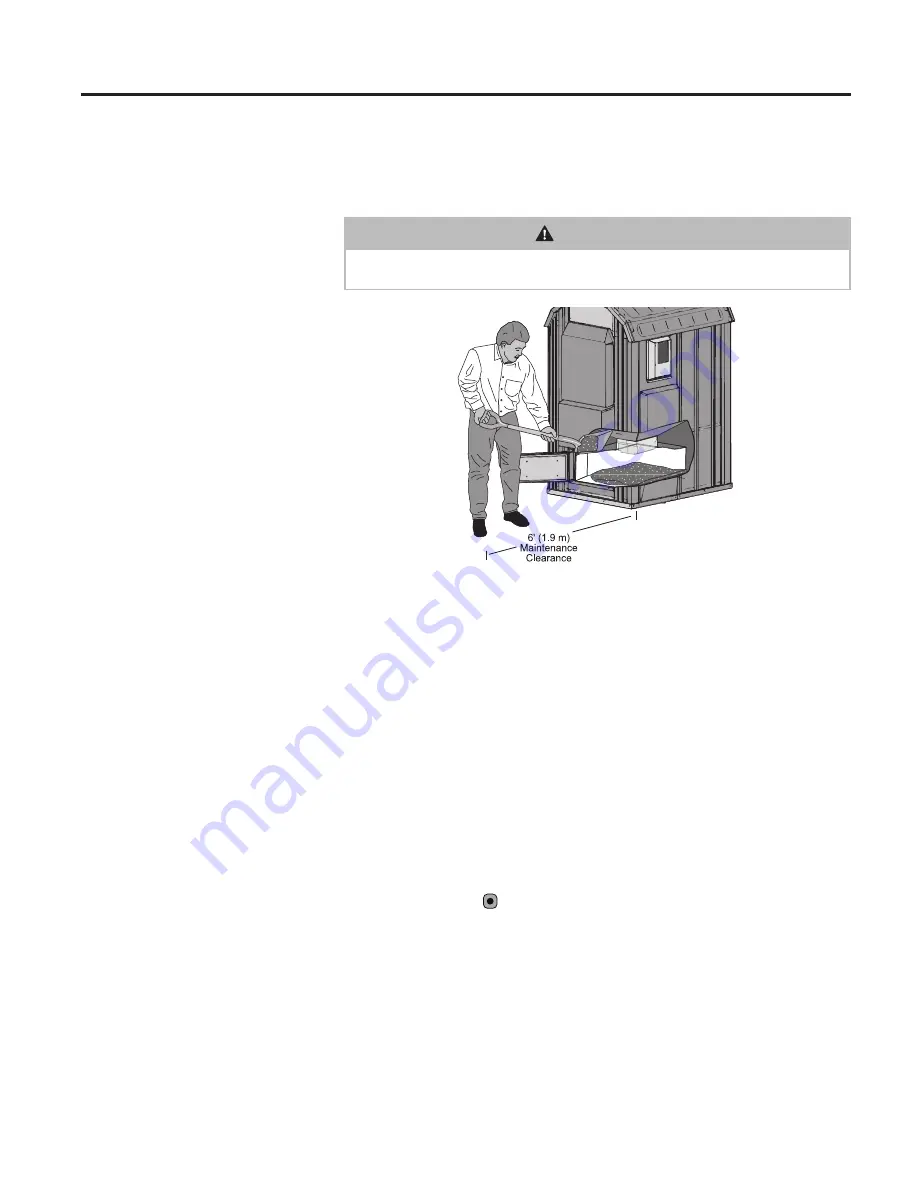
3. Using a hoe and small shovel, remove all of the ash and deposits from the
Reaction Chamber being careful not to damage the temperature sensor.
CAUTION
Take care not to damage the temperature sensor when removing ash.
©2015 Central Boiler
Furnace shown for illustration
purpose only; actual furnace
will vary.
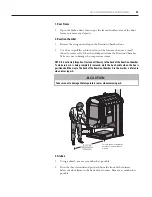
4. Close the Reaction Chamber door and install the wing nut.
7. Combustion Air Outlets/Air Channel Plates
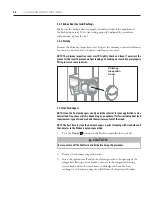
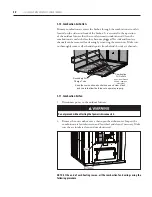
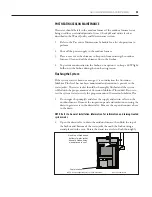
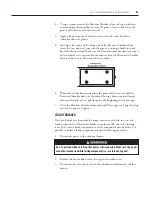
1. Mark the location of each air channel plate; then remove the acorn nuts
securing the side and front air channel plates and remove the plates.
Remove any ash or deposits from behind the air channel plates in the wall
of the firebox.
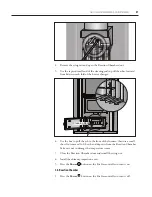
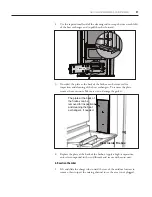
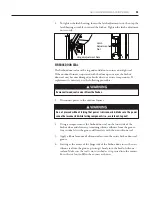
2. Using a screwdriver or similar tool, clean out each combustion air outlet
in the air channel plates. Make sure any debris or buildup on the back side
of the plates and corner sections is removed.
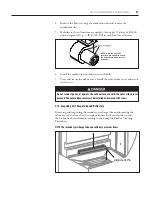
4. Replace the side and front air channel plates. Apply a high-temperature,
anti-seize compound to the stud threads; then replace the acorn nuts and
tighten securely.
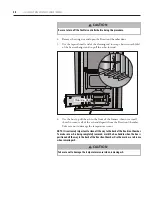
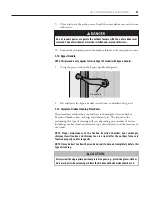
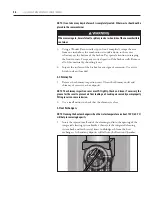
5. Press the Power button to turn the FireStar controller on.
6. With the firebox door open, temporarily hold the door switch in. Air
should blow into the firebox from each of the combustion air outlets. Feel
with your hand to ensure air is coming out of each outlet. If air is not
blowing through an outlet, determine and correct the cause.
7. Refer to the Firing the Outdoor Furnace section for initial start-up
procedures.


