90
(1)
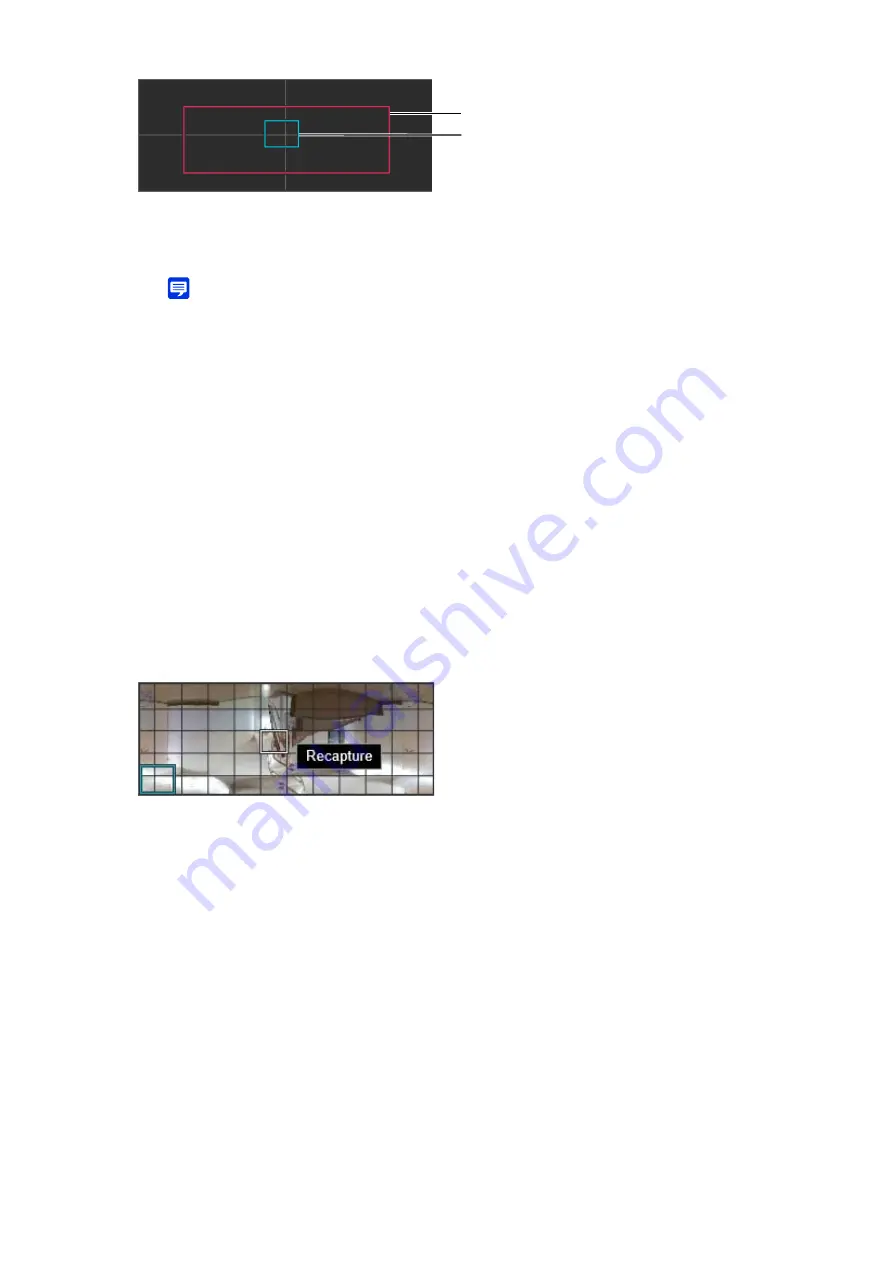
Panorama creation area frame (red frame)
Indicates the capture range of the panorama image. It is also possible to drag the panorama creation area
frame to set the capture range for the panorama image.
Note
• If the preview frame is positioned outside the transformed panorama creation area frame, the camera position is moved
inside the panorama creation area frame.
(2)
Preview frame (blue frame)
Indicates the current position shown in the video display area.
[Exposure Lock]
The exposure for the selected position will be automatically adjusted and locked during capture.
[White Balance Lock]
The white balance for the selected position will be automatically adjusted and locked during capture.
[Focus Lock]
The focus for the selected position will be automatically adjusted and locked during capture for the entire scene.
Capturing starts, and the panorama image is created.
Click [Cancel] to interrupt capturing.
When the panorama image shooting is completed, a grid frame appears on the image. Right-click the mouse
pointer over the area to recapture and select [Recapture] to recapture that area only.
For reshooting the entire panorama image, click again [Exec] in [Start].
The created image is not yet saved in the camera at this moment.
The panorama image is saved in the camera and reflected in the other settings.
Deleting a Panorama Image from the Camera
Deleting a panorama image saved in the camera.
The displayed panorama image is cleared.
The confirmation message is displayed.
3
S
et [Capture
S
ettings] as necessary.
4
In [
S
tart], click [Exec].
5
In [Finish], click [Exec].
6
Click [Apply].
(2)
(1)
1
Click [Exec] of [Delete].
2
Click [Apply].
Содержание VB-H47
Страница 194: ...194 Z Zoom 36 38 ...


