56
Pr
ef
ac
e
Cop
ying
Fu
n
ct
io
n
Sendi
n
g
Fu
nc
tion
M
ail Bo
x
Fu
n
ct
io
n
O
th
er
Useful
Fe
atures
Ad
d
iti
o
n
al
Fu
nc
tions
Merge Documents (see p. 50)
Press to print multiple documents as one document. You can also
use this mode with the 2-Sided Printing and Cover/Sheet Insertion
modes.
8
2-Sided Printing (see p. 50)
Erase Doc. After Print. (see p. 50)
Store Pr. Settings
Original Settings
Press to return to the Print screen. All settings are also canceled.
6
Press to register print settings for a document.
5
Press to automatically erase the document after printing.
7
Press to print on both sides of the paper.
4
Initial Settings
Press to cancel all settings at once. The machine returns to the
Standard Scanning mode.
9
Special Features
Press to select a Special Features mode.
10
Margin
Mode Memory
Pg/Copy Set Numbering
Press to include page and copy set numbering on prints.
10
Press to store or recall print modes.
Form Composition
Press to superimpose an image stored in memory onto the original
image for printing.
3
5
Press to create margins along the sides of a print.
7
Mail Box Function Overview
Print Screen
Copying and Mail Box Guide
Chapter 2
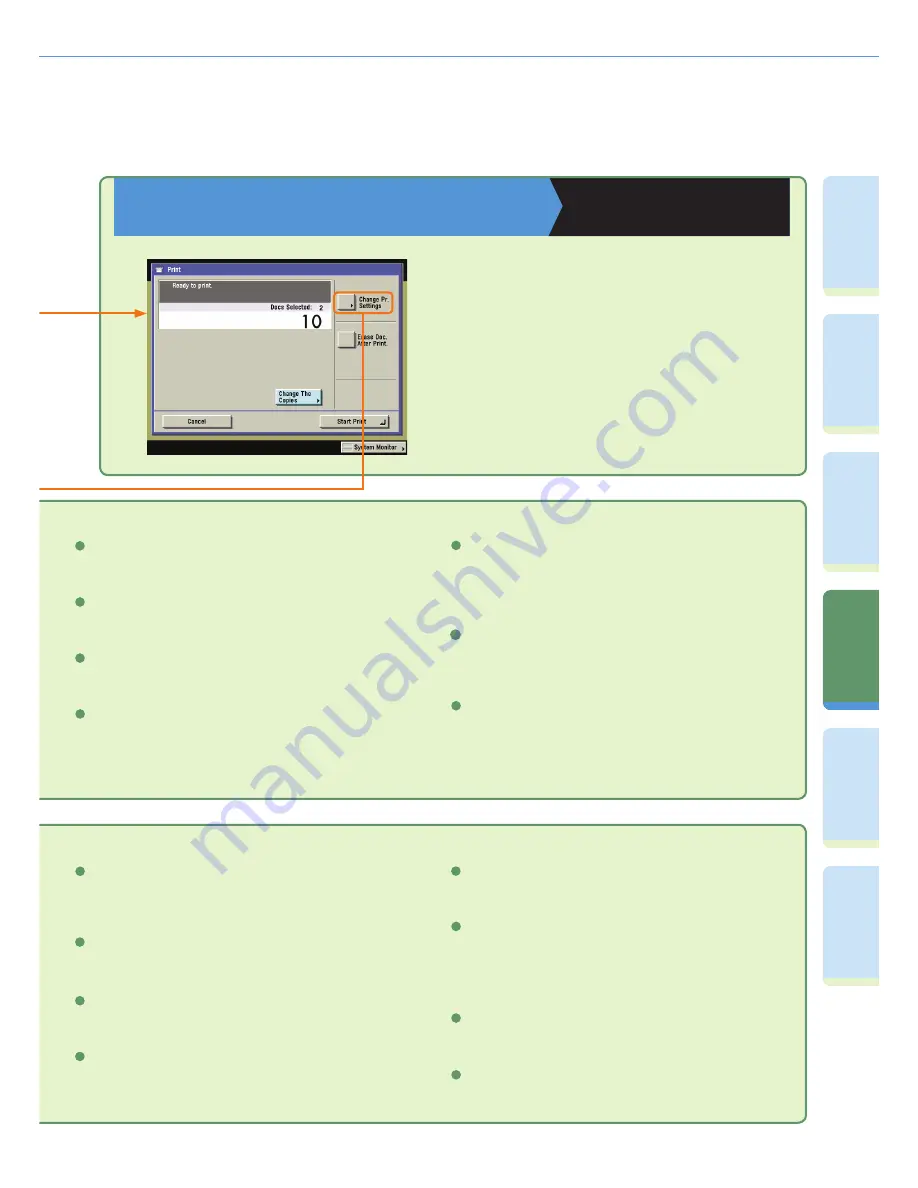
On the Print screen, you can set the number of
copies, automatically erase a document after it is
printed, or make a sample print. Press [Change
Pr. Settings] to display the Change Print Settings
screen. Use the Change Print Settings screen
when you want to change the layout of prints.
Watermark/Print Date
Press to include the watermark and date on prints.
9
Tab Paper Creation
Press to print onto the tabs of tab paper.
6
Secure Watermark
Press to embed hidden text in the background of copies.
4
Shift
Press to shift the output to a location entered with the numeric
keys. You can also set the shift direction for the front and back
sides of the prints separately.
8


