


Messages regarding paper
The roll is empty.
Cause
Corrective Action
There is no more paper left on the roll.
Follow the steps below to replace the used roll with a
new roll of the same type and size.
1.
Remove the roll.
(→P.184)
(→P.179)
2.
Load the new roll.
(→P.180)
3.
If no barcode was printed on the roll, specify the
paper type.
(→P.186)
4.
If no barcode was printed on the roll, specify the
paper length.
(→P.187)
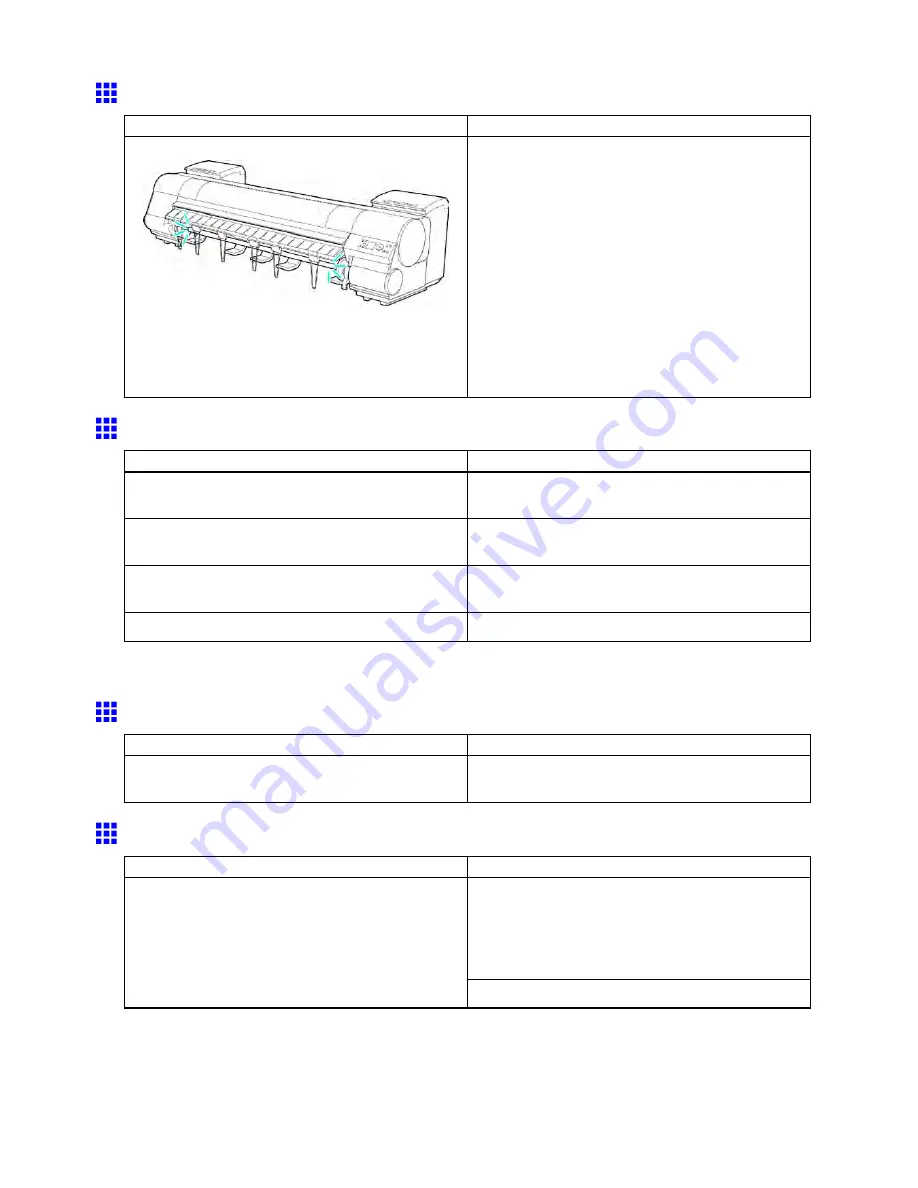
Rewinding error.
Cause
Corrective Action
There is some foreign object near the Media Take-up
Unit sensor and the roll cannot be detected.
Remove the foreign object near the sensor.
The Media Take-up Unit sensor is soiled and the roll
cannot be detected.
Wipe the sensor with a dry cloth to clean it.
The roll is out of range of detection of the Media
Take-up Unit sensor.
Reload the roll. (→P.180)
The Media Take-up Unit sensor is damaged.
Contact your Canon dealer for assistance.
* Printing will stop momentarily if an error involving the Media Take-up Unit occurs. If you prefer printing
not to stop, set
Skip Take-Up Err
to
On
.
Turn on the media take-up unit.
Cause
Corrective Action
The Media Take-up Unit was off when you selected
Enable
for
Take-up Reel
.
Turn the Media Take-up Unit on.
Media take-up unit ready.
Cause
Corrective Action
Press the
Stop
button and stop printing.
The mode switches from take-up mode to regular
mode after you change the
Take-up Reel
setting in
the
MAIN MENU
from
Enable
to
Disable
and lift the
Release Lever , or after you execute
Paper Cutting
.
The
Take-up Reel
setting in the printer
MAIN MENU
was changed from
Enable
to
Disable
, but a print job
was received before the roll was removed.
Press the
Online
button to resume printing.
774 Error Message
Содержание imagePROGRAF IPF9100
Страница 1: ...User Manual ENG Large Format Printer ...
Страница 2: ......
Страница 105: ...Hard Disk Note Enter a password if one has been set 2 Select the print job in the list and click Move Printer Parts 91 ...
Страница 124: ...Hard Disk 2 Select the saved job in the list and click Delete For details refer to the RemoteUI help 110 Printer Parts ...
Страница 240: ...Output Stacker 3 Push in the left and right Basket Arms toward the back all the way until they stop 226 Handling Paper ...
Страница 731: ...Cleaning the Printer 4 Plug the power cord into the outlet Maintenance 717 ...
Страница 811: ......
Страница 812: ... CANON INC 2007 ...


