


Printing enlargements or reductions
12.
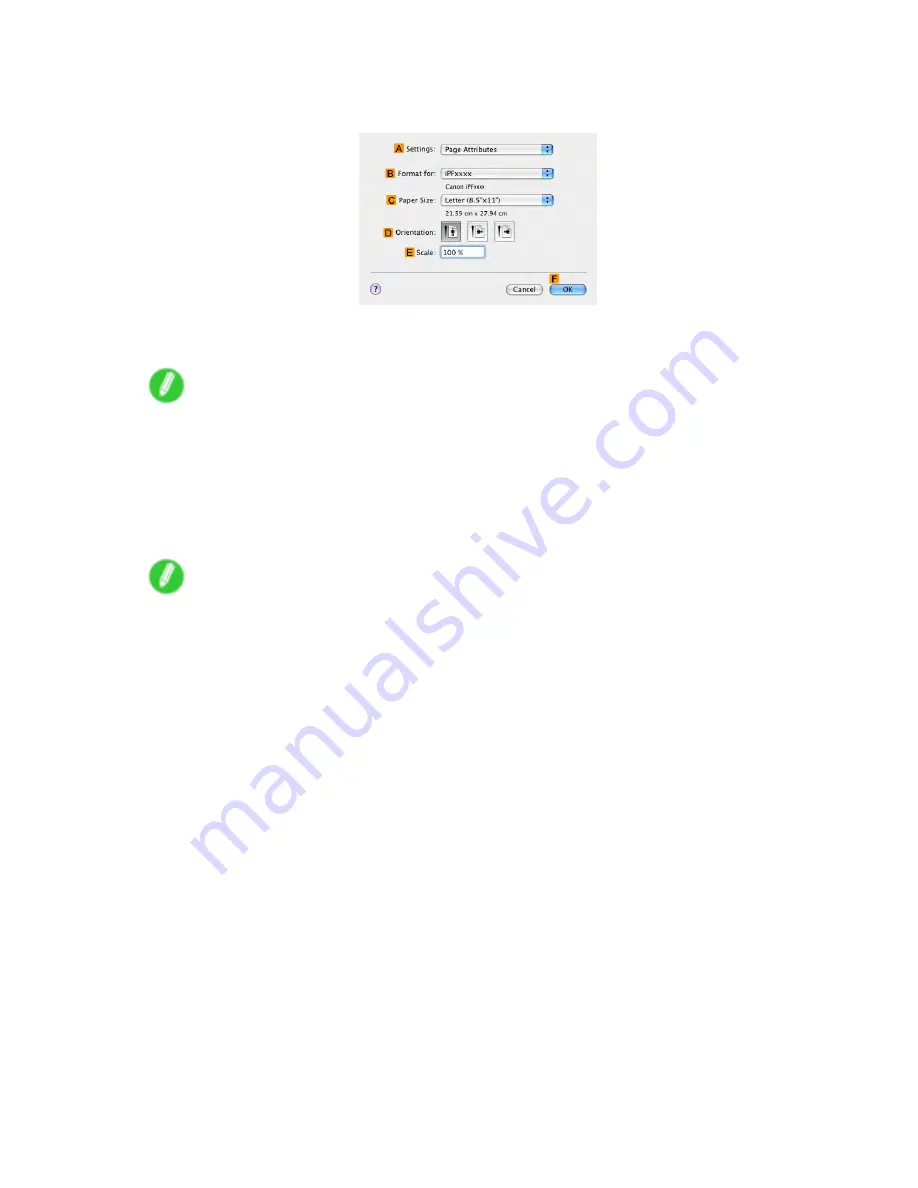
Make sure the
C
Page Size
setting matches the original size as selected in
C
Paper Size
in the
Page Attribute
dialog box-in this case,
ISO A4
.
13.
Select the
D
Enlarged/Reduced Printing
check box.
14.
Click
G
Scaling
and enter “120.”
Note
•
You can specify enlargement that exceeds the paper size, but in this case, the portion off the edge of
the paper will not be printed.
•
If the original size after enlargement or reduction is smaller than the paper size, the original is printed
in the upper-left corner. In this case, you can center originals by selecting the
J
Print Centered
check box.
15.
Conrm the print settings, and then click
M
to start printing.
Note
•
For tips on conrming print settings, see “Conrming Print Settings (Mac OS X)”. (→P.558)
324 Enhanced Printing Options
Содержание imagePROGRAF IPF9100
Страница 1: ...User Manual ENG Large Format Printer ...
Страница 2: ......
Страница 105: ...Hard Disk Note Enter a password if one has been set 2 Select the print job in the list and click Move Printer Parts 91 ...
Страница 124: ...Hard Disk 2 Select the saved job in the list and click Delete For details refer to the RemoteUI help 110 Printer Parts ...
Страница 240: ...Output Stacker 3 Push in the left and right Basket Arms toward the back all the way until they stop 226 Handling Paper ...
Страница 731: ...Cleaning the Printer 4 Plug the power cord into the outlet Maintenance 717 ...
Страница 811: ......
Страница 812: ... CANON INC 2007 ...


