


Using Microsoft Azure for Data Preservation
The LinkStation supports synchronizing with Microsoft Azure, the online cloud storage service. Once linked, you can
back up data on the LinkStation to Azure Storage, or restore data from Azure Storage to the LinkStation.
Microsoft Azure offers multiple types of storage and the LinkStation is compatible with blob storage. There are three
types of blobs: block blobs, page blobs, and append blobs. The LinkStation only works with block blobs to store
your data.
This feature is meant for situations such as disaster recovery and not a catch-all backup function. After linking the
LinkStation and Microsoft Azure, data on the LinkStation will not be bidirectionally synchronized between the
LinkStation and an Azure container.
Notes:
• Depending on the services you have purchased, prices for operations and amount of data will vary. To avoid
being charged unexpectedly expensive fees, we recommend staying aware of the price structure for data storage
and operations and regularly checking how much have been charged.
• To access data that have been backed up to the container, use “Microsoft Azure Storage Explorer”.
• If using Azure Storage through a proxy server, click
Proxy Settings
. From the displayed page, you can select
whether to use the configured settings or configure an identical proxy server. If using the identical proxy server,
select “New settings” and enter the proxy server name, port number, username, and password. Consult your
network administrator for detailed proxy server settings.
To link your LinkStation with a Microsoft Azure Storage account, follow the procedure below.
Creating a New Backup Job
1
From the Azure portal, create your Azure Storage account and a container before proceeding with the
procedure.
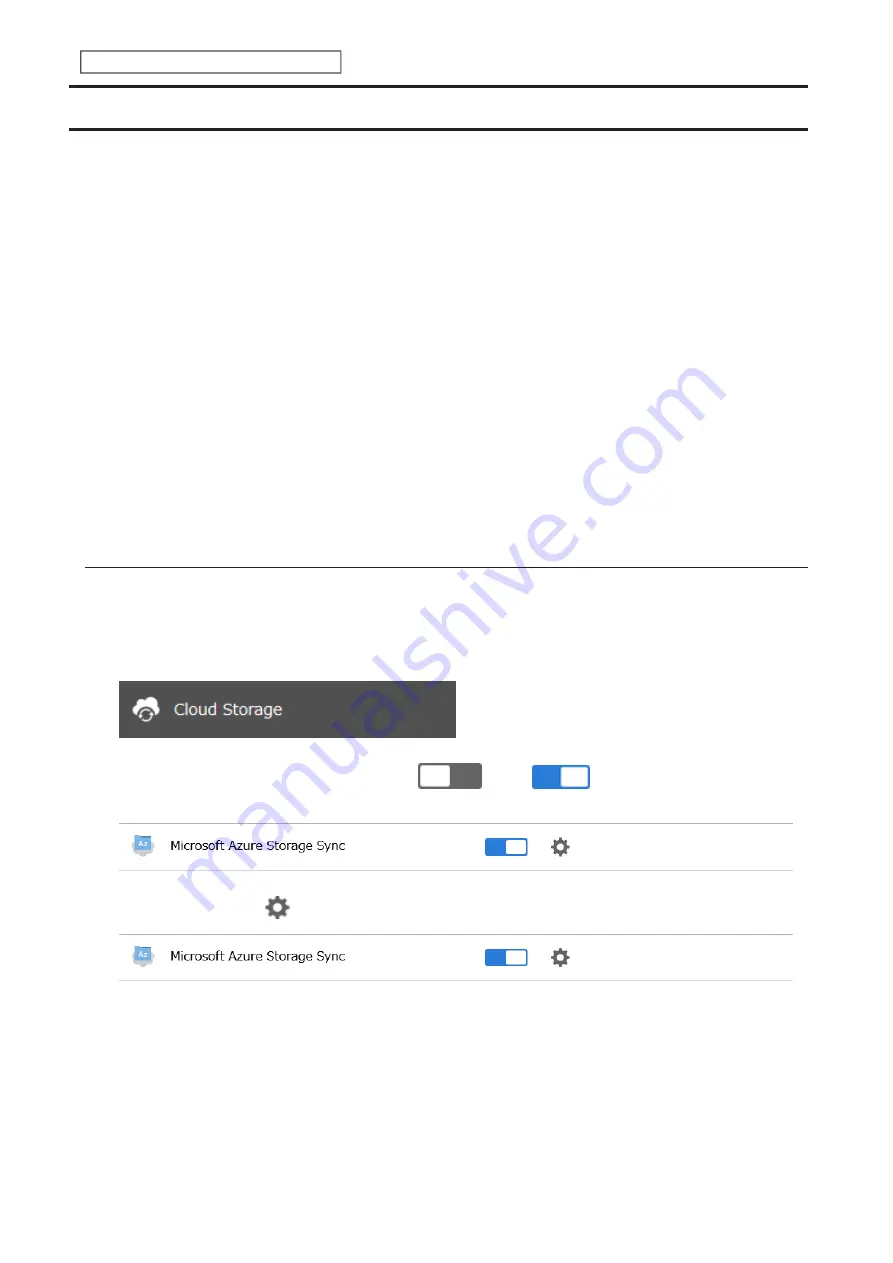
2
From Settings, click
Cloud Storage
.
3
Move the Microsoft Azure Storage Sync switch (
) to the
position to enable Microsoft Azure
Storage Sync.
4
Click the settings icon (
) to the right of “Microsoft Azure Storage Sync”.
94
Chapter 5 Cloud Services and Remote Access
Содержание Link Station LS710D
Страница 24: ...3 Click Create Folder 23 Chapter 2 File Sharing...
Страница 26: ...2 Tap Create Folder 3 Enter the desired folder name and tap OK 4 Tap OK when finished 25 Chapter 2 File Sharing...
Страница 31: ...2 Tap Create User 30 Chapter 2 File Sharing...
Страница 34: ...3 Click Add Group 33 Chapter 2 File Sharing...
Страница 73: ...5 Click Add 72 Chapter 4 Backup...
Страница 79: ...3 Click Edit 4 Click Browse 5 Select the shared folder and click OK 78 Chapter 4 Backup...
Страница 81: ...2 Click Time Machine 80 Chapter 4 Backup...
Страница 82: ...3 Click Select Backup Disk 4 Select the shared folder then click Use Disk 81 Chapter 4 Backup...
Страница 93: ...4 Click the Options tab 5 Click Edit 92 Chapter 5 Cloud Services and Remote Access...
Страница 97: ...7 Enter the desired job name and click Next 96 Chapter 5 Cloud Services and Remote Access...
Страница 98: ...8 Select Backup and click Next 97 Chapter 5 Cloud Services and Remote Access...
Страница 100: ...10Specify the sync period and click Next 99 Chapter 5 Cloud Services and Remote Access...
Страница 106: ...7 Enter the desired job name and click Next 105 Chapter 5 Cloud Services and Remote Access...
Страница 107: ...8 Select Restore and click Next 106 Chapter 5 Cloud Services and Remote Access...
Страница 112: ...6 Enter the desired job name and click Next 111 Chapter 5 Cloud Services and Remote Access...
Страница 115: ...9 Specify the sync period and click Next 114 Chapter 5 Cloud Services and Remote Access...
Страница 122: ...4 Click the Options tab 5 Click Edit 121 Chapter 5 Cloud Services and Remote Access...
Страница 127: ...3 Tap NAS Setup 126 Chapter 5 Cloud Services and Remote Access...
Страница 130: ...129 Chapter 5 Cloud Services and Remote Access...
Страница 147: ...6 Select a file to move and click Action 7 Click Move 146 Chapter 6 Multimedia...
Страница 152: ...7 Click Delete 8 Click Delete again 151 Chapter 6 Multimedia...
Страница 184: ...5 Configure your settings then click OK 6 Click OK when finished 183 Chapter 9 Advanced Features...


