Chapter 8 Network Settings
Wake-on-LAN
The LinkStation supports Wake-on-LAN, which allows it to be turned on remotely. The LinkStation will be turned on
automatically when receiving a Wake-on-LAN packet in the following situations: the LinkStation turns off but the
power switch left in the “On” position, the LinkStation enters sleep mode.
1
From Settings, click
Network
.
2
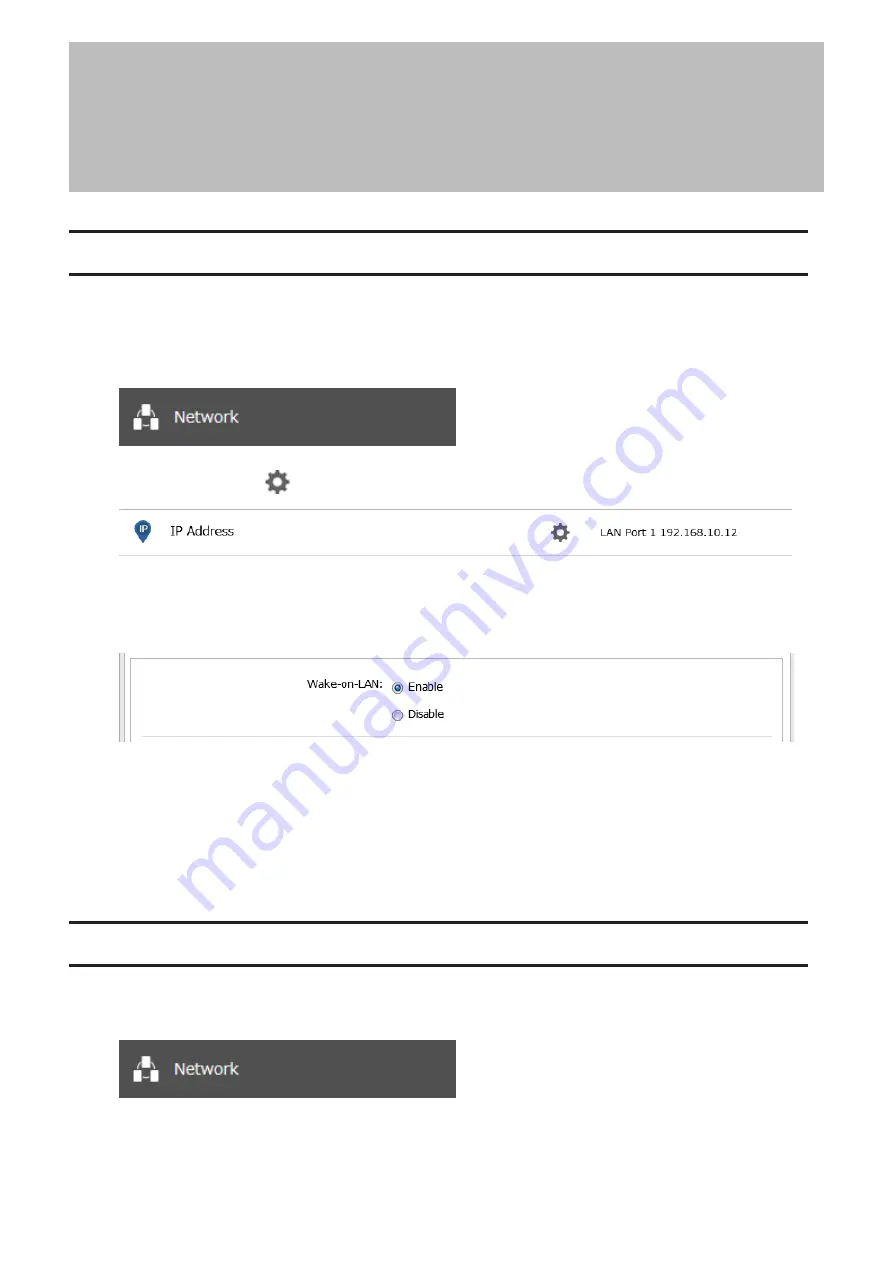
Click the settings icon (
) to the right of “IP Address”.
3
Click
Edit
.
4
Enable “Wake-on-LAN”, then click
OK
.
Wake-on-LAN is now enabled. As long as the LinkStation is connected to a power source and the network, you can
turn it on remotely.
Notes:
• After receiving the Wake-on-LAN packet, the LinkStation may take up to five minutes to be ready to use.
• To use Wake-on-LAN, you’ll need Wake-on-LAN software that sends Wake-on-LAN packets. The LinkStation does
not include Wake-on-LAN software.
SNMP
If SNMP is enabled, you can browse your LinkStation from SNMP-compatible network management software.
1
From Settings, click
Network
.
159
Chapter 8 Network Settings
Содержание Link Station LS710D
Страница 24: ...3 Click Create Folder 23 Chapter 2 File Sharing...
Страница 26: ...2 Tap Create Folder 3 Enter the desired folder name and tap OK 4 Tap OK when finished 25 Chapter 2 File Sharing...
Страница 31: ...2 Tap Create User 30 Chapter 2 File Sharing...
Страница 34: ...3 Click Add Group 33 Chapter 2 File Sharing...
Страница 73: ...5 Click Add 72 Chapter 4 Backup...
Страница 79: ...3 Click Edit 4 Click Browse 5 Select the shared folder and click OK 78 Chapter 4 Backup...
Страница 81: ...2 Click Time Machine 80 Chapter 4 Backup...
Страница 82: ...3 Click Select Backup Disk 4 Select the shared folder then click Use Disk 81 Chapter 4 Backup...
Страница 93: ...4 Click the Options tab 5 Click Edit 92 Chapter 5 Cloud Services and Remote Access...
Страница 97: ...7 Enter the desired job name and click Next 96 Chapter 5 Cloud Services and Remote Access...
Страница 98: ...8 Select Backup and click Next 97 Chapter 5 Cloud Services and Remote Access...
Страница 100: ...10Specify the sync period and click Next 99 Chapter 5 Cloud Services and Remote Access...
Страница 106: ...7 Enter the desired job name and click Next 105 Chapter 5 Cloud Services and Remote Access...
Страница 107: ...8 Select Restore and click Next 106 Chapter 5 Cloud Services and Remote Access...
Страница 112: ...6 Enter the desired job name and click Next 111 Chapter 5 Cloud Services and Remote Access...
Страница 115: ...9 Specify the sync period and click Next 114 Chapter 5 Cloud Services and Remote Access...
Страница 122: ...4 Click the Options tab 5 Click Edit 121 Chapter 5 Cloud Services and Remote Access...
Страница 127: ...3 Tap NAS Setup 126 Chapter 5 Cloud Services and Remote Access...
Страница 130: ...129 Chapter 5 Cloud Services and Remote Access...
Страница 147: ...6 Select a file to move and click Action 7 Click Move 146 Chapter 6 Multimedia...
Страница 152: ...7 Click Delete 8 Click Delete again 151 Chapter 6 Multimedia...
Страница 184: ...5 Configure your settings then click OK 6 Click OK when finished 183 Chapter 9 Advanced Features...


