CHAPTER 4 PROGRAMMING WITH COMMANDS
PD-3000
119
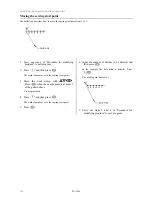
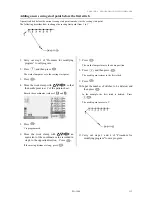
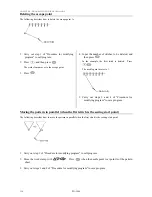
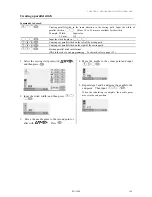
Moving a part of continuous program in parallel
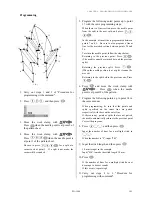
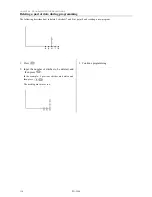
The following describes how to move patterns B and C in parallel.
1. Carry out step 1 of "Procedure for modifying
program" to call program.
2. Press
, and then press
.
The work clamp moves from the start point by each
stitch.
3. When the needle point reaches 1, press
.
The work clamp stops. When returning the needle
point, input the number of stitches to be returned and
press
.
4. Press
, and then press
.
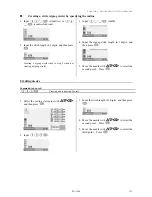
Input the command for parallel movement.
5. Move the work clamp with
.
Press
when the needle point is at 2 of the
pattern sheet.
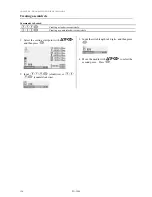
If pattern C is present after pattern B, pattern C is
automatically moved in parallel. If it is
inconvenient, move pattern C in parallel as in steps 1,
2, 3 and 4.
Or follow the chapter 3 "Moving a part of
continuous program in parallel partially" (page 60).
6. Carry out steps 3 and 4 of "Procedure for
modifying program" to save program.
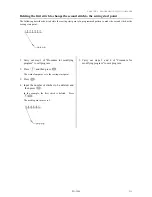
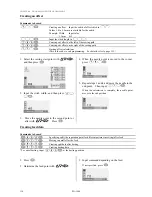
Not trimming thread at the last stitch
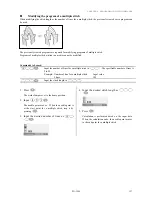
Deleting the thread trimming code after inputting the end code can cancel thread trimming at the last stitch.
* For not trimming thread at the last stitch, you can also set the end code at "115". In this case, every thread trimming including the
emergency stop is canceled. Make the following setting for canceling thread trimming at the specified point.
1. Creating program
2. Input the end code.
The work clamp returns to the first stitch.
3. Press
, and then press
.
The work clamp moves to the last stitch.
4. Press
.
5. Press
.
6. Press
.
The thread trimming code is deleted.
Pattern A
Pattern B
Pattern C
Feed
Содержание PD-3000
Страница 8: ...PD 3000 ...
Страница 9: ...PD 3000 Chapter 1 Read Me ...
Страница 12: ...CHAPTER 1 READ ME 4 PD 3000 ...
Страница 13: ...PD 3000 Chapter 2 Setting Up Your Programmer ...
Страница 28: ...CHAPTER 2 SETTING UP YOUR PROGRAMMER 20 PD 3000 ...
Страница 29: ...PD 3000 Chapter 3 Programming with Icons ...
Страница 95: ...PD 3000 Chapter 4 Programming with Commands ...
Страница 152: ...CHAPTER 4 PROGRAMMING WITH COMMANDS 144 PD 3000 ...
Страница 153: ...PD 3000 Chapter 5 Extended Option Output ...
Страница 180: ...CHAPTER 5 EXTENDED OPTION OUTPUT 172 PD 3000 Block diagram Connector layout of the main circuit board ...
Страница 181: ...PD 3000 Chapter 6 Reading Saving Deleting Program and Formatting Media ...
Страница 190: ...CHAPTER6 READING SAVING DELETING PROGRAM AND FORMATTING MEDIA 182 PD 3000 ...
Страница 191: ...Chapter 7 Checking Copying Moving Changing Program ...
Страница 199: ...PD 3000 Chapter 8 Displaying Sewing Machine Program ...
Страница 201: ...PD 3000 Chapter 9 Displaying a Clock ...
Страница 203: ...CHAPTER 9 DISPLAY A CLOCK PD 3000 195 Setting a clock 1 Select Press 2 Select Press 3 Set the time Press ...
Страница 204: ...CHAPTER 9 DISPLAY A CLOCK 196 PD 3000 ...
Страница 205: ...PD 3000 Additional Information ...

