


5
4.0 Installation
The Lemur-M and Lemur-MK series printer was designed to be mounted either on a desktop or shelf in a
counter to.
Prior to site preparation and installation, the printer should be powered up and run in the self-test mode.
•
Lay the printer flat on a counter top.
•
Attach the AC cord and interface cable into the proper connectors.
•
Install ticket hopper (if applicable) to catch the tickets. Lemur-
MK printer won’t have a ticket hopper.
•
Turn power on. The LCD will display PAPER OUT and the red Check Paper led will be illuminated.
•
Begin loading tickets between the two entrance rollers until it is positioned under the first drive roller.
See section
NOTE:
For printers with magnetic encoders you want to make sure that the magnetic strip is in the correct
http://www.bocasystems.com/tickets_specs7.html
for magnetic strip layout specs.
•
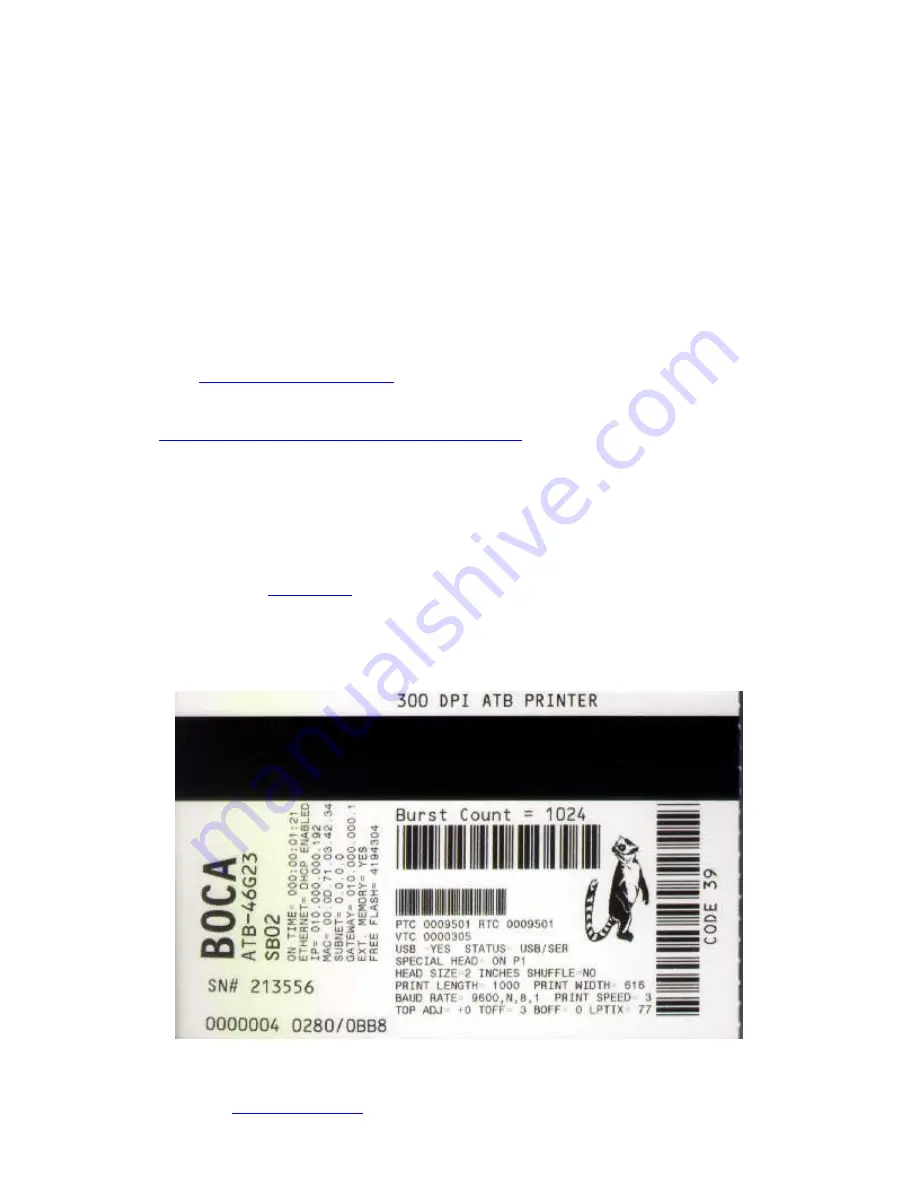
Press the TEST button so the printer will automatically positioned the ticket stock (the green READY
led will be illuminated), press the TEST button located on the control panel to print a test ticket. The
picture below shows a sample FGL self-test ticket.
•
Verify that the printer properly works with your system by issuing a ticket through your computer
system. You may also use out customer-based program to test the printer independently of your
ticketing system (see
You may now install the printer in its permanent location. Adequate room should be provided behind the
printer for the smooth feeding of ticket stock. Please do not prevent the ticket hopper (Lemur-M models) from
operating by touching tickets during the printing cycle.
Above sample self-tes
t was printed on a 2.125” x 3.375” top ½” magnetic strip ticket. Your printout may vary
depending on printer configuration and ticket stock used.


