44
▷
The DMNG PRO acts as a DHCP server: it assigns an IP address, which is
deduced from its own IP address (
192.168.10.10
), to the computer con-
nected.
This icon indicates that an Ethernet cable is connected.
Configuring using a LAN
①
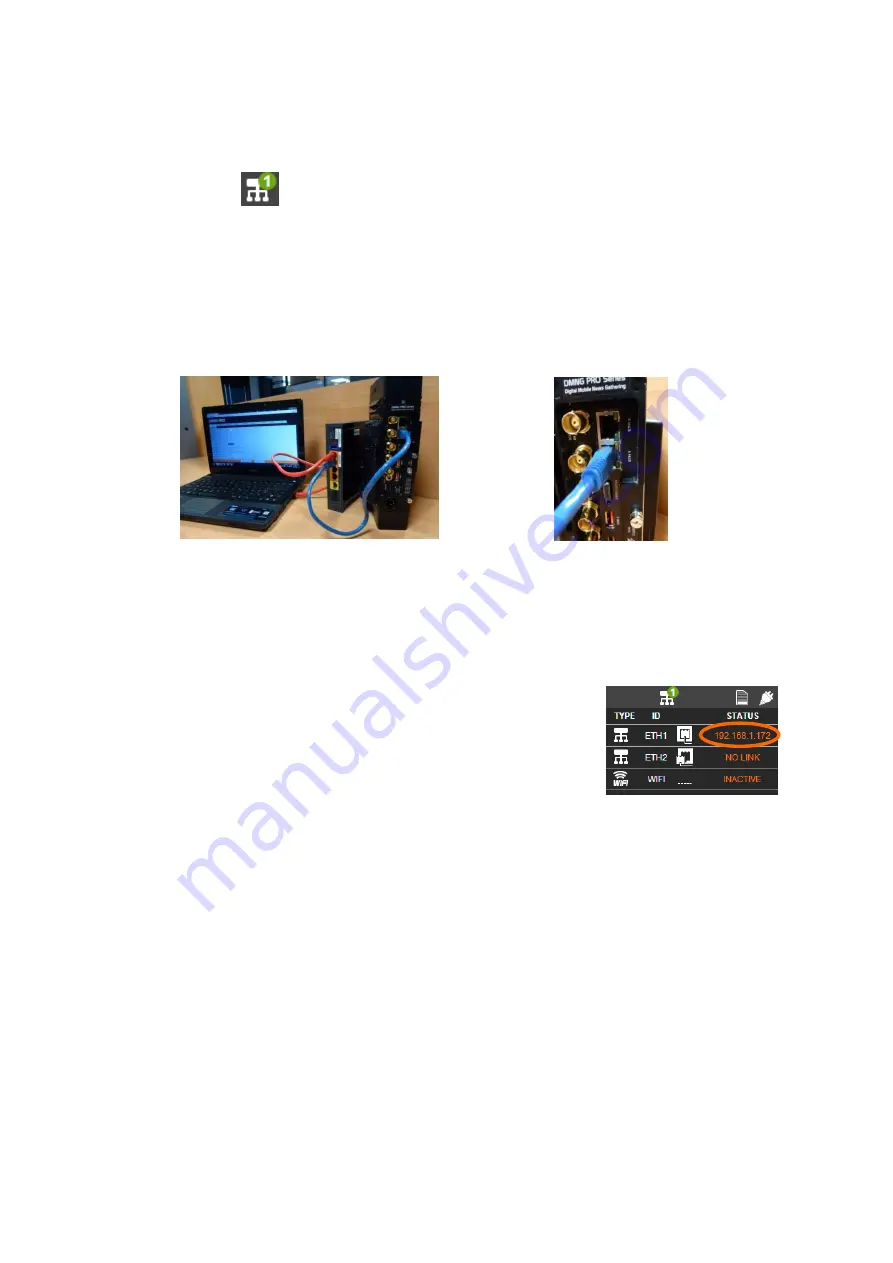
From the Status menu, check that the Ethernet interface 1 is configured in DHCP
mode.
②
Connect a LAN cable from the DMNG PRO Ethernet interface 1 to the
③
Connect a LAN cable from the DHCP server to the computer.
▷
Once the connection between your DHCP server and the DMNG PRO es-
tablished, the DHCP server assigns an IP address to the DMNG PRO.
Connecting to the Web configurator
Only one user can connect to the Web configurator at the same
time.
①
Check the IP address assigned to the Ethernet interface on
the Status menu.
②
Open Chrome.
③
In the navigation bar, enter the address below replacing
[your_IP_address] with the DMNG PRO IP address:
http://[your_IP_address]:8888/
For instance, if the DMNG PRO IP address is 192.168.1.172 you have to enter:
http://192.168.1.172:8888/
④
Enter the login and the password below to access the Web configurator.
o
Login:
aviwest
o
Password:
dmngpro
Adding a Studio
Before using the DMNG PRO on field, you have to enter a receiving Studio, see


