Switching from PageMaker to InDesign CS2
• Use the transparency features in InDesign CS2 to create dazzling special effects for graphics.
For more information, see “Section 9: Applying Transparency, Colors, and Strokes” on page 45.
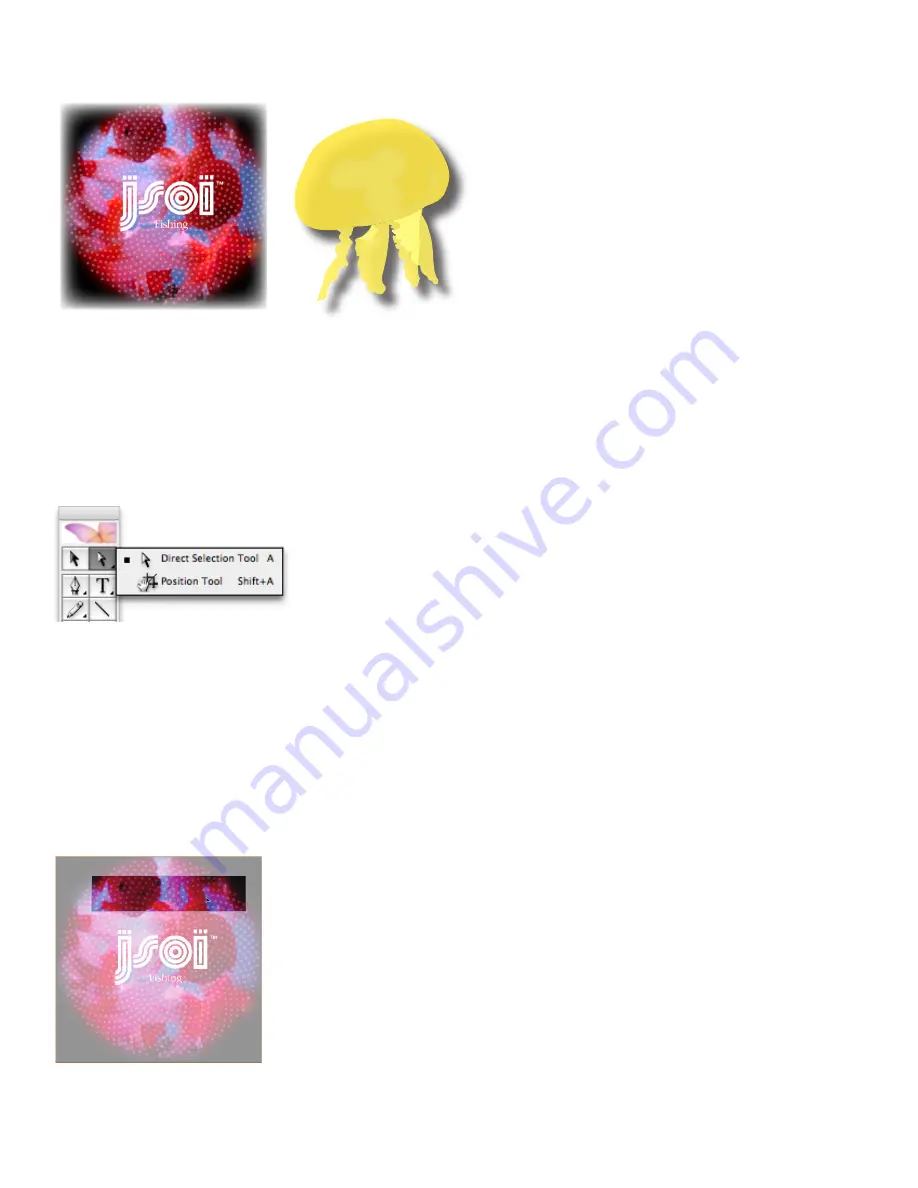
Left: A feathered edge applied to a placed Photoshop graphic. Right: A drop shadow applied to a placed
Illustrator graphic.
• Use the Swatches palette or Color palette to apply color to grayscale and bitmap images.
• Use the Eyedropper tool to pick up colors in imported graphics and apply them to other objects.
Using the Position tool
The Position tool in InDesign CS2 functions similarly to the Crop tool in PageMaker. The Position
tool, which is paired with the Direct Selection tool in the toolbox, lets you move a graphic within
a frame, as well as change the size of the frame.
The Position tool lets you move a graphic within a frame and change the size of the frame.
The Position tool is dynamic, automatically changing to reflect different states. When the pointer
is placed over a graphic, it changes to the Hand tool to indicate that you can drag the graphic
within the frame. When the pointer is over a text frame, it changes to an I-beam to indicate a text
insertion point. If you click when the I-beam is displayed, the Type tool is selected and the text
insertion flashes where you clicked.
When you use the Position tool to move a graphic, you can hold down the mouse button for a few
seconds before you drag to display a dynamic graphic preview (a ghosted-back image) of any part
of the graphic that is outside the frame. You can also use the Position tool to crop a graphic by
resizing its bounding box or by moving the graphic inside the frame. You can also use the Position
tool to adjust anchored graphics and nonimage content, such as text frames and buttons.
Ghosted previews.
In this example you can see the uncropped portion of the graphic within the horizontal
graphics frame at the top. A ghosted preview of the image is displayed outside the frame, showing the area
being cropped.


