Screen Design and Layout
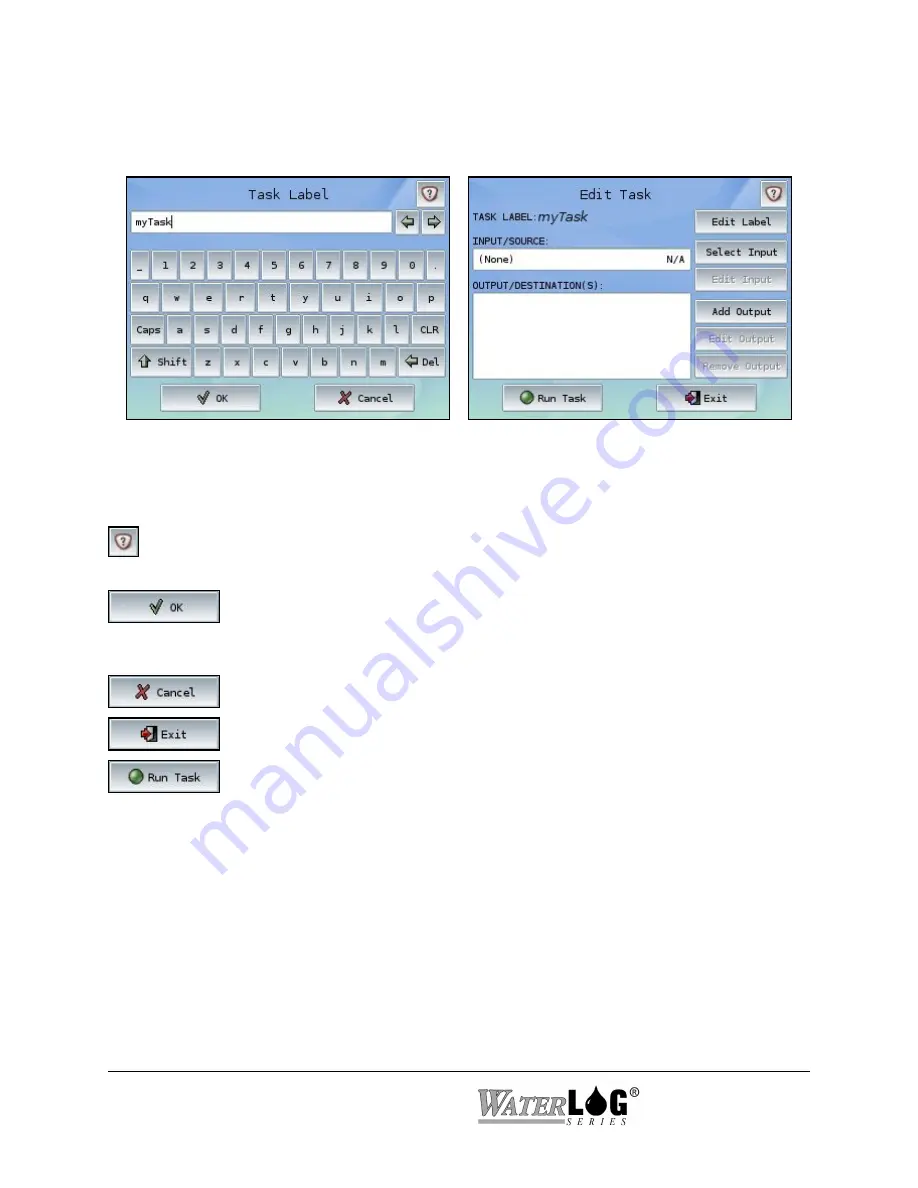
The images below show the basic layout for all screens used within the System 5000.
All screens contain a header, consisting of the current screen’s title along with a Help button, and
footer, containing either an OK/Cancel button combination or a unique function button and Exit
button.
The Help button is available on all screens within the System 5000
. The Help button
TM
can provide valuable insight regarding options on the current screen.
Screens with OK/Cancel buttons have options that may need to be saved before
returning to the previous menu. The OK button saves any changes to the
current screen. When changes are detected, the OK label turns blue.
The Cancel button discards any changes made to that screen.
Screens with Exit buttons save changes automatically.
Screens with Exit buttons also contain a unique function button that applies to
that screen only.
System Familiarization
The best way to become familiar with the system is to explore the system options and features.
Turn the unit on, move through the menus, create simple and complex setups, and make changes
to some of the options in order to experiment with the system. Do not worry about mis-
programming the unit as the “Restore Defaults” option available on the System Settings screen
(within System Setup) will set the unit back to the default settings.
3-2 Menu Orientation
System 5000
TM
Summary of Contents for WaterLog Series
Page 1: ...Model System 5000TM Owner s Manual Revision 1 4 2...
Page 2: ......
Page 8: ......
Page 24: ...2 10 Hardware Overview System 5000TM...
Page 58: ...5 14 Inputs System 5000TM...
Page 128: ...10 14 System Setup General Setup System 5000TM...
Page 144: ...12 6 System Setup Inputs Outputs System 5000TM...
Page 168: ...14 4 Maintenance and Troubleshooting System 5000TM...
Page 170: ...A 2 System 5000 Specifications System 5000TM...
Page 172: ...B 2 Pressure Sensor Option Module Specifications System 5000TM...
Page 174: ...C 2 Analog Digital Option Module Specifications System 5000TM...


