


11-4
IM 760201-01E
To Only Use DNS
6.
Use the
cursor keys
to select DHCP.
7.
Press
SET
to select OFF.
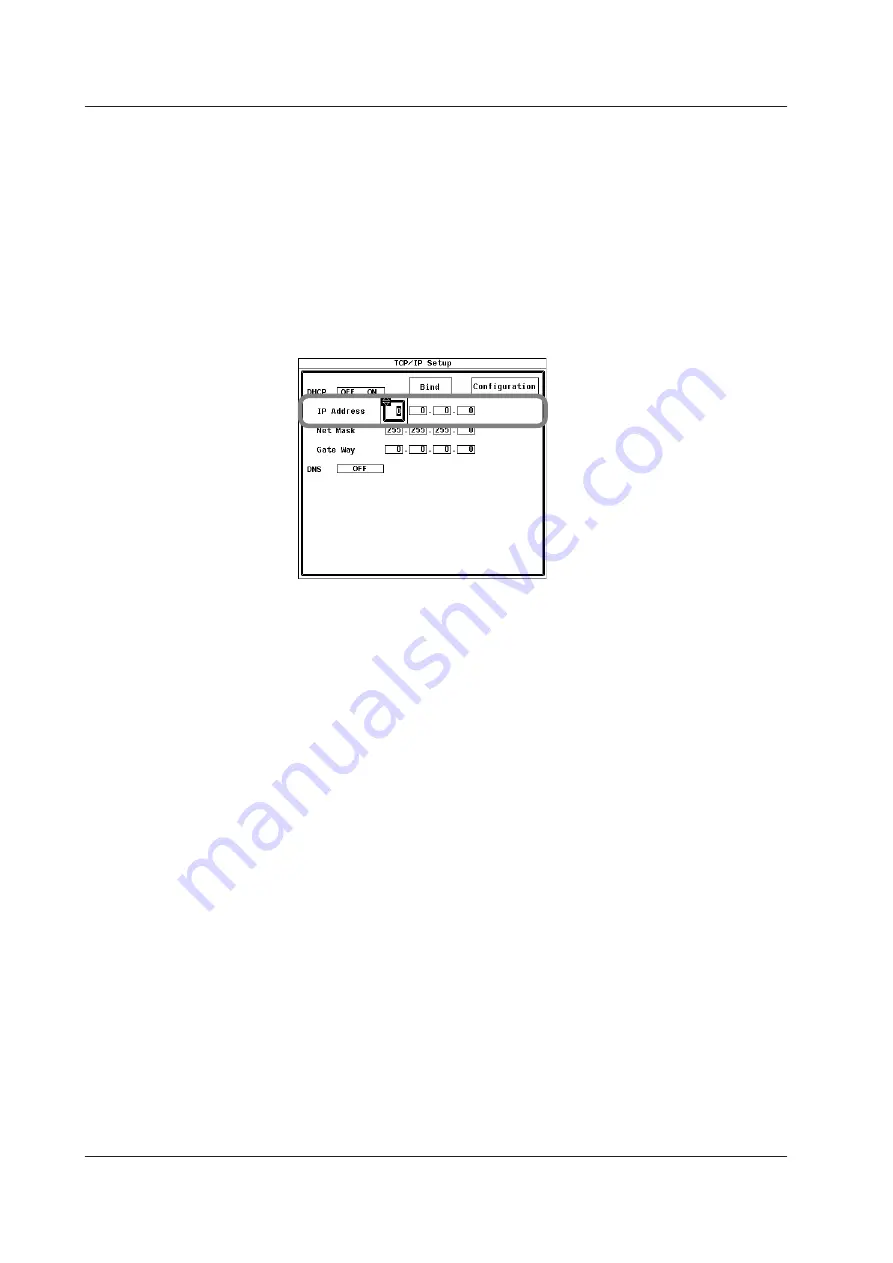
• Entering the IP Address
8.
Use the
cursor keys
to select IP Address.
9.
Press
SET
to display the IP address entry box.
10.
Use the
cursor keys
to enter the IP address of the WT500.
11.
Press
SET
or
ESC
to close the entry box.
12.
Enter all four octets of the
IP Address
.
• Entering the Subnet Mask
Enter the subnet mask according to the system or network that the WT500 belongs
to. If the system or network does not require a subnet mask, proceed to “Entering the
Default Gateway.”
13.
Use the
cursor keys
to select Net Mask.
14.
Enter all four octets of the subnet mask of the network that the WT500 belongs to
just as you did for the IP address.
• Entering the Default Gateway
Enter the default gateway according to the system or network that the WT500 belongs
to. If the system or network does not require a default gateway, proceed to “Turning
On the DNS.”
15.
Use the
cursor keys
to select Gate Way.
16.
Enter all four octets of the default gateway of the network that the WT500 belongs
to just as you did for the IP address.
• Turning DNS On
17.
Use the
cursor keys
to select DNS.
18.
Press
SET
to display the DNS selection box.
19.
Use the
cursor keys
to select ON.
20.
Press
SET
to confirm the selection.
The DNS settings appear.
11.3 Configuring TCP/IP Settings


