Setting the Input Channels from the Control Surface
91
01V96 Version 2—Owner’s Manual
Input Channels
7
EQ’ing Input Channels
1 Press the [SEL] button or move the fader for the channel you wish to control.
2 To control EQ for the currently-selected channel, press one of the following
buttons to select the band you wish to adjust:
•
[HIGH] button
.............HIGH band
•
[H-MID] button
...........HIGH-MID band
•
[L-MID] button
............LOW-MID band
•
[LOW] button
..............LOW band
3 Use the SELECTED CHANNEL [Q], [FREQUENCY], and [GAIN] controls to
adjust the Q, frequency, and gain of the band selected in Step 2.
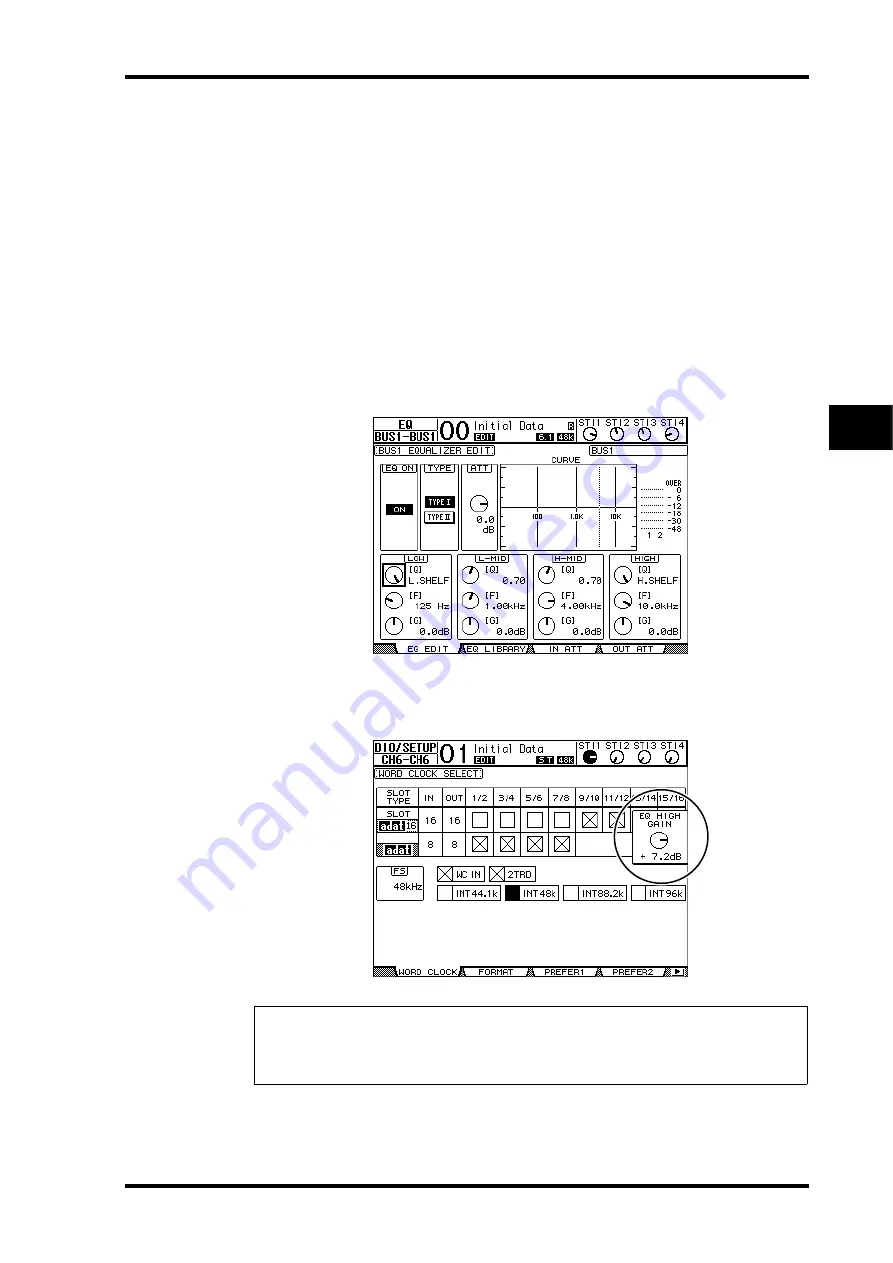
When the Auto EQUALIZER Display (page 231) check box is on, the 01V96 displays the
EQ/EQ Edit page.
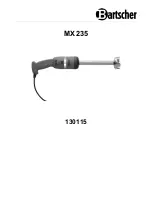
If the check box is off, the parameter value currently being adjusted pops up.
See page 84 for more information on EQ.
Tip:
• Pressing and holding down the button selected in Step 2 resets the corresponding band gain.
• Pressing the SELECTED CHANNEL [HIGH] and [LOW] buttons simultaneously resets the
Q, frequency and gain for each band.
Summary of Contents for O1V96
Page 1: ...E Owner s Manual Keep This Manual For Future Reference ...
Page 46: ...46 Chapter 4 Connections and Setup 01V96 Version 2 Owner s Manual ...
Page 96: ...96 Chapter 7 Input Channels 01V96 Version 2 Owner s Manual ...
Page 108: ...108 Chapter 8 Bus Outs 01V96 Version 2 Owner s Manual ...
Page 130: ...130 Chapter 10 Input Output Patching 01V96 Version 2 Owner s Manual ...
Page 148: ...148 Chapter 12 Surround Pan 01V96 Version 2 Owner s Manual ...
Page 164: ...164 Chapter 14 Internal Effects 01V96 Version 2 Owner s Manual ...
Page 188: ...188 Chapter 16 Libraries 01V96 Version 2 Owner s Manual ...
Page 228: ...228 Chapter 18 MIDI 01V96 Version 2 Owner s Manual ...
Page 325: ...01V96 Block Diagram ...


