Chapter7—Punch-in/out
128
— Operation Guide
Manual punch-in/out
Here’s how to perform manual punch-in/out.
Preparations
❒
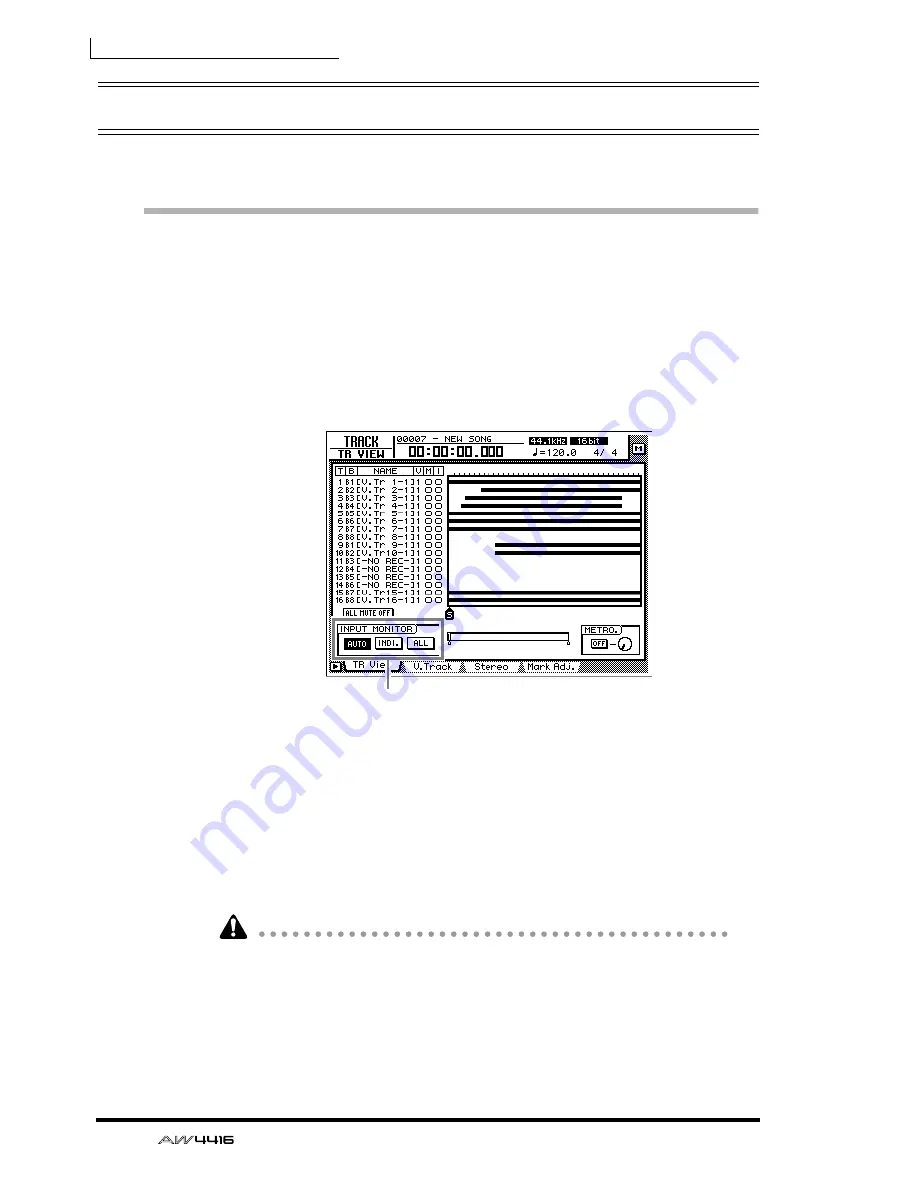
Make input monitor settings
For the track on which you wish to punch-in/out, you will need to monitor the
track playback up to the punch-in point, and then monitor the input signal of the
track (the recording source) after you punch-in. To do this, set the input monitor
setting to “auto input monitor,” as explained below.
1. Press the [TRACK] key
→
[F1] key.
2. In the INPUT MONITOR area, move the cursor to the AUTO button and
press the [ENTER] key.
The AUTO button will be turned on, and Auto Input Monitor will be selected as
the input monitor setting.
❒
Connect a foot switch
If you will be using a separately sold foot switch (Yamaha FC-5) to perform man-
ual punch-in/out, connect the foot switch to the FOOT SW jack on the rear panel.
If a foot switch other than the Yamaha FC-5 is connected, it may not operate cor-
rectly.
Input monitor setting
Summary of Contents for AW4416
Page 1: ......
Page 2: ...PROFESSIONAL AUDIO WORKSTATION E Operation Guide ...
Page 87: ...Chapter4 Connections and setup 72 Operation Guide ...
Page 123: ...Chapter5 Recording on the AW4416 108 Operation Guide ...
Page 161: ...Chapter8 Patching 146 Operation Guide ...
Page 179: ...Chapter9 Track and virtual track operations 164 Operation Guide ...
Page 282: ...PROFESSIONAL AUDIO WORKSTATION E Reference Guide ...
Page 473: ...PROFESSIONAL AUDIO WORKSTATION E Tutorial ...
Page 477: ...Tutorial AW4416 Professional Audio Workstation 4 Tutorial ...


