3.4 e-MPS
3-26
Printing a Code Job
Install the KM-NET Job Manager software from the CD-ROM supplied with the printer. To
do this, from the CD-ROM
Main Menu
, select
Printer Utilities
>
Install KM-NET Job
Manager
.
1
11
1
Browse through Windows
Start
>
Programs
>
KYOCERA MITA
>
KM-Net
>
Job Manager
.
2
22
2
Enter the password for the software.
Job Manager
will start.
3
33
3
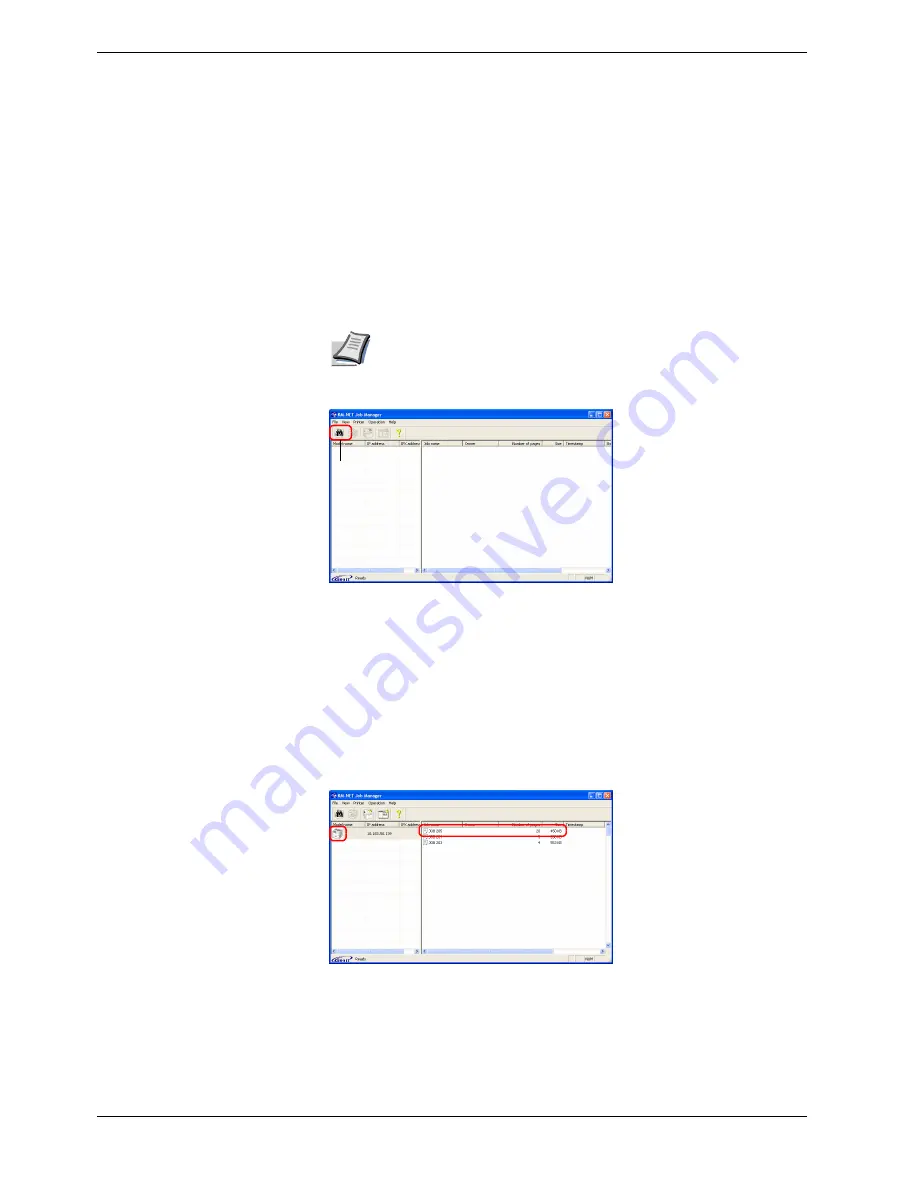
Click the
Add printer
icon (below). Select the
Local
or
Network
port.
If you use the local parallel port to connect to the printer, make sure
that the printer driver is set to print to a local port. To check this out,
click the Details tab of the printer Properties, and note the Print to the
following port setting.
4
44
4
Follow the wizard until the
Select printer
dialog box is reached. When the printer
is found in the
Printer List
, click (highlight) it, then
Finish
.
5
55
5
Double click
Model Name
on the list. The jobs currently stored in the printer are
shown. To print the job, right click
Job name
and then click
on the drop
down list that appears.
It is possible to select more than one job at a time by left clicking a job one by one
while pressing the
Ctrl
key on the computer keyboard.
The job remains intact even after printing. To permanently delete the job in the hard disk,
right click the job name on
Job Manager
, then click
Delete
on the drop down list that
appears.
Note
Add printer
icon


