P
ACT T
LIM I
AUX T
TE V
SET T
TE I
B
C
I
A
D
decrease
increase
Adjust C
Enter Offset [C1]
Chapter 2 - Front Panel Operation
Controlling Temperature with an LM335
50
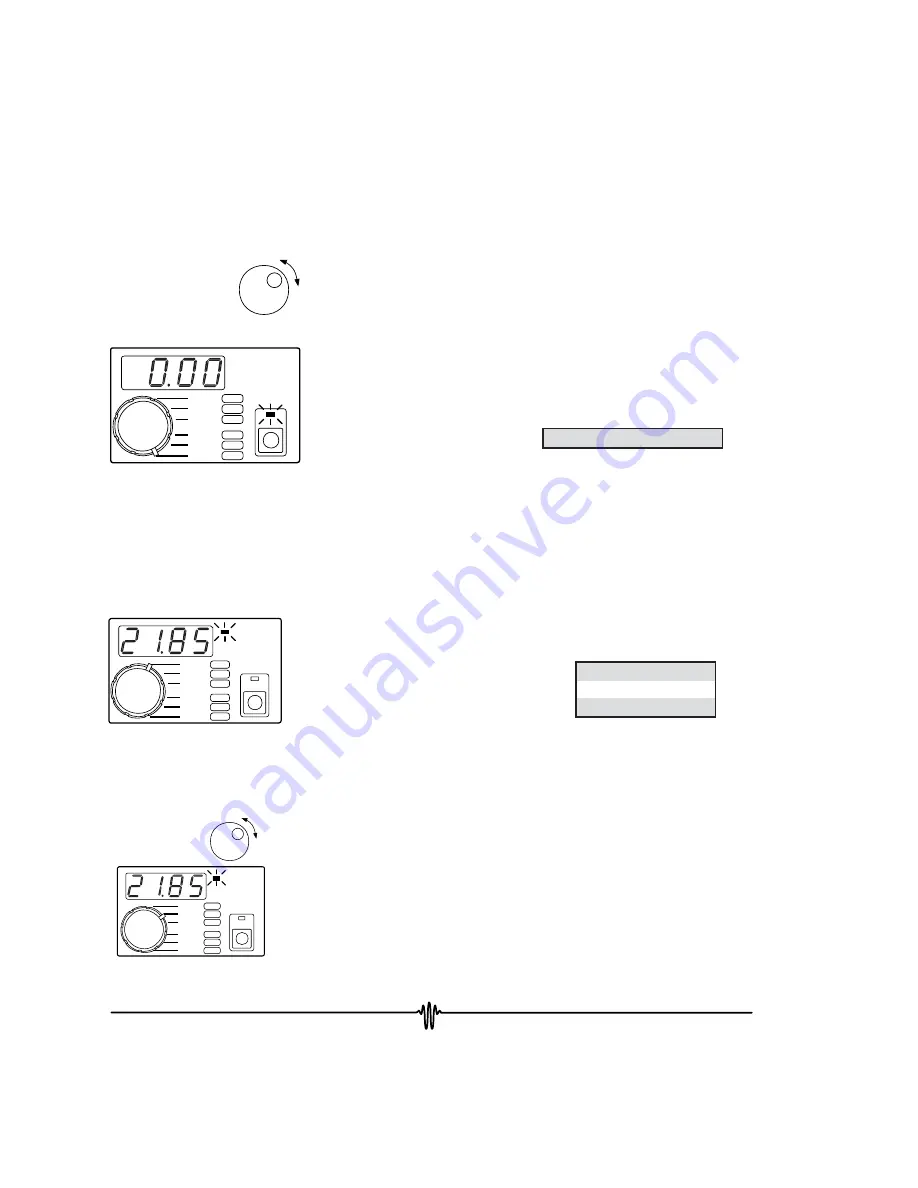
5. Entering Data Point - C
•
Rotate the
Display Select Switch
to
C
(
Shift Button
ON
) to
display the
Offset
in mV. For the LM335,
Offset
is 0 mV.
•
Rotate the
Digi-Pot Adjust Knob
to change the value.
Default from the factory sets up for a 0 mV offset.
•
A, B, and C cannot be adjusted while the output is on.
•
Data pairs
A
,
B
, and
C
are saved in non-volatile memory.
•
RS-232 Command:
[C1] = Offset
Display Resolution:
Offset
-9.99 to 9.99 mV
P
ACT T
LIM I
AUX T
TE V
SET T
TE I
B
C
I
A
D
°
C
SHIFT
6. Displaying Actual LM335 Temperature
•
Rotate the
Display Select Switch
to
ACT T
(
Shift Button
OFF
) to display the LM335 temperature.
•
RS-232 Command:
[ACT T]
-199.9
-19.99
100.0
to
to
to
-20.0°C
99.99°C
199.9°C
Display Actual LM335
Temperature
Display Resolution:
7. Adjusting LM335 Temperature Setpoint
•
Rotate the
Display Select Switch
to
SET T
(Shift Button
OFF)
. Temperature will be displayed.
•
To adjust the setpoint, rotate the
Digi-Pot Adjust Knob
.
While the knob is rotating, the display will change, but the
instrument will not control to the new setpoint until the
knob stops moving.
•
The decimal point will move to display maximum resolution.
•
SET T
is saved in non-volatile memory.
•
RS-232 Command:
[SET T]
P
ACT T
LIM I
AUX T
TE V
SET T
TE I
B
C
I
A
D
°
C
decrease
increase
Display Setpoint Temperature
Summary of Contents for LFI-3751
Page 10: ...10 This page intentionally left blank ...
Page 13: ...1 Chapter 1 Quick Start 13 1 ...
Page 20: ...20 This page intentionally left blank ...
Page 21: ...2 Chapter 2 Front Panel Operation 21 2 ...
Page 34: ...34 This page intentionally left blank ...
Page 54: ...54 This page intentionally left blank ...
Page 68: ...68 This page intentionally left blank ...
Page 69: ...3 Chapter 3 Rear Panel Operation 69 3 ...
Page 75: ...3 4 Chapter 4 Remote Interface Reference 75 4 ...
Page 88: ...88 This page intentionally left blank ...
Page 127: ...5 Chapter 5 Specifications 127 5 ...
Page 131: ...Appendix CAT 220 Cable Accessory Diagram 131 ...


