Chapter 2
Xgig1000 System Setup
Setup Instructions
Page 94
Xgig1000 Hardware Guide
March 2017
PATH 4: Setting Up the Xgig1000 Chassis using USB Direct Connect
As a alternative to controlling the Xgig1000 chassis using an Ethernet connection, some
Xgig software applications support controlling the chassis using a USB cable connection.
Refer to your software’s users guide to determine if the chassis can be supported using
the USB.
Traditionally, this chassis has been controlled using an Ethernet connection. If your
chassis is already connected using the Ethernet connection and you now want to control
it using the USB, you do not need to remove the Ethernet connection. However, you will
only be able control the chassis using one cable at a time. The client software allows you
to select the desired control method.
The following steps instruct you on how to set up the Xgig1000 chassis to be controlled
from a host computer using a USB cable connected directly to the chassis.
1
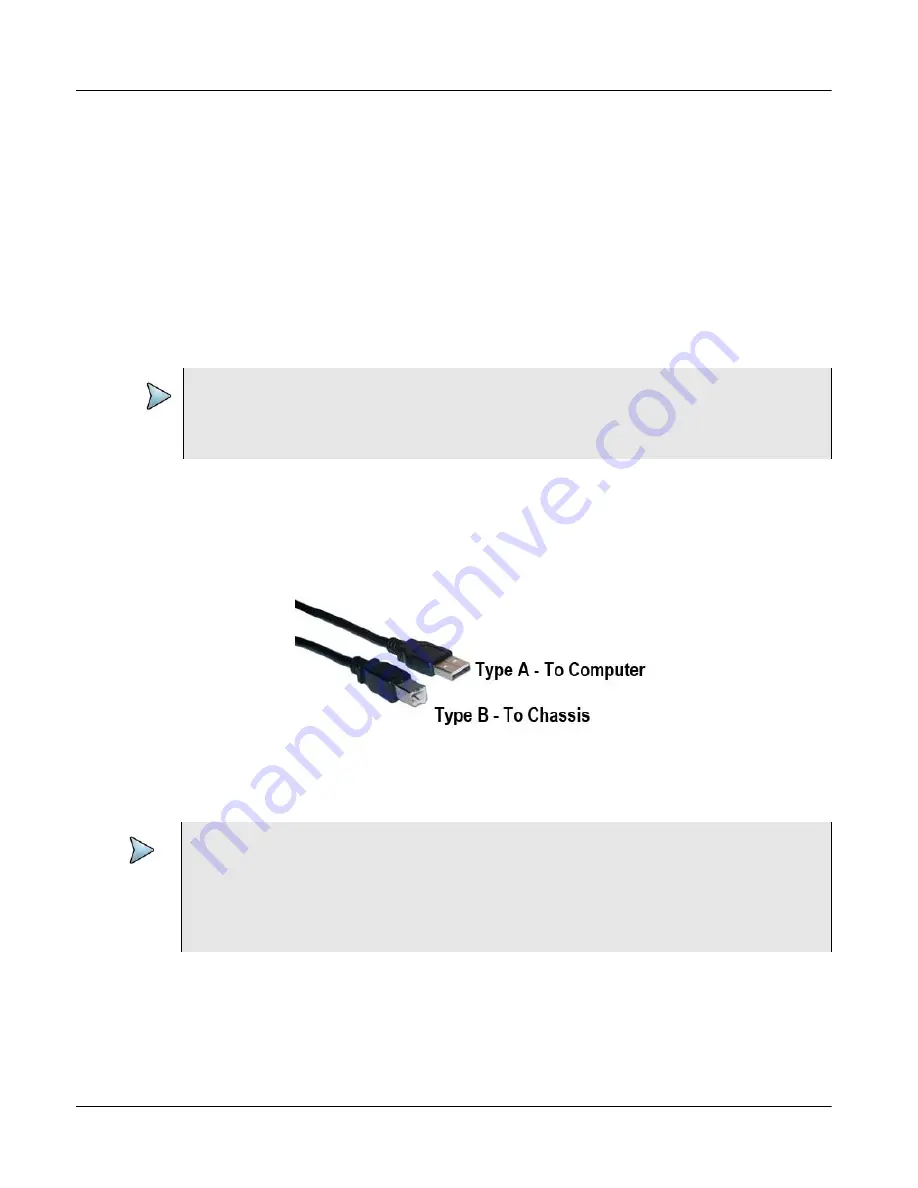
Using a USB cable (Type A to Type B connectors), connect the host computer to the
Xgig1000 chassis front panel USB connector. Attach the cable’s Type A connector to
the computer; attach the cable’s Type B connector to the chassis.
2
With the Xgig software running on the computer, use the Select Ports for Domain
Creation window to turn on the USB mode. Refer to the software’s users guide for
instructions.
If ports on the chassis are locked by another application, a message will be displayed
asking to unlock all ports before changing the USB mode.
The Xgig Web Utility is not supported over USB. To use the Xgig remote administrator,
refer to
“Remote Administration of the Xgig1000 System via USB” on page 106
NOTE
To control the chassis using a USB connection, you must upgrade the chassis software
to the most recent software version. Refer to
for
instructions on upgrading the system software.
NOTE
When the software turns the USB connection on or off, a Sync Discovery on the chassis
is triggered destroying all the domains and restarting all the server applications. An
information box is displayed advising you that the current chassis port will be disabled,
all client applications will be disconnected, and any traces captured in the chassis buffer
will be lost. You must select the
OK
button to complete the control port change.


