Chapter 2
Xgig1000 System Setup
Setup Instructions
March 2017
Xgig1000 Hardware Guide
Page 87
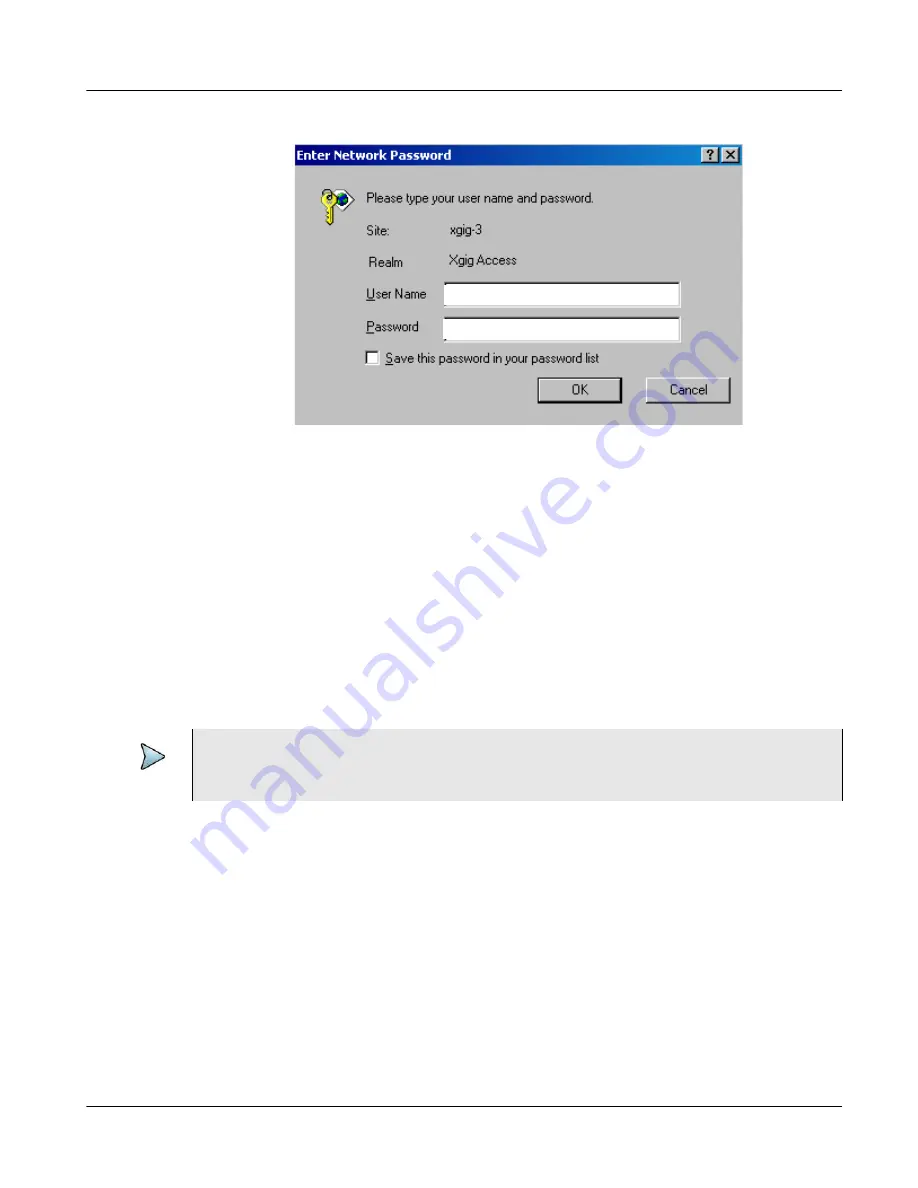
Figure 15
Xgig1000 System Login
If you cannot see the Xgig1000 chassis, see
Chapter 4 “Tips and Troubleshooting”
information on how to troubleshoot connections.
The setup for the Xgig1000 chassis is complete. Install application client software you will
be using with the Xgig1000 chassis. Install application client software on a PC that can
reach the Xgig1000 chassis on your Ethernet network. Refer to the
Software Installation
Guide
for your application client software for installation information.
” for instructions on administrating the chassis.
PATH 2: Setting Up the Xgig1000 Chassis with a Static IP Address in a
Non-DHCP Network
Follow the steps below to disable DHCP, set the IP address, and connect the Xgig1000
chassis for use. In most environments, you will also need to set the subnet mask and the
default gateway address for the Xgig1000 chassis as well as the IP address.
If you have a DNS name server, assign a name to the Xgig1000 chassis so users can
easily locate the system. The default name for the Xgig1000 chassis is “XGIG1K” followed
by the eight-digit serial number, for example,
XGIG1K78256743
. The serial number is
located on the bottom of the Xgig1000 chassis.
1
Use the DB-9 Null Modem Cable to connect Xgig1000 chassis to either a VT-100
terminal or a desktop or laptop computer running VT-100 terminal emulation software
such as Windows HyperTerminal. Plug one end of the cable into the Console port (9-
pin port on the back), and the other into a COM port on the computer.
NOTE
The Xgig1000 chassis comes ready-to-use in a DHCP-configured network. You must
use the serial interface to disable DHCP to set a Static IP Address.


