TUTORIAL THREE: VIDEO PAINT
45
Working with images in an edit window
The edit window displays the image of the currently selected frame in a
Video Paint project. Once displayed, you can begin working on the image
by selecting or painting over parts of it. At any given time, you will be
working in one of two modes: Composite or Paint Layer. Which mode
you choose depends on the type of work you are doing as well as the type
of effect you want to create.
To work on an image in an edit window:
1.
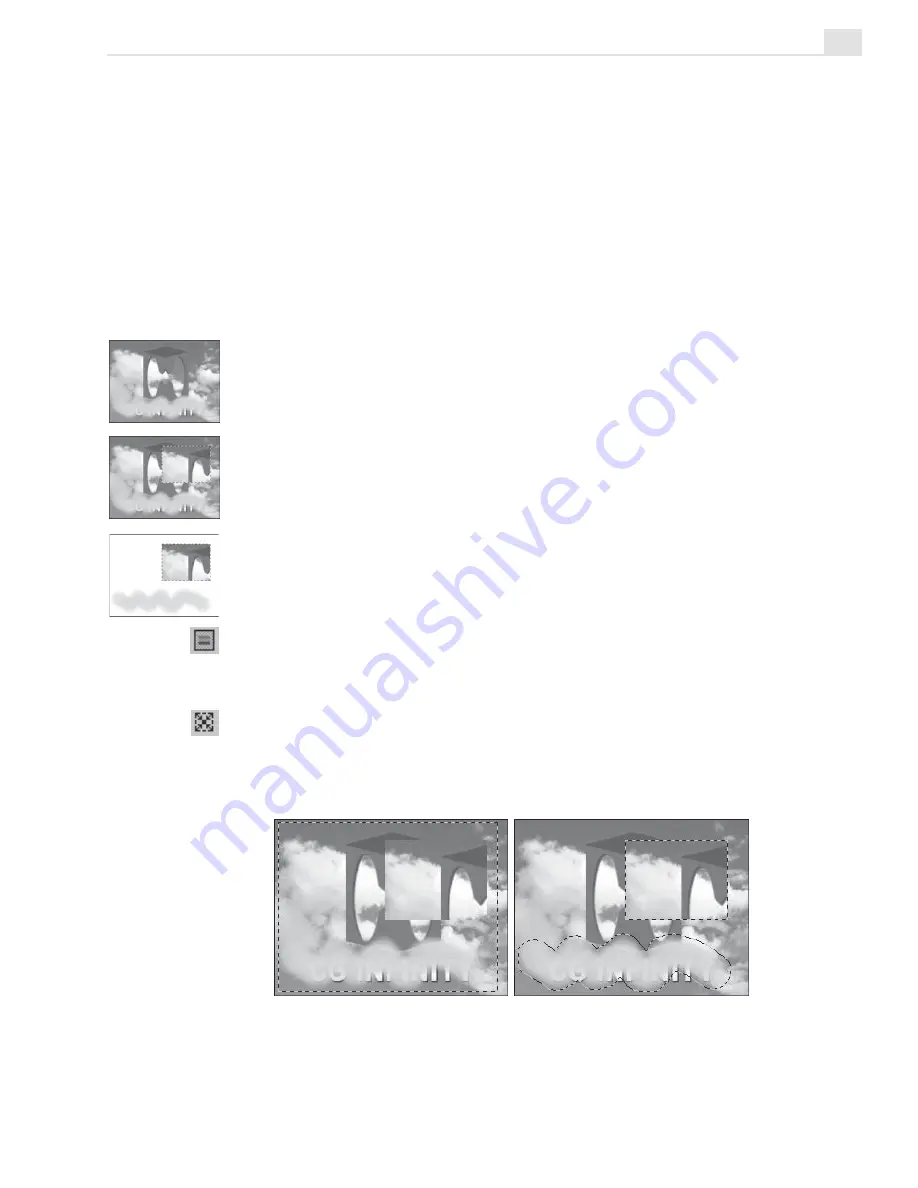
Click the Paint tool on the Tool panel and start painting over an image
in an edit window.
2.
Switch to the Shape Selection tool and then drag over part of the
image to select it. As you drag, a selection marquee appears outlining
the area included in the selection. When finished, move the selection to
a new location on the image. (This selection is now referred to as a
floating selection and appears in the Paint Layer.)
3.
To better see the Paint Layer, click the No Source Video button on the
Standard toolbar. The image disappears from view, leaving only the
background film color plus your edits.
4.
Click the Normal button on the Standard toolbar to return the image
into view and then click the Paint Layer Mode button on the Standard
toolbar.
5.
Create another selection area, making sure that it includes your edits,
and then click the Shrink Mode button on the Attribute toolbar. The
selection marquee changes to select only your edits, leaving the
underlying image untouched.
Creating a selection in Composite Mode (left) and Paint Layer Mode (right)
Summary of Contents for MEDIASTUDIO PRO 7
Page 1: ...User Guide Ulead Systems Inc January 2003 ...
Page 23: ......
Page 24: ......
Page 71: ......
Page 72: ......
Page 113: ......
Page 114: ......
Page 249: ......
Page 250: ......
Page 305: ...Programs ...
Page 306: ......
Page 341: ......
Page 342: ......
Page 373: ...Programs ...
Page 374: ......
Page 393: ......
Page 394: ......
Page 405: ......
Page 406: ......
Page 421: ......
Page 422: ......


