


Viewing an analysis
1.
Select the
‘Analysis’
menu from the menu bar.
2.
Go to
‘Selection’
, on the left, and select an anal-
ysis.
ð
The analysis is displayed.
3.5.7.4
User administration
The
‘User administration’
item of the
‘Setup’
menu
allows you to change access rights and passwords.
Displaying user administration
1.
Select the
‘Setup’
menu from the menu bar.
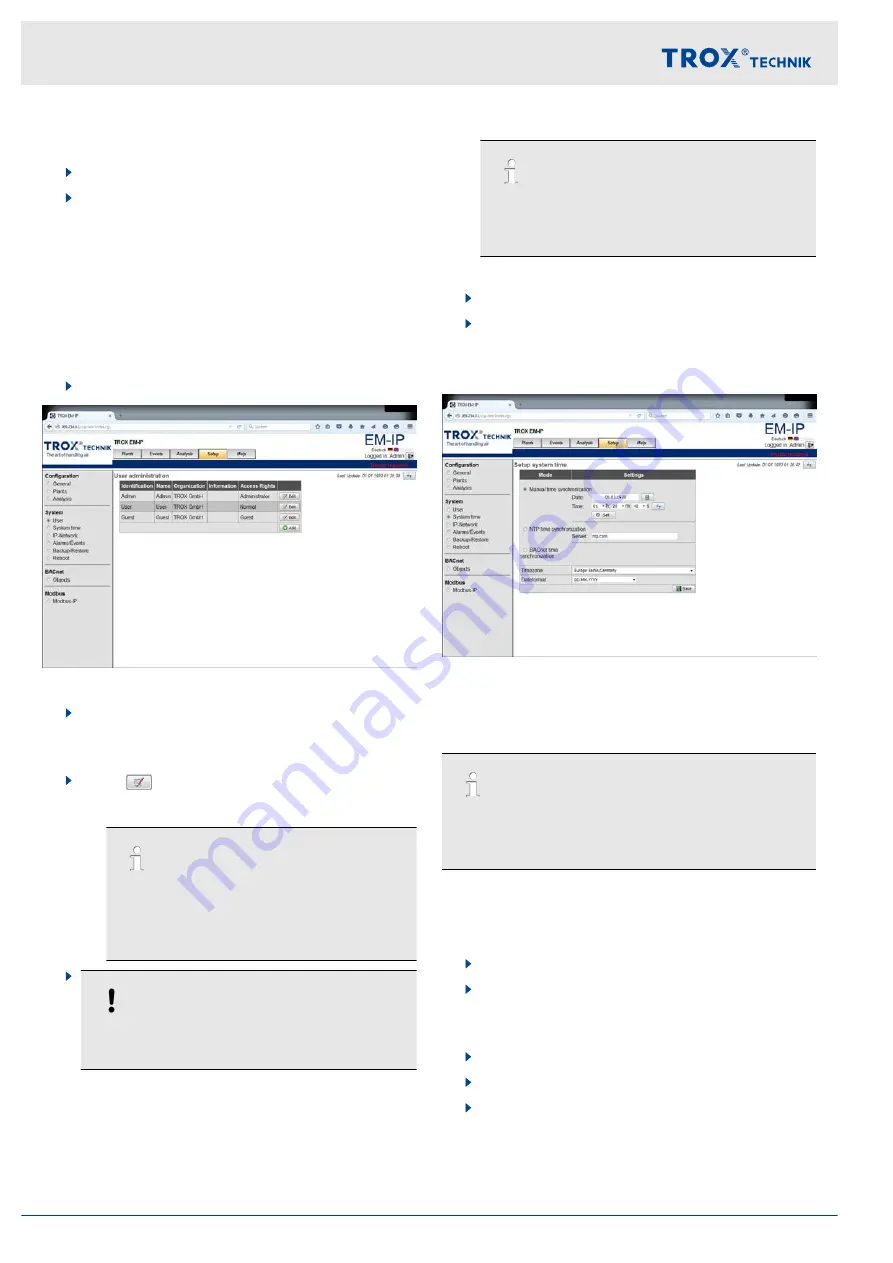
Fig. 27: User administration
2.
Under
‘System’
, on the left, select
‘User’
.
ð
The
‘User administration’
displayed.
3.
Select
[Edit]
for the user you want to change.
ð
The Login screen is displayed.
When you select this menu item, a web-
page is displayed on which you can enter a
new user or change data for an existing
user, including the password.
4.
NOTICE!
Risk of damage to property due to unauthor-
ised access to passwords or user profiles.
Enter password.
If you are logged in as Admin, you may change
both your own Admin password and passwords
for User.
Changing passwords
5.
Change the user profile.
6.
Use
[Save]
to confirm and save your entries.
3.5.7.5
Setting the system time
Fig. 28: Setting the system time
If you want to use the Alarming, Trending, Scheduling or
Eventlog function, you need to set a system time for
EM-IP.
If you select ‘Manual time synchronisation’ and the
power fails, the time will be maintained only if the
optional RTC module has been installed.
Setting the time manually
Setting the system time/date manually
1.
Select the
‘Setup’
menu from the menu bar.
2.
Under
‘System’
, on the left, select
‘System time’
.
ð
The
‘Setup system time’
opens.
3.
Go to
‘Time zone’
and select a time zone.
4.
Go to
‘Date format’
and select a date format.
5.
Enter the current date (use the number pad) into
the
‘Date’
field, then press
[Enter]
to confirm your
entry.
Web server settings
Web server navigation > Functions of the Setup menu
Expansion module EM-IP
18