94
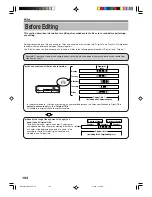
Creating a DVD-R
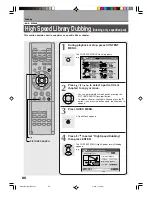
Content stored on the HDD of the recorder can be edited and copied to a DVD-R, a popular media for
distribution, and played on a compatible DVD video player.
Dubbing
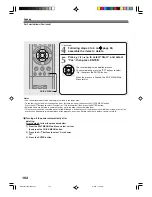
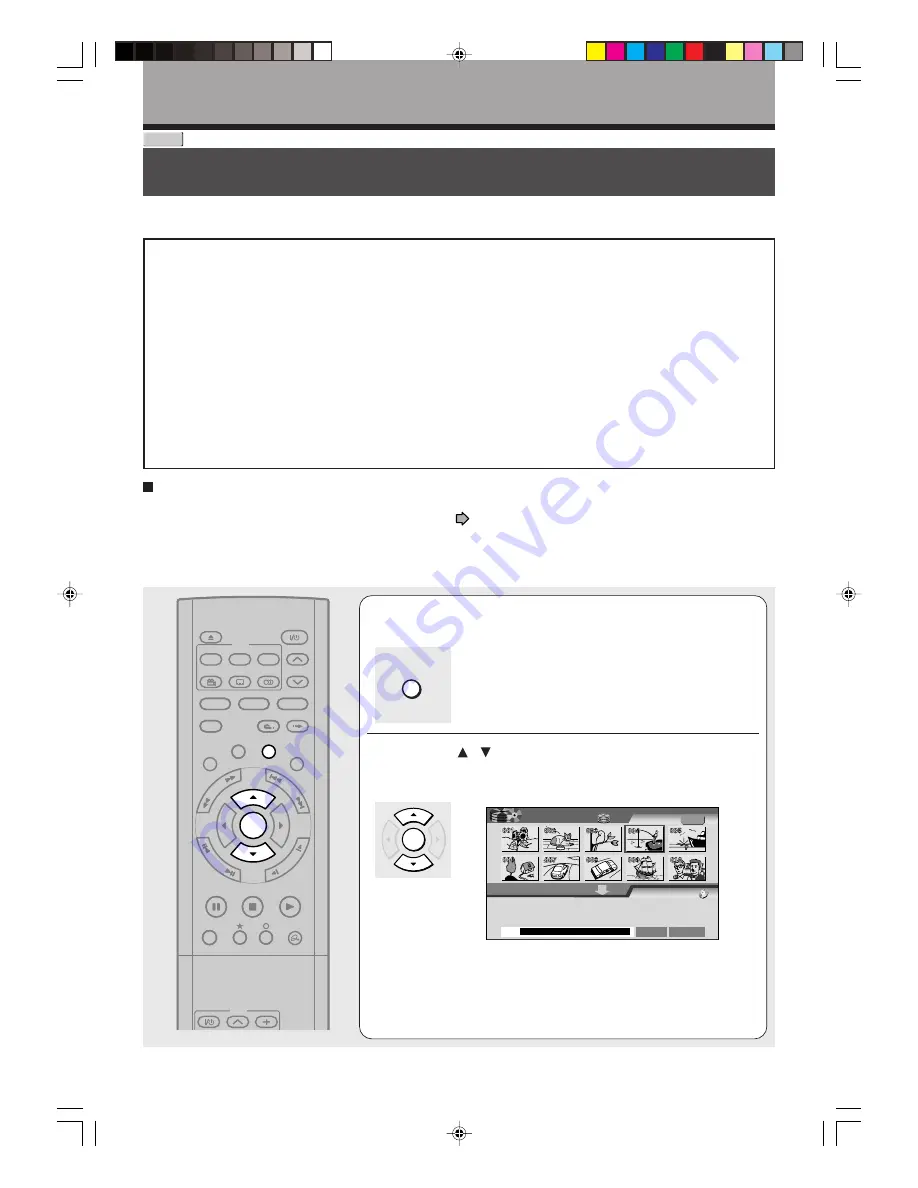
1
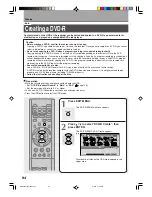
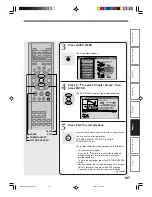
Press EDIT MENU.
The EDIT MENU Main Menu appears.
2
Press / to select “DVD-R Create”, then
press ENTER.
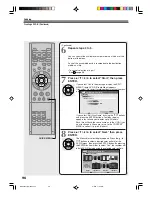
The EDIT MENU DVD-R Create appears.
e.g.
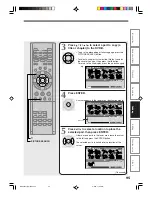
Thumbnails of titles on the HDD are displayed in the
upper area.
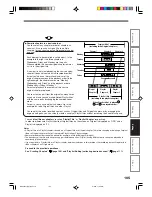
Caution
• Before creating a DVD-R, confirm the content you want to copy.
Creating a DVD-R is possible only once per 1 disc on this recorder. Once you have copied to a DVD-R, you cannot
redo it, add, delete, or correct the copied contents in the disc.
• Do not start copying to a DVD-R when a program recording is scheduled to begin shortly.
Copying entirely to a DVD-R will take 1 hour and a half (variable depending on the contents). Once the DVD
recorder starts copying, it cannot be interrupted until the copying is finished. If a program recording is scheduled, it
will not be executed (unless you cancel it). (However, while the recorder is holding to copy a 2nd DVD-R, program
recording will have priority over copying of a DVD-R. If the program recording is about to start, the recorder will
stop copying to the DVD-R then start the program recording.
• Ensure the compatibility of a disc.
Use a DVD-R of 4.7GB (for General Ver.2.0). Using a disc other than this may cause failure to copy.
*
A DVD-R created on the recorder complies with the DVD-Video standard. However, it is not guaranteed to play
properly on all DVD Video players (including TOSHIBA products).
• Follow the instructions on handling of the disc.
EDIT MENU
ENTER
PLAY
STOP
PAUSE
REC
/
O
C
O
LIBRARY
REC MENU
EDIT MENU
CONTENT MENU
DVD
HDD
V-REMOTE
ANGLE
OPEN/CLOSE
SUBTITLE
AUDIO
CHANNEL
FR
AM
E/A
DJU
ST
SL
OW
SK
IP
P
IC
TU
RE
SE
AR
CH
REC
QUICK MENU
DVD
HDD
INSTANT SKIP
INSTANT REPLAY
TOP MENU
MENU
RETURN
DVD
TV
TIMESLIP
ENTER
HDD
HDD
B
A
EDIT
MENU
DVD-R Create
Source:Title
Object :DVD-R
All Clear
Start
Budget
Original
Preparation
• Make the following settings and record contents onto the HDD.
– Set “DVD-R Broadcast Record” to “Main” or “SAP” (
page 128).
– Set the picture quality rate to “4.0” or higher.
• Load a new DVD-R (Follow the instructions on handling of the disc).
• Press the HDD button to select the HDD mode.
*RD-X2.Ope(US)p083-102
9/3/02, 11:25 AM
94
Summary of Contents for RD-X2U
Page 24: ...24 RD X2U Prep E p13 24 9 3 02 9 47 AM 24 ...
Page 50: ...50 Memo RD X2U Prep E p40 52 9 3 02 9 48 AM 50 ...
Page 51: ...51 Introduction Connections Basic Setup Memo RD X2U Prep E p40 52 9 3 02 9 48 AM 51 ...
Page 52: ...Printed in Japan RD X2U Prep E p40 52 9 3 02 9 48 AM 52 ...
Page 54: ......
Page 78: ... RD X2 Ope US p018 026 9 3 02 11 23 AM 26 ...
Page 114: ...62 RD X2 Ope US p045 062 9 3 02 11 24 AM 62 ...
Page 134: ...82 RD X2 Ope US p063 082 9 3 02 11 24 AM 82 ...
Page 200: ......


