190
28
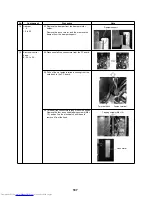
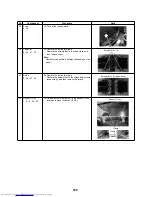
Sensor (TOA)
(Continued)
1., 2., 5., 35., 36.
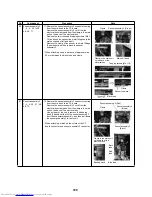
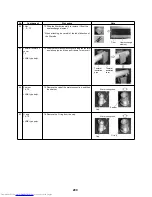
36. Disconnect the sensor (TOA) connectors from the
PC board and clamp.
29
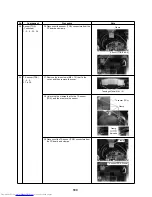
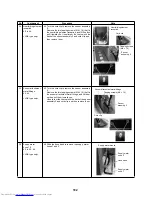
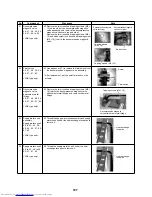
TA sensor (TRA)
1., 2., 5.
37. to 39.
37. Remove the two screws (M4 × 10) that fix the
cover, and then remove the cover.
38. Unlock the five clamps that fix the TA sensor
(TRA), and then remove the sensor.
39. Disconnect the TA sensor (TRA) connectors from
the PC board and clamps.
No.
Component
Procedure
Note
Clamp
Sensor (TOA, Brown)
Tapping screws (M4 × 10)
Clamp
TA sensor (TRA)
Clamp
Release
Clamp
TA sensor (TRA, White)
Summary of Contents for MD-VNK802HEXE
Page 120: ...118 11Owner s Manual Excerpt ...
Page 137: ...135 12Installation Manual Excerpt ...


