66
Connecting your TV
Selecting a file in the list of content:
1
Press
s
,
r
,
v
or
w
to select a file or folder.
2
Press
OK
to move to the next layer, or press
BACK
to
return to the previous layer�
Closing the Media Player:
1
Press
EXIT
�
Using the Media Player with a DLNA
CERTIFIED™ Server
You need to configure a home network before using this
feature (
-
page 56)�
1
From the
Media Player
menu and press
OK
�
2
Press
s
or
r
to select
Photo
,
Movie
, or
Music
and
press
OK
. The thumbnail (for Photo) or list of files (for
Movie and Music) will appear�
Note:
If there is more than one media server on
the network, a list of all media servers will be
displayed. Select the server you want to use,
and press
OK
.
3
Press
s
or
r
to select a DMS if the selection
window is displayed�
Selecting a file in the list of content:
1
Press
s
or
r
to select a file or folder.
2
Press
OK
to move to the next layer, or press
BACK
to
return to the previous layer�
Closing the Media Player:
1
Press
EXIT
�
Displaying the device information:
1
Press
QUICK
to open the
Quick Menu
in list mode
or Multi View mode�
2
Press
s
or
r
to select
Device Information
�
Setting DLNA CERTIFIED™ Server waking up:
You only need to complete the Media Server Setup if you
wish to use the “Wake-on-LAN” feature�
1
From the
Media Player
menu, press
r
�
2
Press
v
or
w
to select
Media Player Setup
and
press
OK
�
3
Press
s
or
r
to select
Media Server Setup
and
press
OK
� A list of currently available DMSs will
appear�
4
Press
s
or
r
to select the desired device and press
OK
� A check will appear in the box� To remove the
check, press again�
5
Press
w
to select
Done
and press
OK
to save�
Notes:
•
Up to 8 DMSs can be selected.
•
If the device is checked, it will still be displayed (with
grey out) in the Select Device window, even if it is
currently powered off. When
OK
is pressed with
the highlight on a greyed out item, a confirmation
window for Wake-on-LAN will be displayed. If Yes
is selected, the TV will attempt to power up (“wake
up”) the DMS. If the server supports Wake-on-LAN,
it will start up.
•
When several DMSs are connected, it may take
some time for the list to be displayed.
The following operations may help to improve the
display time.
- Close the device selection window, and open it
again.
- Press the
RED
button to update the list.
Viewing photo files
There are three types of viewing modes�
Multi View
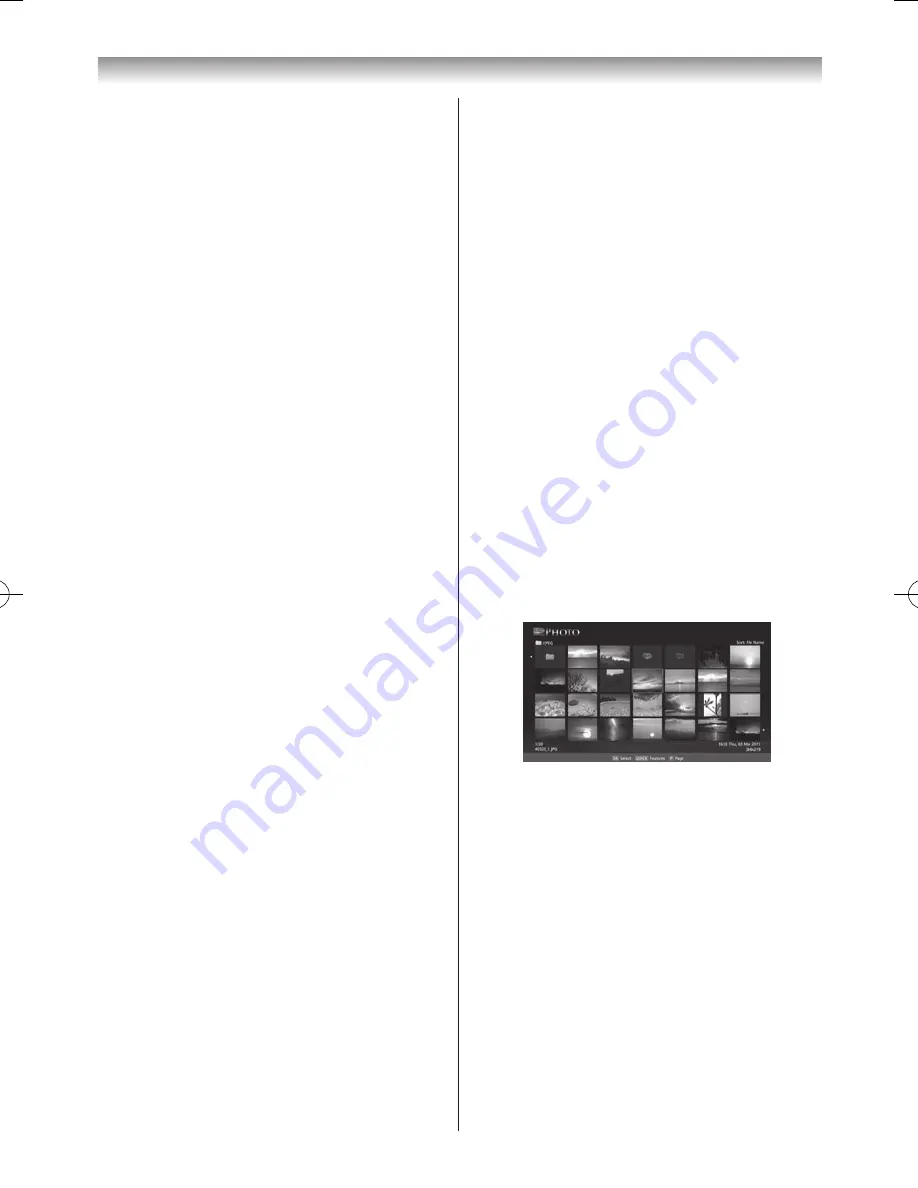
This view allows you to search for photos in a grid format�
The pictures are displayed using thumbnail data in each
image file.
Photo list example
The initial highlighted position will be on the top left
thumbnail in the Multi View�
1
Press
s
,
r
,
v
or
w
to move the highlight in one
window. If all of the photos will not fit in one screen,
when pressing
v
at the top left thumbnail, the screen
will move to the previous page� Conversely, when
pressing
w
at the bottom right thumbnail, the screen
will move to the next page�
P
U
/
P
u
buttons can be used to page up/down/ the
photo list when there are more photos than will fit onto
one screen� When the
P
U
/
P
u
buttons are pressed,
the highlight shall be on the photo at the top left of
Previous/Next list�
2
When you select a folder, press
OK
to move to the
next layer� Press
BACK
to move back to the previous
layer�
3
Press
OK
to view the selected photo in Single View
mode�
110920c1_55WL800AZ_En.indb 66
11.9.21 11:37:36


