21
Getting started
• Teletext availability ( )
• Subtitle availability ( )
• Parental rating: G, PG, M, MA, AV, R, etc.
• Dolby
®
Digital audio track availability (indicated by
Dolby D
)
• Reminder Timer (if set) (
✓
)
2
Press
s
or
r
to select the “
Now
” or “
Next
”
information
guide�
3
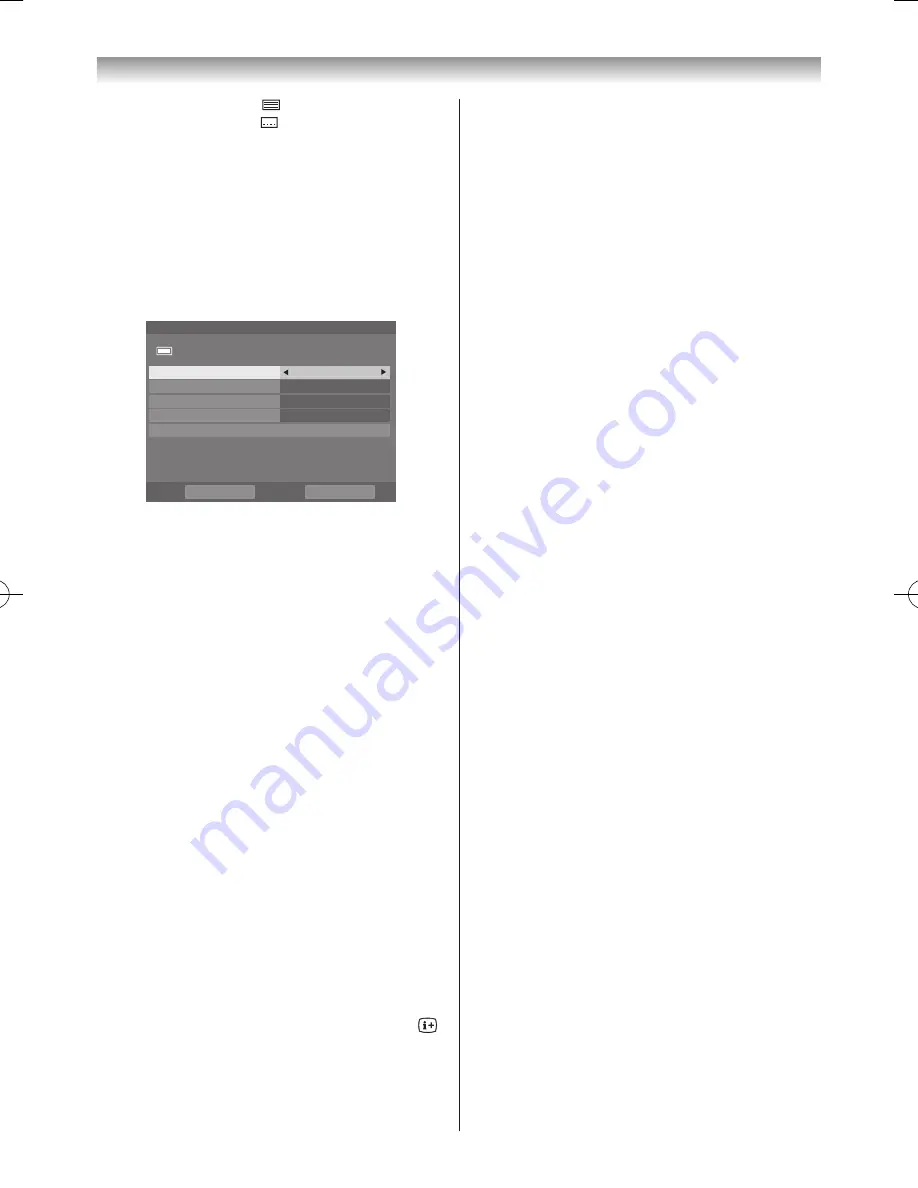
To set a reminder for the Next programme, select
“
Next
” and press
OK
� The
Set Timer
screen will
appear�
r
p
A
5
2
,
Mon
0
5
:
0
1
r
e
m
i
T
Set
Seven Wonder4
□ □ □ □ □
10:55-12:30 Mon, 25 Apr
Timer Type
Recording
Programme Tracking
On
Protect
Off
Personal Grouping
None
Change Time
Set Timer
Delete Timer
4
The details of the programme will have been added to
the timer (
-
page 74)� Select
Set Timer
and press
OK
to save�
To indicate that a timer has been set, a check mark
will be displayed in the
Next
field of the information
screen (
4
)�
A check mark will appear if the timer is a Reminder
Timer (
✓
)�
Note:
The Programme Timer LED indicator (
-
page 9)
will appear orange when a timer is set.
Displaying the Clock Display
You will always see a time display on screen when using
this feature�
1
From the
Preferences
menu, press
s
or
r
until
Clock Display
is selected�
2
Press
v
or
w
to select
On
or
Off
�
Note:
This feature will not be available until a digital
channel has been tuned.
HDMI Information Display
When the HDMI Information Display feature is On and
you are watching an HDMI input source, pressing the
button displays the HDMI signal information banner�
1
From the
Preferences
menu, press
s
or
r
until
HDMI Information Display
is selected�
2
Press
v
or
w
to select
On
or
Off
�
HDMI signal information is as follows:
Resolution, Scan Type, Frame Rate*, Aspect, Bit
Depth, Colour Space, RGB/YUV, Chroma Format and
Content Type (if available)�
* If the HDMI input source is interlaced, “
Field
Rate
” will be displayed instead of “
Frame Rate
”�
110920c1_55WL800AZ_En.indb 21
11.9.21 11:37:20


