12
If the TileVision
®
is used with a Sky™ receiver, the channel can be changed on the Sky™
receiver using the Sky™ remote control via the remote sensor on the TileVision
®
.
Sky™ Remote Control Link Setup
Preparation to use this facility should have been completed during
the installation of the first fix assembly (see page 9).
It is advisable to setup the Sky™ receiver so that it can be
controlled via the TileVision
®
before the TileVision
®
is installed.
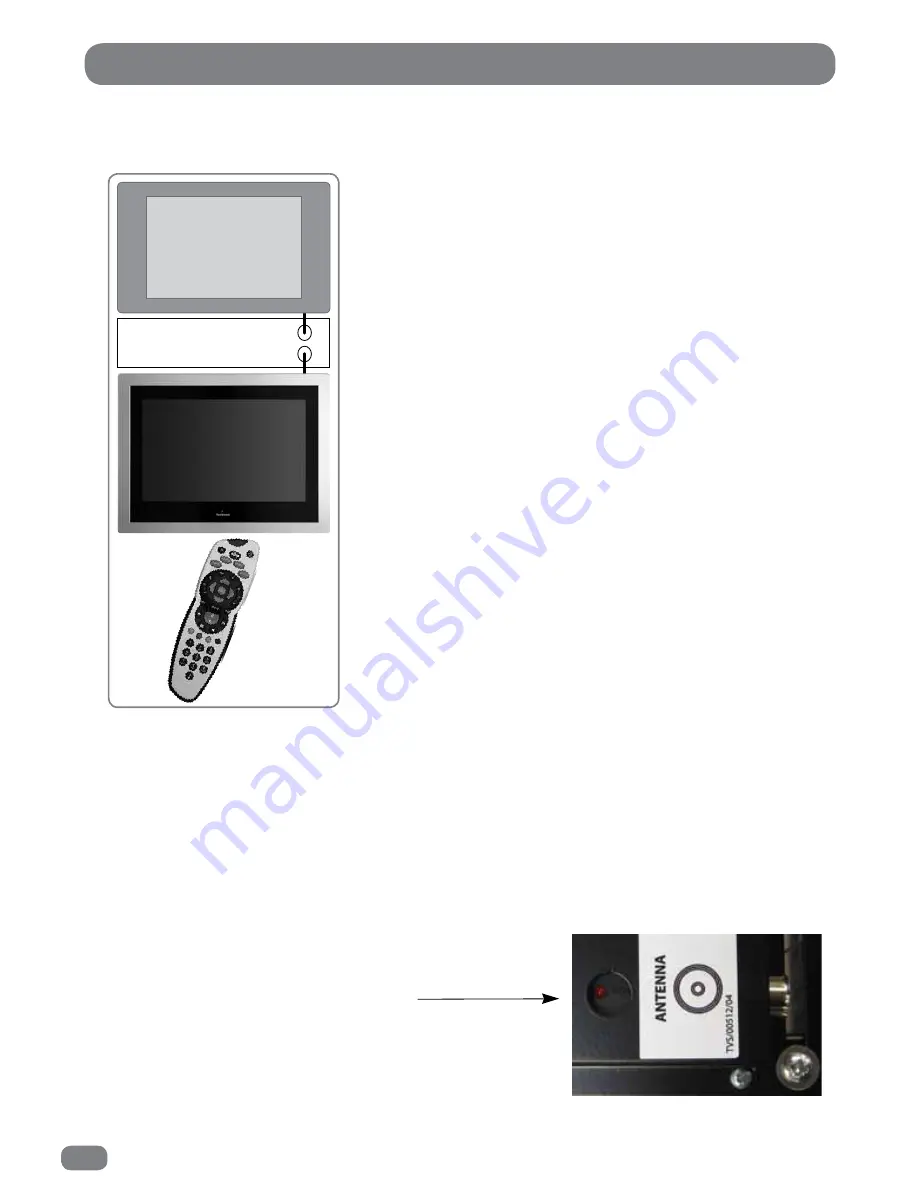
The red LED on the TV Link (that is fixed to the TileVision
®
) will
light when correctly connected to and powered by the Sky™
receiver. This is checked when connecting the aerial lead to the
TileVision
®
.
The connection to the Antenna/RF connectors on the TileVision
®
and the Sky™ receiver must be made with both the TileVision
®
and the Sky™ receiver disconnected from the mains supply. Use
good quality coax cable either directly from the RF2 outlet of the
receiver or the outlet of a Remote-Link amp in an uninterrupted
run .
Once the connections have been made, the Sky™ receiver must
be setup to supply power to the RF2 socket as detailed below.
To set-up the Sky™ receiver to work with the
TileVision
®
the Sky™ remote control must be used
via the main TV (TV 1).
1
On the Sky™ remote control press
SERVICES
to show the
SERVICES menu.
2
Press the
4
button for the SYSTEM SETUP menu.
3
Press the
0
button, then the
1
button, then the
select
button,
in sequence, to display the INSTALLER SETUP menu.
4
Press the
4
button to select RF OUTLETS.
5
Press the
down
arrow to select RF Outlet Power Supply and
press the
left
or
right
arrows to change the setting to ON.
6
Press the
down
arrow to select Save New Settings and press
select
to save the settings.
7
Press the
sky
button to return to the previously viewed
channel.
Red LED indicator will light
when power is received from
the Sky™ RF2 outlet
Sky™ digital receiver
RF 1
RF 2
TV 1
To set up the TileVision
remote control to operate
the Sky™ receiver see page
62 (Entering a Brand Code).


