22
GETTING STARTED
3. In the
Set Date screen
select the
required month, day and year value,
using the and
arrows.
4. Tap
Set.
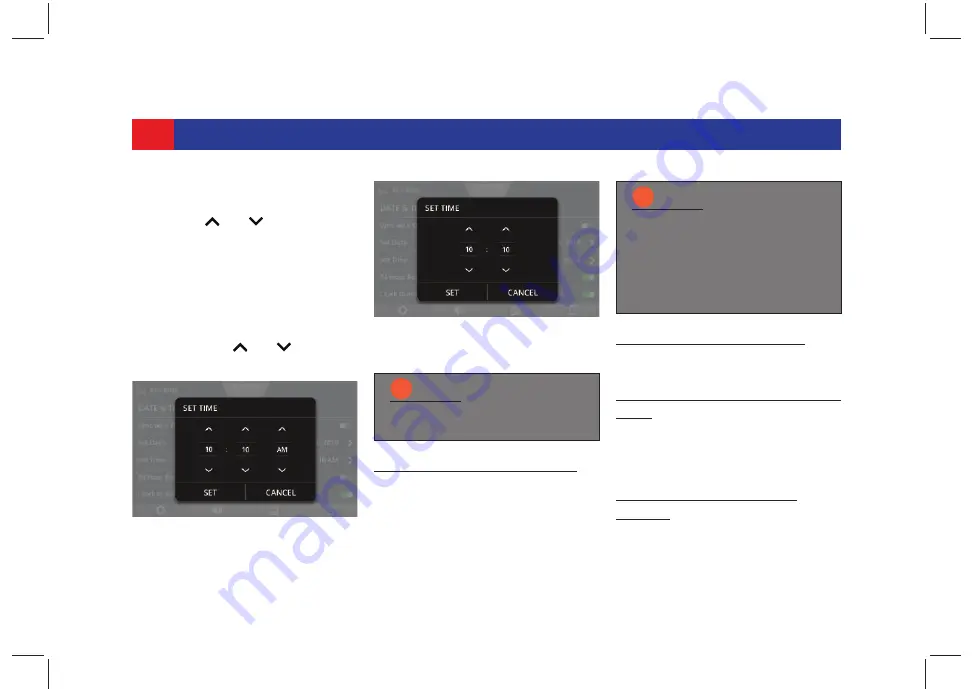
Manually setting time
1. Tap the
Set Time
option. The sys-
tem displays the
Set Time screen
.
2. In the screen, select the required
hour, minute and time period (AM/
PM) using the and arrows.
3. Tap
Set
.
E
NABLING
D
AY
L
IGHT
S
AVINGS
.
1. Tap
Day Light Savings
. The
system enables the day light
savings for the current time zone.
E
NABLING
24 H
OUR
F
ORMAT
.
1. Tap
24 Hour Format
. The system
enables the 24 hour format.
E
NABLING
C
LOCK
D
URING
D
ISPLAY
OFF.
1. Tap
Clock During Display Off
. The
system will now display the clock in
the Display OFF mode.
3.5.3 M
ANAGING
V
EHICLE
A
LERTS
In the
Vehicle Alerts Settings screen
,
you can enable/disable the display of
Figure 15: Set Time Dialog Box
NOTE:
i
AM/PM is available only if
24
Hour Format
is disabled.
Figure 16: Set Time Dialog Box - 24
Hour Format
NOTE:
i
The Day Light Savings option
will be available only if
Sync
with GPS
option is enabled.
The time will be increased by 1
hour only if Day Light Saving is
applicable for the time zone.


