Sutron Corporation X-Link Operations & Maintenance Manual, Rev 1.63 5/24/2016 pg. 22
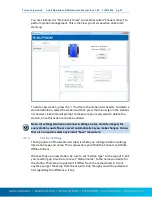
You can change the picture used for your station definition by selecting the
“Change…” text underneath the picture. The menu that pops-up also gives you
the ability to restore the picture to its default for the station type. If a camera is
available, you also have the option of taking the picture to be used.
Press the “Connect” button to connect to X-Link. When connected, you are able
to see current data values, historical data, and the setup in the unit.
Press the “Work Offline” button if you want to make changes to the setup stored
locally for the station, without connecting to X-Link. When you later connect to
X-Link, LinkComm will notice the setup in the unit is different than the one
stored locally, and will ask you which one to use (LinkComm first asks if you want
to retrieve the setup from X-Link. If you answer “No”, LinkComm then asks you if
you want to send the local setup to X-Link).
4.1.2.
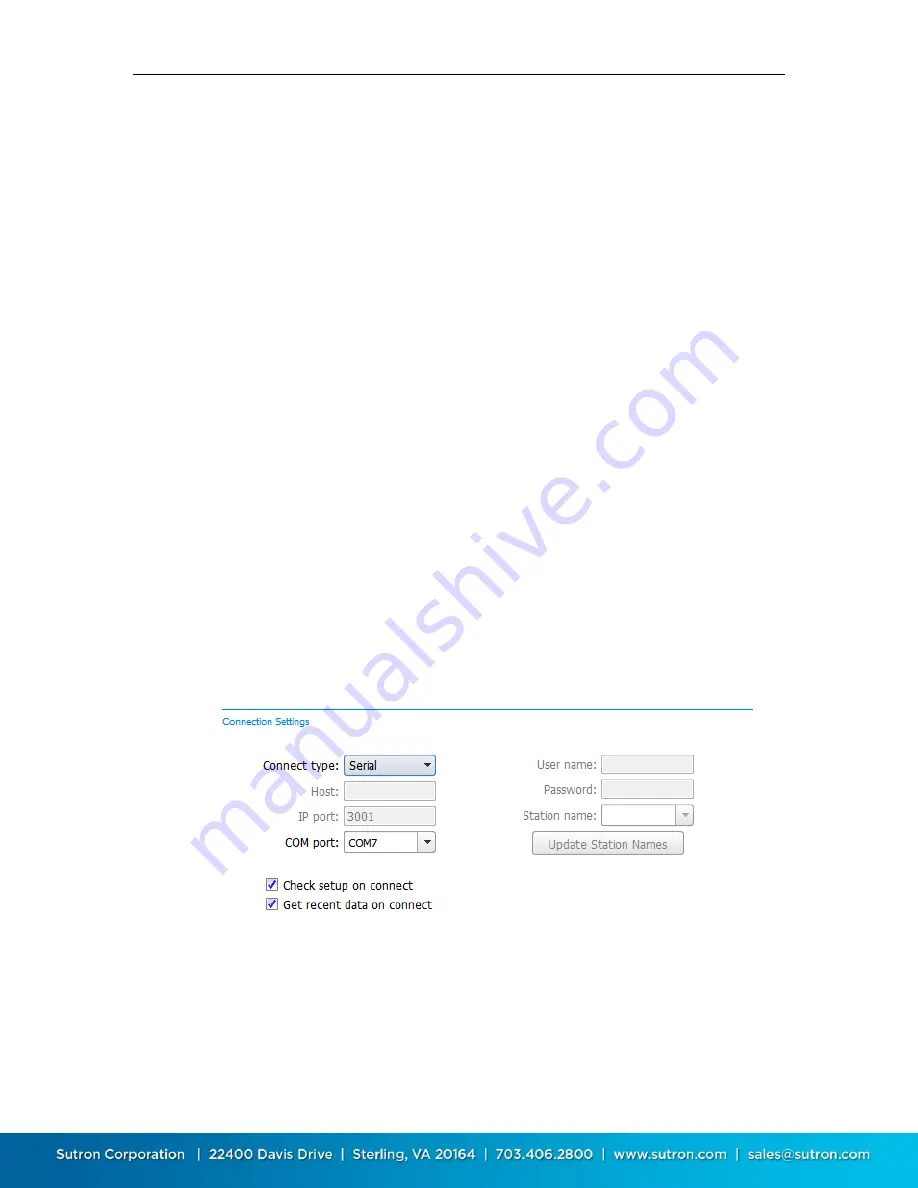
Connection Settings
There are several ways to connect to X-Link:
Directly via USB cable
Remotely via TCP/IP
Remotely through the Sutron Redirector
Locally via X-Link’s Wi-Fi
Basic features, such as checking status and changing setup are available via all
connection types. However, some features, such as upgrading the firmware, are
available only over USB. Additionally, changing some of the settings and
disabling the password is not possible remotely.
“Check setup on connect”, when checked, will cause LinkComm to retrieve the
setup from X-Link every time you connect. You may choose to disable this
feature to reduce data costs (e.g., for cellular connections that cost money).
“Get recent data on connect”, when checked, will cause LinkComm to download
the last week of data for display in a graph on the dashboard tab, every time you


