OnAir 500 Digital Mixing Console
Menu Pages 4-5
Date printed: 10.08.05
Alternatively, if the
SELECT
button is pressed on channel 1 while the
INPUT 2
button is
not
illuminated (meaning that input 1 is active), the LC display will
read:
Source Selection
Ch01.1: M/L1
5
Now use the
PARAMETER
encoder to scroll through the selection of different
inputs until you reach the desired input source.
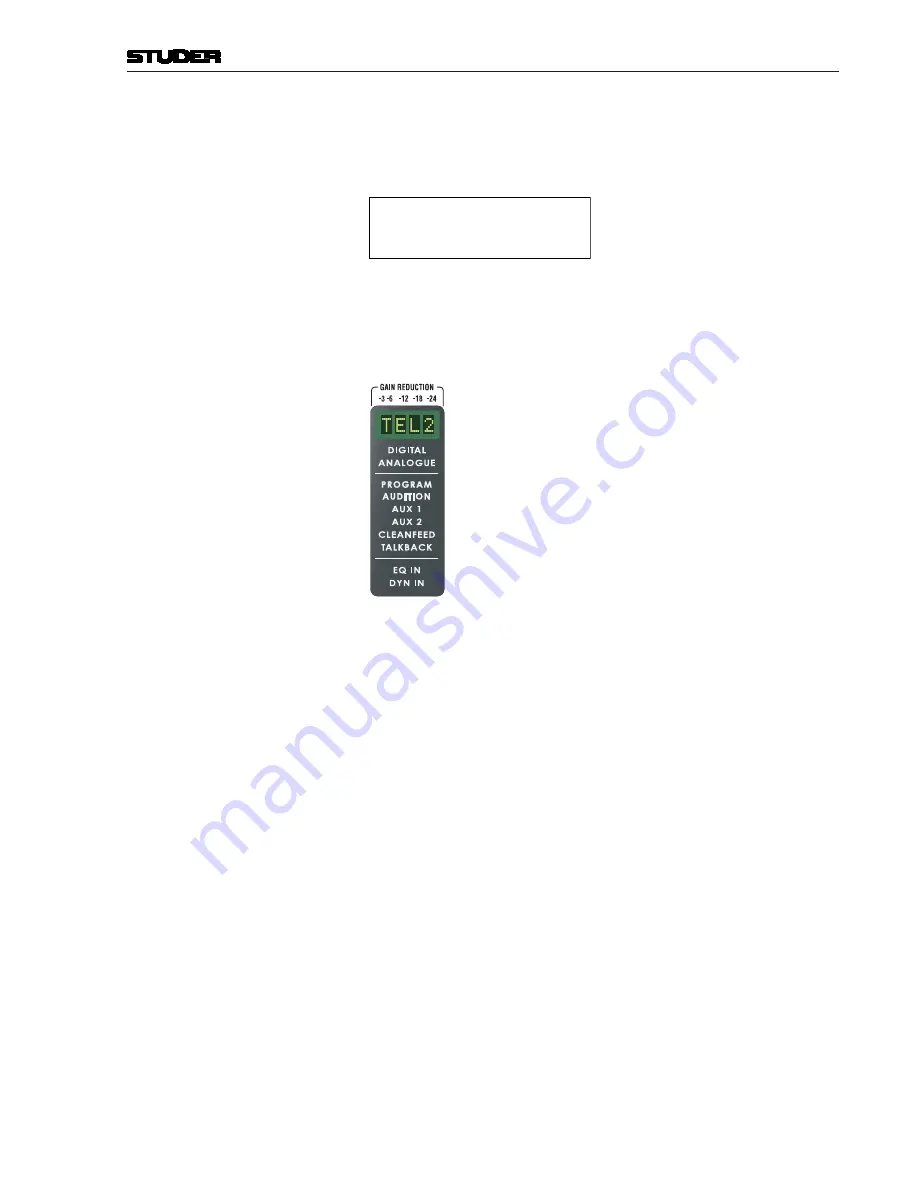
As you scroll through the different input sources you will see the names of
those inputs appearing on the four-character LED display at the top of the
selected channel strip.
You will also notice that the
DIGITAL
or
ANALOGUE
legend just below
the four-character LED display on the selected channel will illuminate, to
confirm that the input source is either digital or analog.
6
You may now repeat the procedure above for the alternate input on the selected
channel.
7
If you are happy with your selection press the
SELECT
button on the next
channel you want to set-up.
8
Pressing the
SETUP
button will exit this menu. However, the
SETUP
button will
still flash, the next menu can be selected for adjustment. To exit completely,
press one of the
DYN
,
EDIT
, or
PRESETS
buttons twice.
Note:
You can also use the
PARAMETER
encoder to select the channel and input
number without using the
SELECT
buttons to select the channels.
Summary of Contents for OnAir 500 Modulo
Page 1: ...Studer OnAir 500 Digital Mixing Console Operating Instructions ...
Page 17: ...OnAir 500 Digital Mixing Console 0 4 Contents Date printed 30 07 04 ...
Page 29: ...OnAir 500 Digital Mixing Console 3 2 Operating Elements Date printed 30 07 04 1 3 4 5 6 7 2 8 ...
Page 43: ...OnAir 500 Digital Mixing Console 3 16 Operating Elements Date printed 30 07 04 ...
Page 75: ...OnAir 500 Digital Mixing Console 4 32 Menu Pages Date printed 10 08 05 ...
Page 87: ...OnAir 500 Digital Mixing Console 7 4 Effects Date printed 30 07 04 ...
Page 115: ...OnAir 500 Digital Mixing Console 12 12 Connectors Date printed 10 08 05 ...


