1-11
BBBB
V
a
rious
reco
rd
ing
43
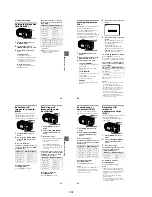
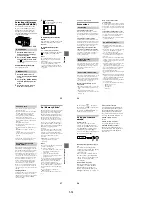
Recording images in
macro
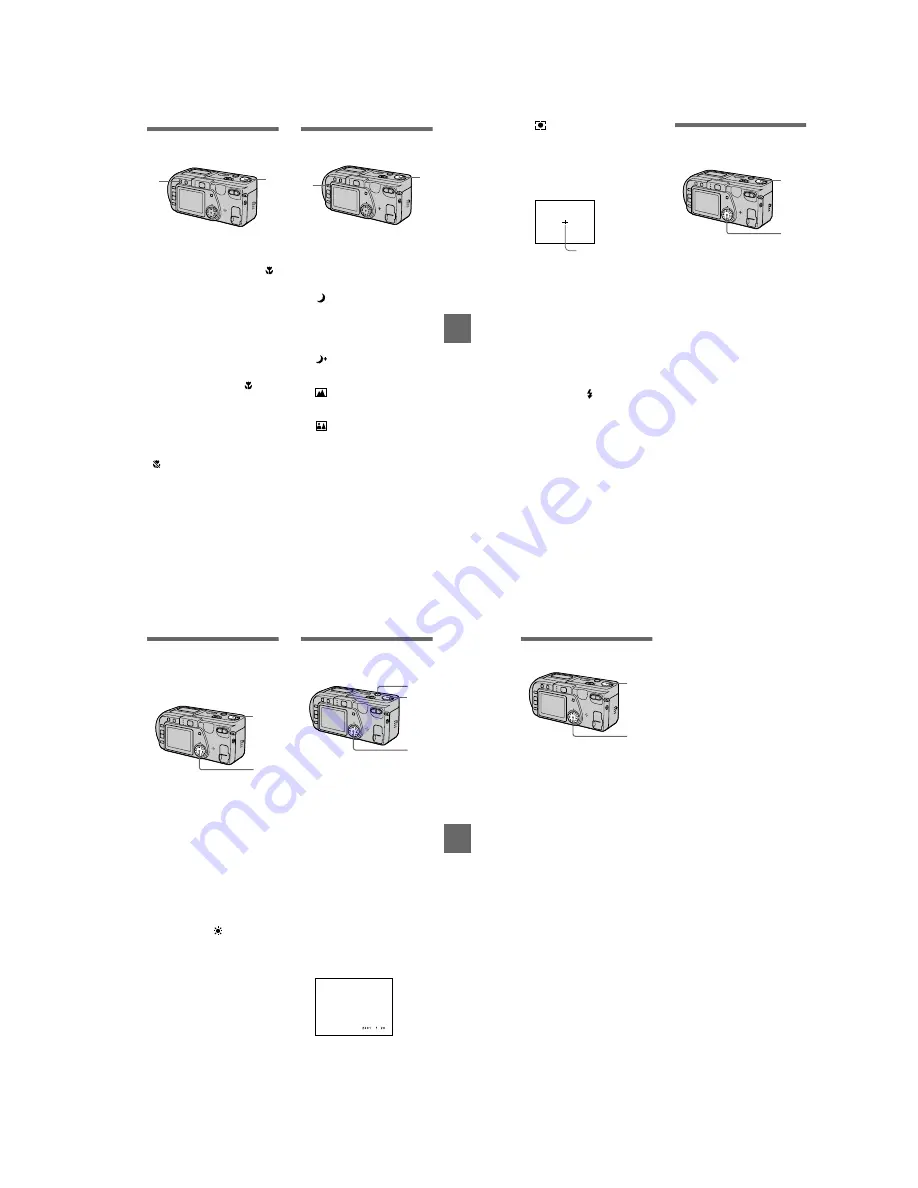
1
Set the MODE selector to
MOVIE or STILL.
2
Press MACRO so that the
(auto macro) indicator
appears on the LCD screen.
You can record a subject as close
as about 4 inches (10 cm) from the
lens surface with the zoom set all
the way to the W side.
(About 19 3/4 inches (50 cm) on
the T side)
To return to normal
recording mode
Press MACRO again so that
disappears from the LCD screen.
Notes
•
You cannot record images in macro with
the following PROGRAM AE modes.
— Landscape mode
— Panfocus mode
•
You cannot record images in macro when
appears on the LCD screen.
•
When recording images in macro, use the
LCD screen. If you record using the finder,
the range visible in the finder may differ
from the actual recording range.
1
2
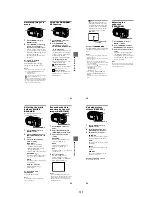
Using the PROGRAM
AE function
1
Set the MODE selector to
MOVIE or STILL.
2
Press PROGRAM AE
repeatedly to select the
desired PROGRAM AE mode.
Twilight mode
Suppresses the washed-out color
of a bright subject in a dark place
so that you can record the subject
without losing the dark
atmosphere of the surroundings.
Twilight plus mode
Increases the effectiveness of the
twilight mode function.
Landscape mode
Focuses only on a distant subject
to record landscapes, etc.
Panfocus mode
Changes the focus quickly and
simply from a close subject to a
distant subject.
1
2
44
Spot light-metering mode
Select this mode when there is
backlight or when there is strong
contrast between the subject and
the background, etc. Position the
point you want to record on the
spot light-metering cross hair.
To cancel PROGRAM AE
Press PROGRAM AE repeatedly until
the indicator on the LCD screen goes
out.
Notes
•
You can focus only on distant subjects in
Landscape mode.
•
In Panfocus mode, the zoom position and
focus are fixed.
•
When you record in the Twilight plus
mode, we recommend that you use a tripod
to prevent shaking.
•
Set the forced flash
when you use the
flash in the following modes:
–
Twilight mode
–
Twilight plus mode
–
Landscape mode
•
You cannot use the PROGRAM AE
function when [REC MODE] is set to
[TEXT].
•
The noise may increase in twilight plus
mode.
LCD screen
Spot light-metering
cross hair
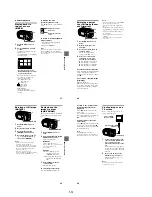
Adjusting the
exposure
(EXPOSURE)
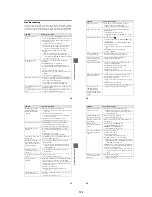
1
Set the MODE selector to
MOVIE or STILL.
2
Select [CAMERA] and then
[EXPOSURE] from the menu.
3
Select the desired exposure
value.
Adjust the exposure value while
checking the brightness of the
background. You can select values
ranging from +2.0 EV to –2.0 EV
in steps of 1/3 EV.
Note
The exposure may not be adjusted properly
when the subject is extremely bright or dark,
or when using the flash.
1
2,3
BBBB
V
a
rious
reco
rd
ing
45
Adjusting the white
balance (WHITE
BALANCE)
Normally the white balance is
automatically adjusted.
1
Set the MODE selector to
MOVIE or STILL.
2
Select [CAMERA] and then
[WHITE BALANCE] from the
menu.
3
Select the desired white
balance setting.
IN DOOR (
n
)
•
Places where the lighting
condition changes quickly
•
Under bright lighting such as
photography studios
•
Under sodium or mercury lamps
OUT DOOR (
)
Recording a sunrise/sunset, night
scene, neon signs, or fireworks
HOLD
Recording a single-colored subject
or background
AUTO (No indicator)
Adjusts the white balance
automatically
To reactivate auto
adjustment
Select [AUTO] in step
3
.
Note
Select [AUTO] when recording under
fluorescent lighting.
1
2,3
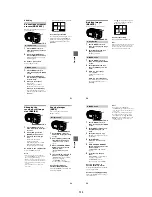
Recording the date
and time on the still
image (DATE/TIME)
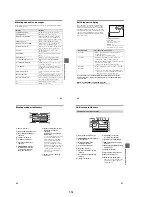
1
Set the MODE selector to
STILL.
2
Select [EFFECT] and then
[DATE/TIME] from the menu.
3
Select the date and time
setting.
DAY&TIME
The date, hour and minutes are
imposed onto the image.
DATE
The year, month and day are
imposed onto the image.
OFF
The date and time are not imposed
onto the image.
4
Record the image.
The date and time are not
displayed during recording.
The date and time are displayed
when playing back images.
Notes
•
If you select [DATE] in step
3
, the date is
imposed onto the image in the order selected
with “Setting the date and time” (page 12).
•
The date and time are not imposed onto
Clip Motion images.
1
2,3
4
46
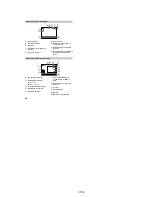
Enjoying picture
effects (P.EFFECT)
1
Set the MODE selector to
MOVIE or STILL.
2
Select [EFFECT] and then
[P.EFFECT] from the menu.
3
Select the desired mode.
SOLARIZE
The light contrast is clearer and the
picture looks like an illustration.
B&W
The picture is monochrome (black
and white).
SEPIA
The picture is colored like an old
picture.
NEG.ART
The color and brightness of the
picture are reversed.
To cancel picture effect
Select [OFF] in step
3
.
1
2,3


