1-6
BBBB
P
lay
b
a
ck
23
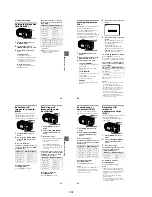
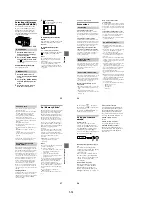
Playing back moving images
To pause playback
Select
X
(pause) on the LCD screen with
v
/
V
/
b
/
B
on the control button, then press
the center
z
.
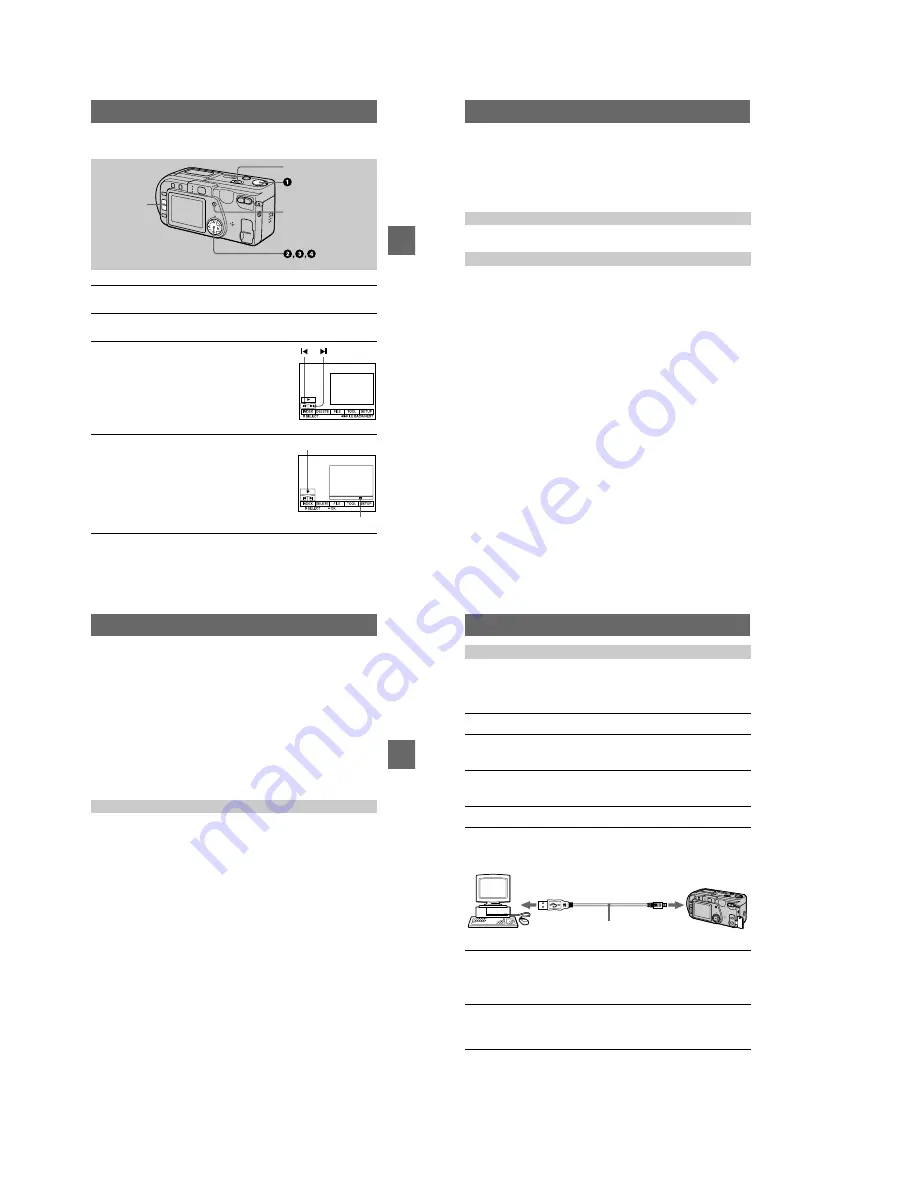
1
Set the MODE selector to PLAY.
The last recorded image (still or moving) appears on the LCD screen.
2
Press
v
on the control button to display the menu bar on the LCD
screen.
3
Select the desired moving image with the
control button.
Moving images are displayed one-size smaller than
still images.
Press
v
/
V
/
b
/
B
on the control button to select
"b
/
B"
on the LCD screen, then press
b
/
B
on the control
button.
"b
: To display the preceding image.
B"
: To display the next image.
4
Select
B
(playback) on the LCD screen with
v
/
V
/
b
/
B
on the control button, then press the
center
z
.
The moving image and sound are played back.
During playback,
B
(playback) changes to
X
(pause).
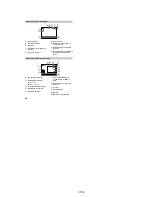
/–
POWER switch
DISPLAY
B
(playback)/
X
(pause)
Playback bar
24
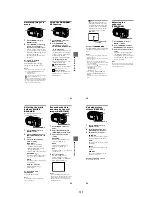
When the menu bar is not displayed
You can directly select the image with
b
/
B
on the control button, and play back the
image and sound by pressing the center
z
. When you press the center
z
during
playback, playback is paused.
Moving images recorded with the image of [320 (HQ)]
The images are displayed over the entire screen in steps
3
and
4
.
Press /– to adjust the volume.
Press DISPLAY to turn on/off the indicators on the LCD screen.
See page 68 for a detailed description of the indicators.
Adjusting the volume
LCD screen indicators during moving image playback
BBBB
P
lay
b
a
ck
25
Viewing images using a personal
computer
You can view data recorded with your camera on a personal computer and attach it to
e-mail. This section describes the method for installing the USB driver and viewing
images on a personal computer. Be sure to also see the operation manuals for your
personal computer and application software.
Note
Data recorded with your camera is stored in the following formats. Make sure that applications
that support these file formats are installed on your personal computer.
•
Still images (other than TEXT mode, uncompressed mode and Clip Motion):JPEG format
•
Moving images/audio:
MPEG format
•
Uncompressed mode still images:
TIFF format
•
TEXT mode, Clip Motion:
GIF format
Recommended Windows environment
OS:
Microsoft Windows 98, Windows 98SE, Windows 2000 Professional
Standard installation is required.
Operation is not assured in an environment upgraded from:
Windows 3.1, Windows 95 to Windows 98 or
Windows 98 to Windows 98SE;
Windows NT 3.51, Windows NT 4.0, Windows 98, Windows 98SE, Windows 95 to
Windows 2000
CPU: MMX Pentium 200 MHz or faster
The USB connector must be provided as standard.
ActiveMovie Player (DirectShow) must be installed (to play back moving pictures).
Recommended Macintosh environment
Macintosh computer with the Mac OS 8.5.1/8.6/9.0 standard installation
However, note that the update to Mac OS 9.0 should be used for the following models.
•
iMac with the Mac OS 8.6 standard installation and a slot loading type CD-ROM drive
•
iBook or G4 with the Mac OS 8.6 standard installation
The USB connector must be provided as standard.
QuickTime 3.2 or newer must be installed (to play back moving pictures).
Notes
•
Operations are not guaranteed for either the Windows or Macintosh environment if you connect
two or more USB equipment to a single personal computer at the same time (except for the
USB keyboard and mouse which are provided as standard), or when using a hub.
•
Depending on the type of USB equipment that is used simultaneously, some equipment may
not operate.
•
Operations are not guaranteed for all the recommended computer environments mentioned
above.
Recommended computer environment
26
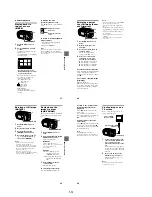
Before connecting your camera to your personal computer, install the USB driver to
the computer. The USB driver is contained together with application software for
viewing images on a CD-ROM which is supplied with your camera.
For Windows 98, Windows 98SE and Windows 2000 users
Note
In step 7, make sure that a “Memory Stick” is inserted in your camera. Otherwise, you will be
unable to install the USB driver.
Installing the USB driver
1
Turn on your personal computer and allow Windows to load.
2
Insert the supplied CD-ROM in the CD-ROM drive of your personal
computer.
The application software screen appears.
3
Click “USB Driver Installation for Windows 98/98SE, Windows
2000”.
USB driver installation starts.
4
Follow the on-screen messages to install the USB driver.
5
Connect the USB jack (mini-B) on your camera with the USB
connector on your personal computer using the supplied USB
cable.
6
Insert a “Memory Stick” into your camera, connect the AC power
adaptor and turn on your camera.
“PC MODE” appears on the LCD screen of your camera and the camera is set
to communication standby mode. Your personal computer recognizes the
camera, and the Windows Add Hardware Wizard starts.
7
Follow the on-screen messages to have the Add Hardware Wizard
recognize the hardware.
The Add Hardware Wizard starts twice because two different USB drivers are
installed. Be sure to allow the installation to complete without interrupting it.
to the USB connector
Personal computer
USB cable
Push in until the
connector clicks
into place
to the USB jack
(mini-B)


