Chapter
10
Operating Instructions
CLV 45x Bar Code Scanner
10-46
©
SICK AG · Division Auto Ident · Germany · All rights reserved
8 009 139/K949/06-06-2002
Appendix
•
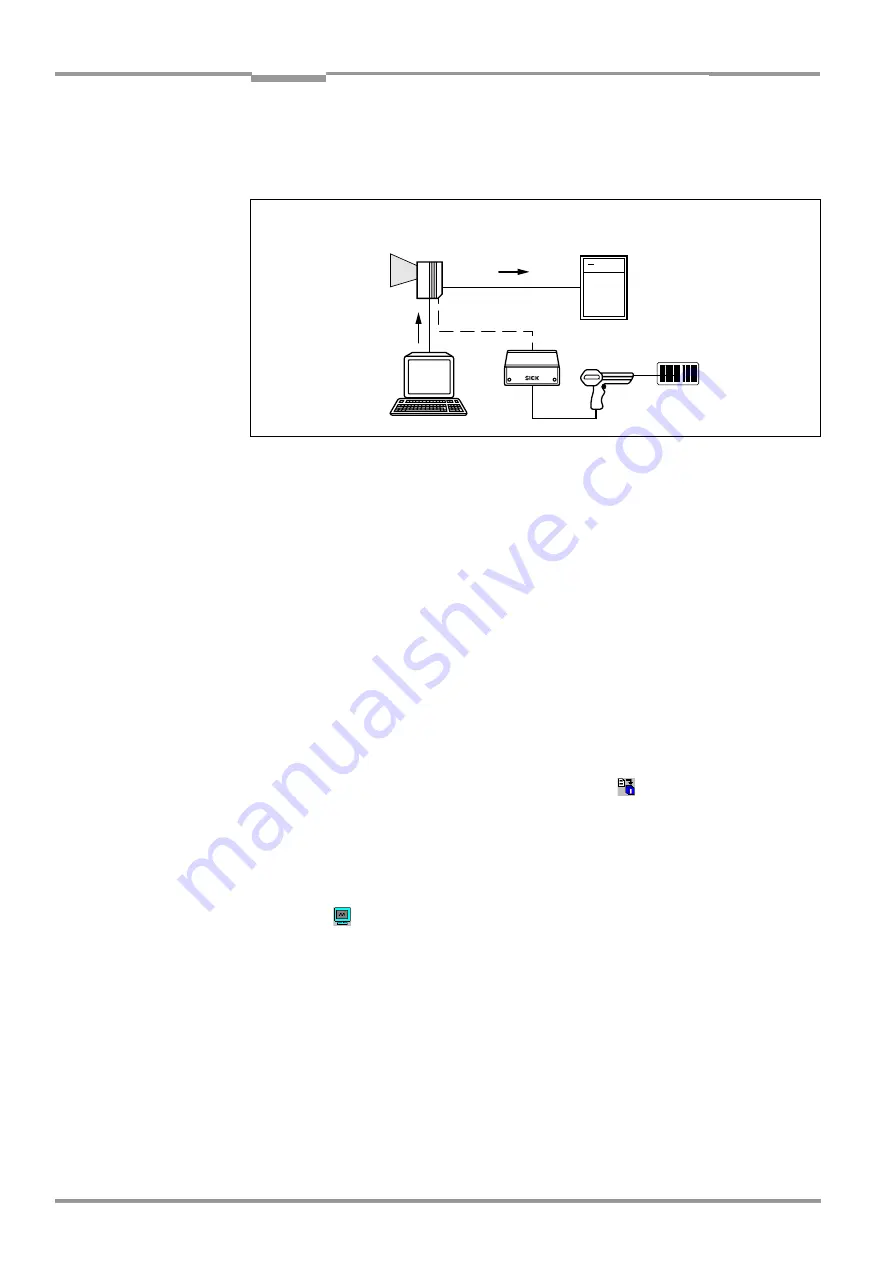
Entry of the bar code using a handheld reader. Transfer to the CLV via internal or exter-
nal decoder of the device
shows the scheme of the auxiliary input.
The CLV sends the data contents of the bar code that it receives via the terminal interface
to the host in the same format as the other read results on the host interface. Each string
can contain the data from a bar code with a maximum length of 50 characters. The CLV au-
tomatically enters the status ST = 7 if the error status has been enabled for transfer. The
values of the other reading diagnosis data in the data string do not have any significance.
You must switch the operating mode on the interface to "Auxiliary input" so that the CLV can
receive the data contents of the bar code via the terminal interface.
1.
Connect the PC to the
terminal interface
on the CLV using an RS-232 data connection
cable (AMV/S 40: Connect the PC to the internal 9-pin "Service" plug).
(refer to
Chapter 5.5.5 Connecting the CAN interface, Page 5-6
2.
Start the "CLV-Setup" software on your PC.
(refer to
Chapter 10.4.3 Starting "CLV-Setup", Page 10-22
)
3.
Select the A
UXILIARY
INTERFACE
tab card.
4.
Select the A
UXILIARY
INPUT
option in the list field.
5.
Carry out the download to the CLV. To do so, click on
in the toolbar.
The D
OWNLOAD
PARAMETERS
dialog box is opened.
6.
Confirm the dialog box with the saving option T
EMPORARY
.
The terminal interface operates temporarily in "Auxiliary input" mode.
Entering the bar code using the terminal emulator function in CLV-Setup
1.
Click on
in the toolbar.
The terminal emulator window opens.
The CLV is in the Reading mode.
2.
Click on the E
XTENDED
radio button under T
ERMINAL
MODE
.
The start and stop characters used by the terminal emulator are displayed at the top of
the screen, on the left and right of the text input field.
displays the terminal emulator window in extended mode.
3.
Use the list field to set the start and stop characters to NUL.
4.
Enter the data content of the bar code (character string) on the keyboard.
Use the backspace key to correct input errors.
The data contents may not contain control characters.
Fig. 10-27: Auxiliary input via the terminal interface of the CLV
Data co
Status ST = 7
Data
contents


