Via Pro User’s Guide – TouchChat
36
Backing up a Customized Vocabulary File using iTunes
It’s a good idea to keep copies of all custom files on a computer for safekeeping. We suggest always
using a wired connection to a computer to copy files consistently.
1.
Connect the device to the computer.
2.
Open iTunes on the computer.
3.
In TouchChat, select
Vocab
and
Choose New Vocab
.
4.
Select
Menu
,
Import/Export Vocab
, and
Export to iTunes
.
5.
From the menu that opens, select the vocabulary file you want to export and select
Save
.
6.
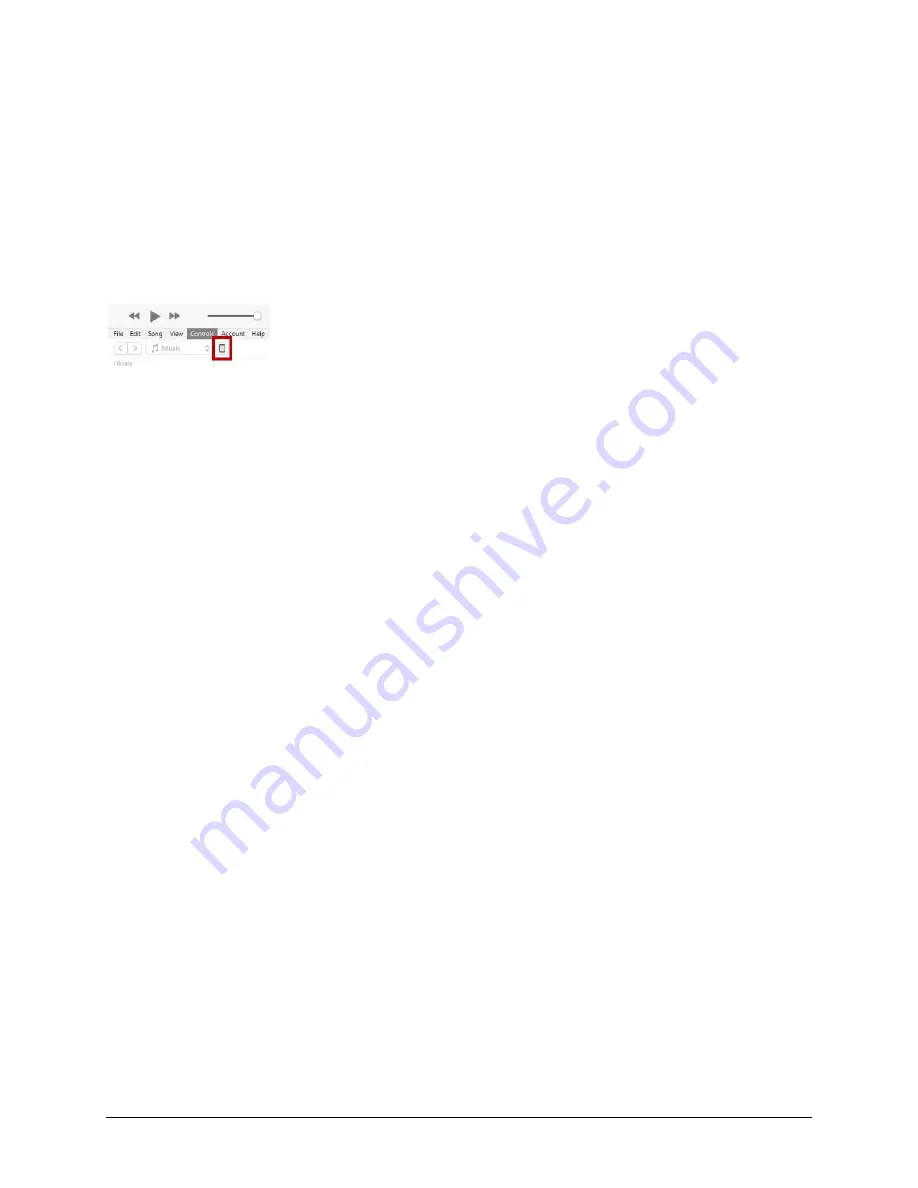
In iTunes on the computer, click the small device icon in the upper left portion of the window.
7.
In the window that opens, click
File Sharing
on the left.
8.
In the Apps column, select the
TouchChat
app.
9.
From the column under
TouchChat Documents
, select the vocabulary file you are exporting.
10.
Click
Save
on the bottom right. A Save window will open.
11.
Navigate to the folder in which you want to save the file and click
Select Folder
.
12.
Click
Done
and exit from iTunes.
Open System Devices:
Backing up a Customized Vocabulary File using iShare
Important!
Before starting this procedure, make sure the device is connected to the Internet. On the
device, go to
Settings
and then
Wi-Fi
.
To use iShare, you must have an iShare account.
1.
In TouchChat, select
Vocab
and
Choose New Vocab
.
2.
Select
Menu
and
iShare Service
.
3.
Select
Login to iShare
.
Note:
If you don’t have an iShare account, you can receive a free 365-day trial by selecting
Register
for iShare
. Enter your name, create and confirm a password, and select
Register
.
4.
Enter your iShare account e-mail address and password.
5.
Select
Login
and select
Okay
.
6.
Choose the folder you want to use.
7.
Select
+
and then select the file you want to save.
8.
Enter a name, description, keywords, and file revision.
9.
Select
Upload
and select
Okay
.
To download a previously saved file:
Navigate to the folder, select the file, and select
Download
.
To delete a previously saved file:
Navigate to the folder, select the file, select
Delete
, and select
Yes
to
confirm.


