92
Configure stamp (see )
If you are not already logged in as administrator user, you are requested to do so, as
soon as you press one of the buttons (see 6.11).
In order to add, delete and configure stamps you need the ROWE PRINT SPECIALS
APP.
6.6.1
Add Stamps
If you desire to create a new stamp, press “Add Stamp”. The
first step is to define the width and height of the new
stamp. After settings the dimensions click “Next”.
Figure 6.19: Stamp size
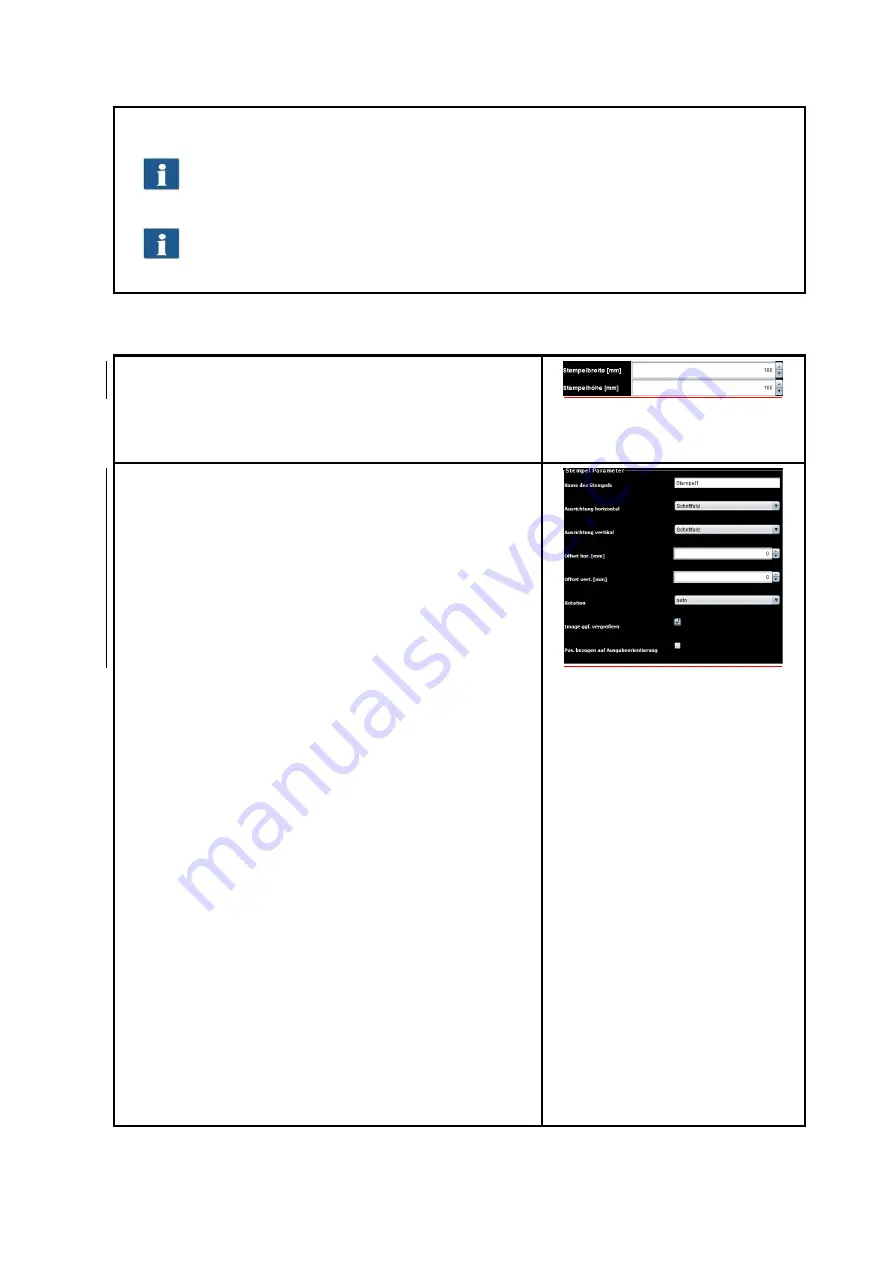
In the next step specify the parameters of the stamp:
Stamp name: Identifier of the stamp, can be an
arbitrary name without special characters.
Alignment hor./vert.: Specifies the position of the
stamp on the sheet. Can be in relation to header
or centered, top/bottom (resp. left/right).
Offset hor./vert.: An optional offset in relation to
the selected alignment.
Rotation: The rotation of the stamp in 90° steps or
“Auto”.
Extend image: If this option is selected and the
stamp (or a part of it) would be out of the sheet,
then the dimension of the sheet will be extended
respectively. Otherwise the stamp will be cut off
eventually.
Pos. relative to output orientation: If this option is
selected, the stamp will be put onto the sheet not
until the sheet is rotated if applicable. Otherwise
the stamp will be applied before rotation.
After specifying the desired settings press “Apply”. In the
next step an external tool (“inkscape”) will be started in
order to create the actual stamp drawing.
Figure 6.1: Stamp parameter


