G A L A X Y ® A U R O U R A L S C O N F I G U R A T I O N A N D S Y S T E M I N T E G R A T I O N G U I D E
25
Section 2 Basic Setup
2.1.3
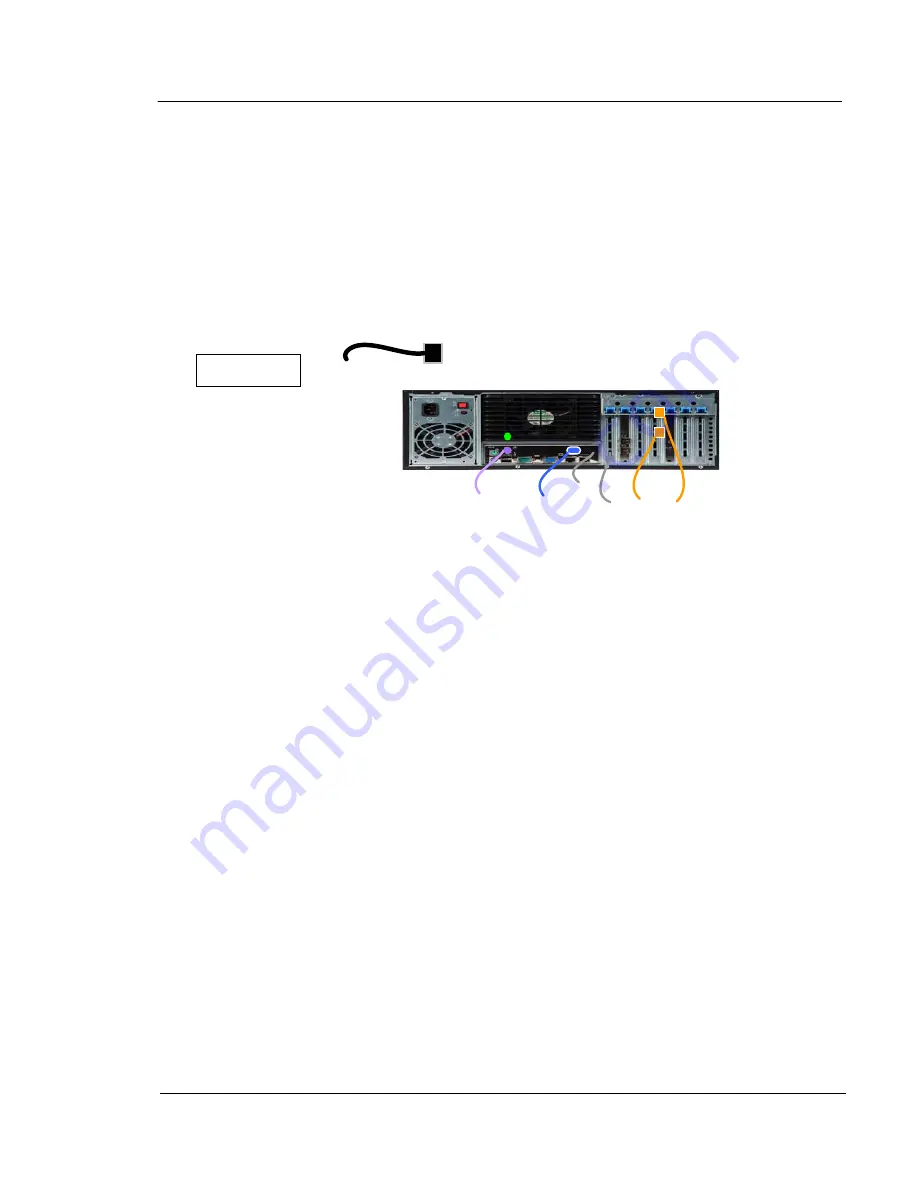
Connecting Cables Figure 2.3
See the illustration for the cable locations and connectivity.
For safety reasons we recommend the cables be connected in the following order:
Connect one power cord to an active powered AC outlet, then connect the other end to the
rear of the Galaxy Aurora LS. You will hear a fan get loud, then get quiet – this is normal and
nothing to be alarmed about.
Then connect the Ethernet, Fibre Channel, monitor, keyboard and mouse.
The 8Gb Fibre Channel connection can either be connected point-to-point (I.e. directly to
another computer with 4Gb or 8Gb Fibre Channel host adapter), or can be connected to a
4Gb or 8Gb Fibre Channel switch.
When all cables are installed, one or more of the Ethernet activity LEDs on the front of the unit
may blink.
Power up the Galaxy Aurora LS by momentarily pushing the front Power switch. The Galaxy
Aurora LS , will take several minutes to boot.
Once powered up and all indicators are green, the Aurora LS is online to your system and
should be seen as a typical RAID storage system. For further use of the GUI for sense,
setting, and configuration information, continue with the following information.
PS/2
Keybd
Monitor
192.168.1.129
8Gb Fibre Client or
FC Switch
AC Cable
DHCP
Figure 2.3


