23
Video Operations
Fading-In/Out the Main Output Video
Here’s how to perform a fade-out from the main output video to a
black screen, or a fade-in from a black screen to the main output
video.
A scene that you don’t want to output as video can be changed to a
black screen.
* The fade-in/out effect does not apply to the video that’s output
from the HDMI OUT PVW connector.
1.
[MENU] button
Ó
select “Transition”, and then press
the [VALUE/CURSOR] knob.
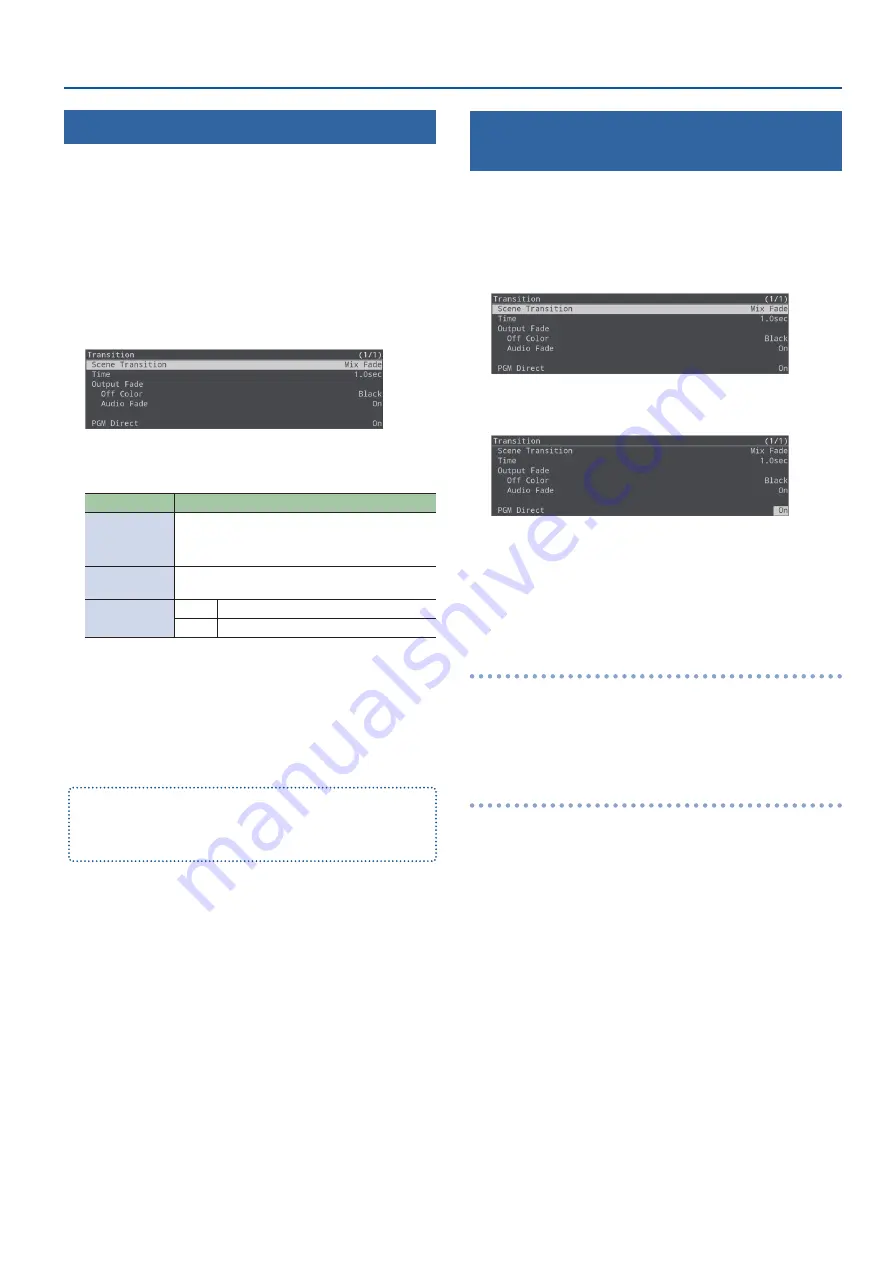
The Transition menu appears.
2.
Turn the [VALUE/CURSOR] knob to select a menu item,
and then press the [VALUE/CURSOR] knob.
Menu item
Explanation
Time
Sets the length of the fade-in/out effect.
* This setting is also applied to the scene and
video transition times.
Off Color
Specifies the background color (black, white) used
when fading-in/out the main output video.
Audio Fade
Off
Only the video fades-in/out.
On
The video and audio fade-in/out together.
3.
Turn the [VALUE/CURSOR] knob to change the value
of the setting, and then press the [VALUE/CURSOR]
knob.
4.
Press the [MENU] button to quit the menu.
You can assign the fade-in/out function to the VIDEO FUNCTION
buttons.
For details, see “Assigning a Function to the VIDEO FUNCTION Buttons”
Sending the Selected Video to Final Output
Immediately (PGM Direct)
You can use the PGM Direct function to send the selected video right
away to final output.
1.
[MENU] button
Ó
select “Transition”, and then press
the [VALUE/CURSOR] knob.
The Transition menu appears.
2.
Turn the [VALUE/CURSOR] knob to select “PGM Direct”,
and then press the [VALUE/CURSOR] knob.
3.
Turn the [VALUE/CURSOR] knob to select “On”, and
then press the [VALUE/CURSOR] knob.
4.
Press the [MENU] button to quit the menu.
When PGM Direct is “On”
¹
The selected video is immediately sent to final output.
¹
When you select the video corresponding to the INPUT [HDMI IN 1]–
[STILL 2] buttons or the scenes registered to the SCENE [A]–[E] buttons,
the output video (streaming, video recording source) changes after the
set transition time has elapsed.
When PGM Direct is “Off”
¹
In this case, the auto-switching function (p. 12) is unavailable, and
the [AUTO SW/TAKE] button operates as the [TAKE] button to switch the
final output.
¹
For the INPUT [HDMI IN 1]–[STILL 2] buttons, when you check the PVW
(preview) of the video to be outputted next and then press the [TAKE]
button, the output video (streaming, video recording source) changes
after the set transition time has elapsed.
¹
For the scenes that are registered to the SCENE [A]–[E] buttons, the
output video (streaming, video recording source) changes after the set
transition time has elapsed.


