2
Basic
Operation
Setup of Media
55
[To confirm again/adjust again]
Press
to select [YES].
Press
to enable the setting.
The test pattern of bidirectional correction is output again. Go back
to the procedure
and set again.
[To go to the next after correction is completed]
Press
to select [DONE].
Press
to enable the setting.
For the individual setting method of this setting item and the description, refer to
P. 111, "Correcting for
Misalignment in Bidirectional Printing"
6.
Deciding to perform the setting for cutting or not
[Only Printing]
Press
to select [NEXT].
Press
to enable the setting.
Go to Procedure
10.
[Printing & Cutting]
Press
to select [SET].
Press
to enable the setting.
Go to Procedure
7.
7.
Setting the blade force
Press
to select SET].
Press
to enable the setting.
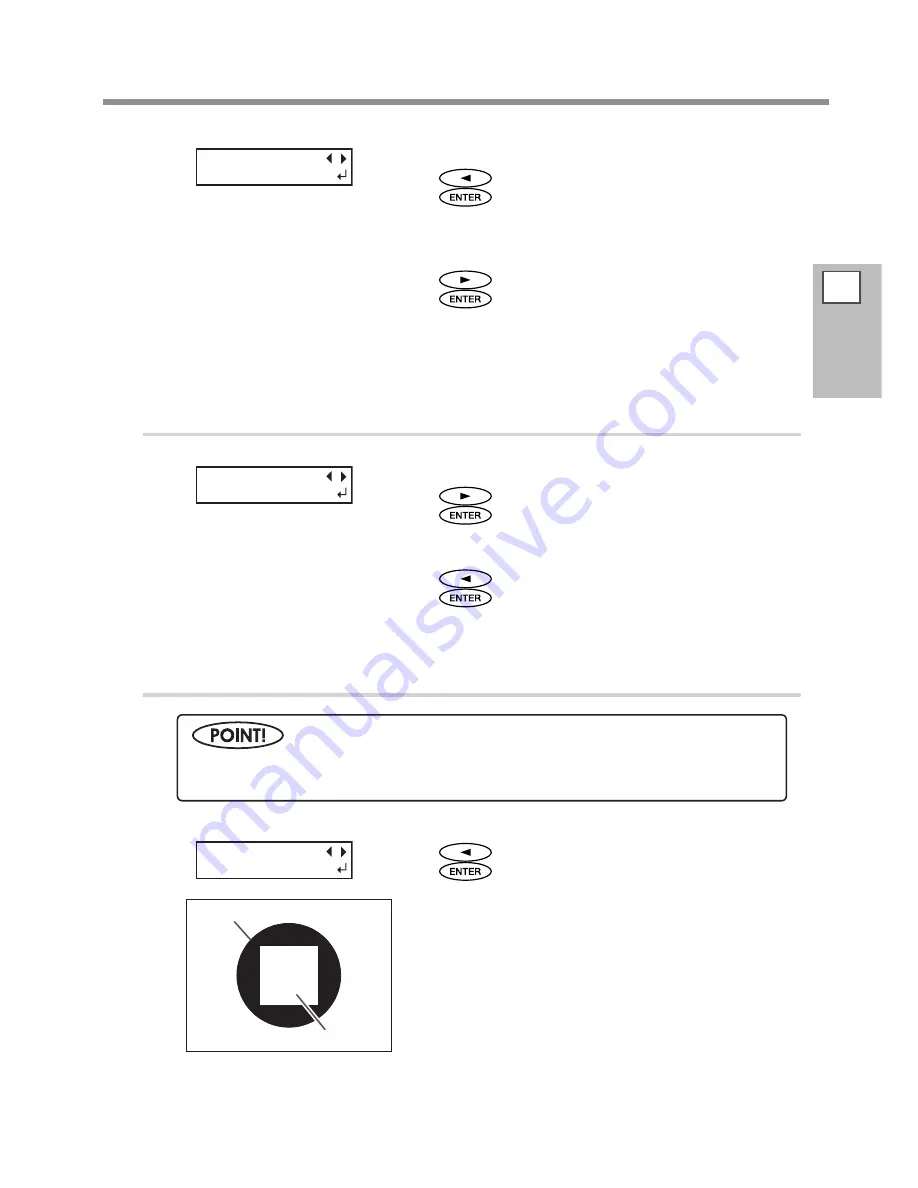
The test pattern is cut. Circle and rectangle are cut. Peel off the
two shapes.
REDO ADJ.?
YES [DONE]
CUT CONFIG
[SET] NEXT
For high-quality cutting, perform a cutting test to check the cutting quality for the media and adjust
the blade force.
CUT FORCE
[SET] NEXT
Rectangle
Circle
Summary of Contents for SOLJET PRO4 XF-640
Page 36: ...34 ...
Page 74: ...72 ...
Page 146: ...144 ...
Page 188: ...186 ...
Page 189: ...187 ...
Page 190: ...188 ...
Page 191: ...189 ...
Page 192: ...190 ...
Page 193: ...191 ...
Page 194: ...192 ...
Page 195: ......
Page 196: ...R2 121004 ...


